ONLYOFFICE Docs is a free and open-source document server for small and medium-sized organizations. This web-based collaboration suite can manage documents, projects, teams, and customer relations from a central location. ONLYOFFICE Docs support several Open XML formats, including .xlsx, .pptx, and .docx, enabling real-time collaborative editing. You can use the ONLYOFFICE Docs API to integrate the ONLYOFFICE Document Editor into your website to manage editors.
This tutorial will show you how to install ONLYOFFICE Docs on Debian 12.
Step 1- Install Nginx and Other Dependencies
First, you must install the Nginx webserver to serve the ONLYOFFICE Dcos. You can install it with the following command:
apt-get update -y
apt-get install nginx nginx-extras -y
After installing the Nginx web server, you must install RabbitMQ-server and Redis in your system. You can install both using the following command:
apt-get install redis-server rabbitmq-server gnupg2 curl -y
Once both packages are installed, start the RabbitMQ and Redis service with the following command:
systemctl start rabbitmq-server
systemctl start redis-server
Once you are finished, you can proceed to the next step.
Step 2 – Install and Configure PostgreSQL
ONLYOFFICE uses PostgreSQL as a database backend, so you must install it on your server. You can install it using the following command:
apt-get install postgresql -y
Once installed, start the PostgreSQL service with the following command:
systemctl start postgresql
Next, log into the PostgreSQL shell with the following command:
su - postgres
postgres@debian12:~$ psql
Once logged in, you should get the following output:
psql (12.9 (Debian 12.9-0+deb10u1))
Type "help" for help.
Next, create a database and user for the Document server with the following command:
postgres=# CREATE DATABASE onlyoffice;
postgres=# CREATE USER onlyoffice WITH password 'onlyoffice';
postgres=# GRANT ALL privileges ON DATABASE onlyoffice TO onlyoffice;
Next, exit from the PostgreSQL shell with the following command:
postgres=# EXIT
Next, rerun the exit command to exit from the Postgres user:
exit
Step 3 – Install ONLYOFFICE Docs
By default, the ONLYOFFICE Docs package is unavailable in the Debian 12 default repository, so you must add the ONLYOFFICE Docs repository to your system.
First, download and add the GPG key with the following command:
mkdir -p -m 700 ~/.gnupg
curl -fsSL https://download.onlyoffice.com/GPG-KEY-ONLYOFFICE | gpg --no-default-keyring --keyring gnupg-ring:/tmp/onlyoffice.gpg --import
chmod 644 /tmp/onlyoffice.gpg
chown root:root /tmp/onlyoffice.gpg
mv /tmp/onlyoffice.gpg /usr/share/keyrings/onlyoffice.gpg
Next, add the ONLYOFFICE Docs repository with the following command:
echo "deb [signed-by=/usr/share/keyrings/onlyoffice.gpg] https://download.onlyoffice.com/repo/debian squeeze main" | tee /etc/apt/sources.list.d/onlyoffice.list
Once the storage is added, update the repository with the following command:
apt-get update -y
Next, download and install the ttf-mscorefonts-installer and other packages using the following command.
wget http://ftp.de.debian.org/debian/pool/contrib/m/msttcorefonts/ttf-mscorefonts-installer_3.8.1_all.deb
dpkg -i ttf-mscorefonts-installer_3.8.1_all.deb
apt install x11-common xfonts-encodings libfontenc1 fonts-dejavu-extra cabextract xfonts-utils libcurl4 libxml2 fonts-dejavu fonts-liberation  ttf-mscorefonts-installer fonts-crosextra-carlito fonts-takao-gothic fonts-opensymbol -y
You will get some dependency errors after running the above commands. You can fix it with the following management.
apt install -f
Finally, install the ONLYOFFICE Docs with the following command.
apt-get install onlyoffice-documentserver -y
During the installation, you will be asked to provide the password as shown below:
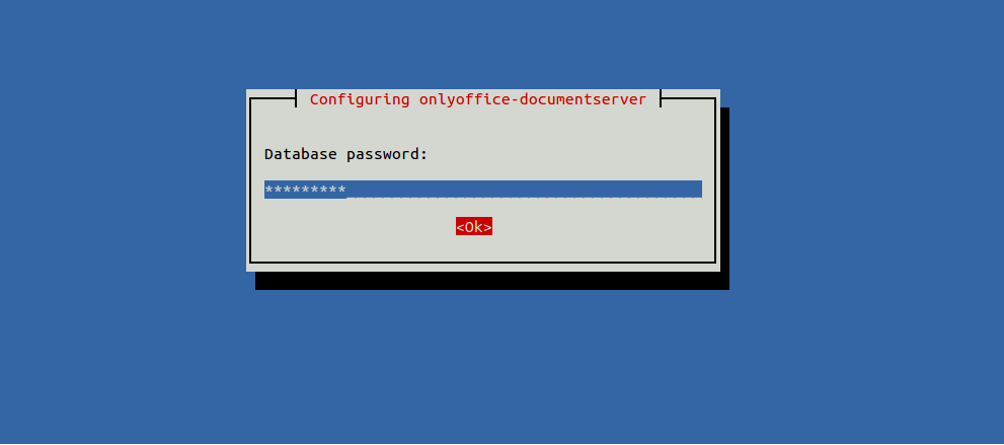
Provide your ONLYOFFICE database password that you created earlier, then hit Enter to finish the installation:
Setting up onlyoffice-documentserver (5.6.5-3) ...
Generating AllFonts.js, please wait...Done
Generating presentation themes, please wait...Done
Congratulations, the ONLYOFFICE docs has been installed successfully!
ONLYOFFICE creates an Nginx configuration file automatically during the installation. You can check it with the following command:
cat /etc/nginx/conf.d/ds.conf
Output:
include /etc/nginx/includes/http-common.conf;
server {
listen 0.0.0.0:80;
listen [::]:80 default_server;
server_tokens off;

include /etc/nginx/includes/ds-*.conf;
}
Next, restart the Nginx service to apply the changes:
systemctl restart nginx
Step 4 – Access ONLYOFFICE Docs Web UI
Now, open your web browser and access the ONLYOFFICE Docs web interface using the URL http://your-server-ip. You should see the ONLYOFFICE dashboard on the following screen:
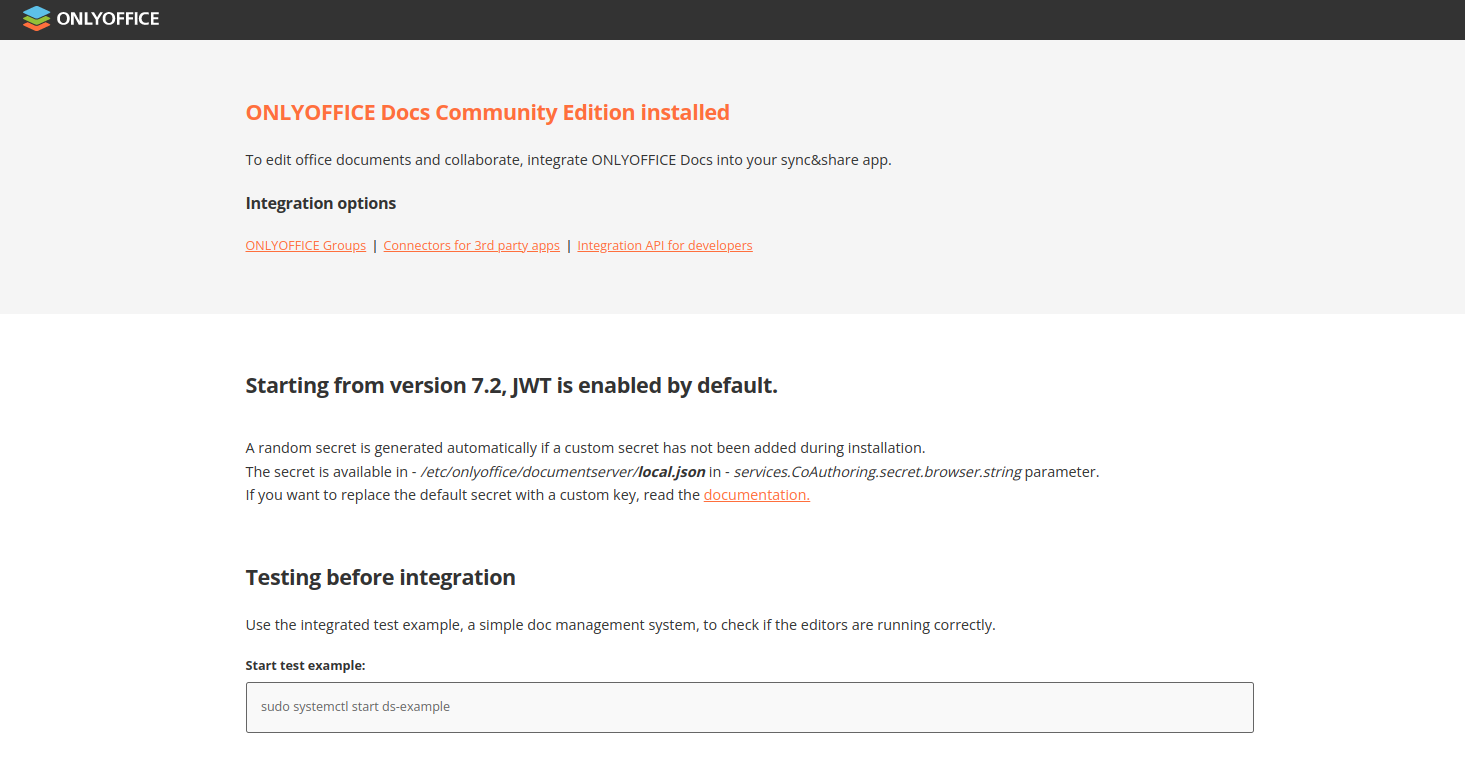
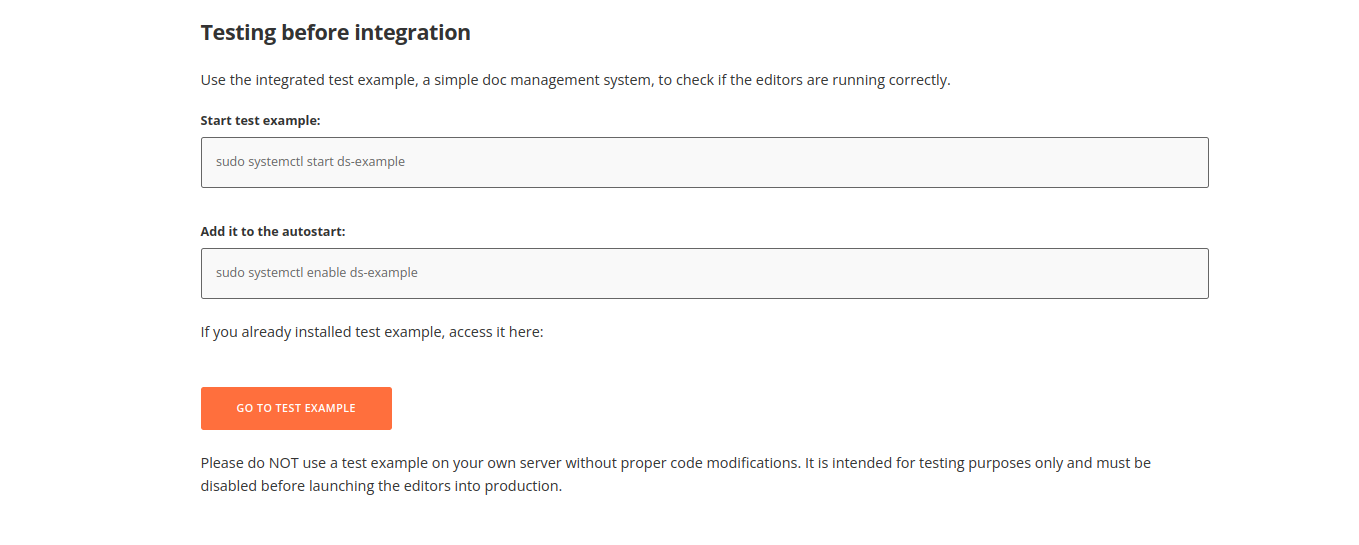
Use the integrated test example, a simple doc management system, to check if the editors are running correctly. Run the following command in your terminal.
systemctl start ds-example
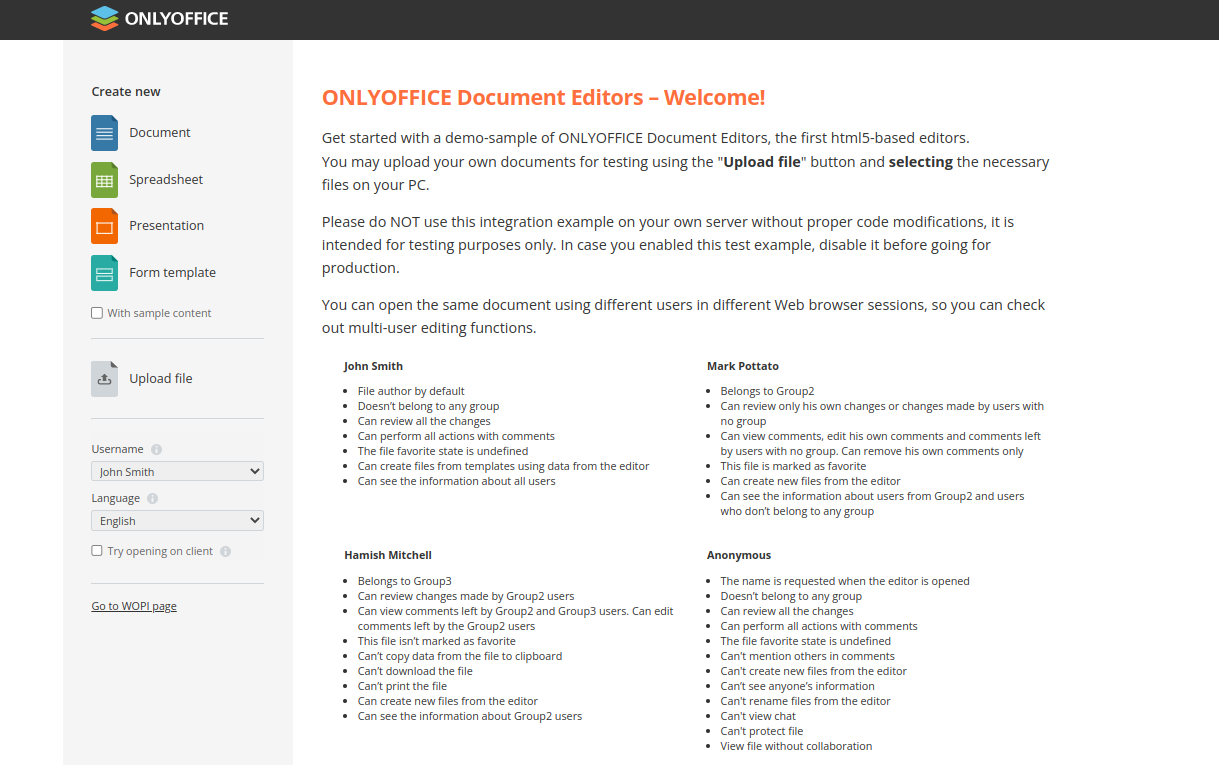
Now, click on the GO TO TEST EXAMPLE. You will see your example docs on the following screen.
Conclusion
Congratulations! You have successfully installed the ONLYOFFICE Docs on Debian 12. You can now integrate ONLYOFFICE Docs API into your website and edit your documents. For more information, visit the ONLYOFFICE documentation page. Start using ONLYOFFICE on your Alantic.Net VPS Hosting account!
* This post is for informational purposes only and does not constitute professional, legal, financial, or technical advice. Each situation is unique and may require guidance from a qualified professional.
Readers should conduct their own due diligence before making any decisions.