ArangoDB is a free, open-source NoSQL database with a flexible data model for documents, graphs, and key-values. It is a multi-purpose and multi-model database developed by triAGENS GmbH. ArangoDB comes with a simple and easy-to-use web interface and CLI for managing and monitoring databases. It is used in small and large organizations that process large amounts of data. ArangoDB is designed for high-performance and scalable applications that use SQL-like query language.
In this tutorial, we will explain how to install the ArangoDB database on Ubuntu 20.04.
Step 1 – Install ArangoDB
By default, ArangoDB is not available in the Ubuntu 20.04 default repository, so you will need to add the ArangoDB repository to your system.
First, install some required dependencies using the following command-
apt-get install gnupg2 apt-transport-https -y
Once all the dependencies are installed, import the ArangoDB GPG key and add the repository with the following command:
wget -q https://download.arangodb.com/arangodb34/DEBIAN/Release.key -O- | apt-key add -
echo 'deb https://download.arangodb.com/arangodb34/DEBIAN/ /' | tee /etc/apt/sources.list.d/arangodb.list
Next, update the repository and install the ArangoDB with the following command:
apt-get update -y
apt-get install arangodb3 -y
During the installation, you will be asked to set the root password as shown below:
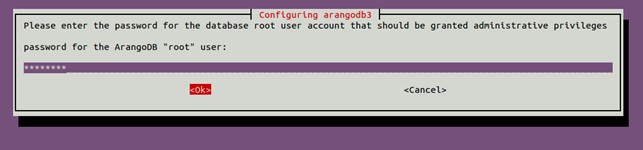
Provide your desired password and hit OK button. You should see the following page:
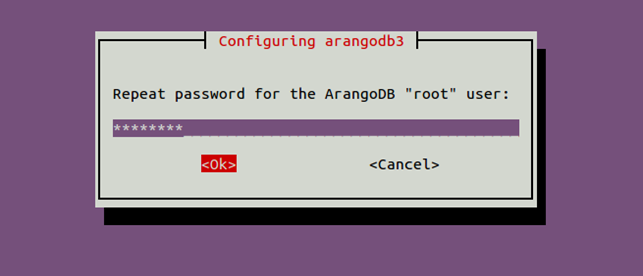
Re-enter the password and hit OK. You should see the following page:
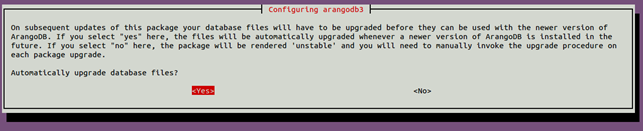
Click on the OK button to automatically upgrade database files. You should see the following page:
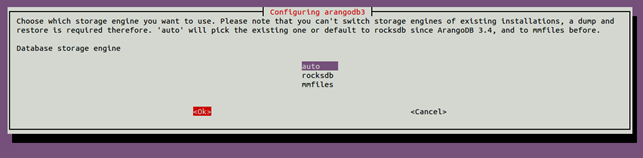
Select the database storage engine and hit the Ok button. You should see the following page:

Click on the Yes button to back up the database before upgrading.
Once the installation has been completed, start the ArangoDB service and enable it to start at system reboot with the following command:
systemctl start arangodb3
systemctl enable arangodb3
Step 2 – Connect ArangoDB Shell
ArangoDB comes with a command-line utility to manage the databases. You can connect the ArangoDB shell with the following command:
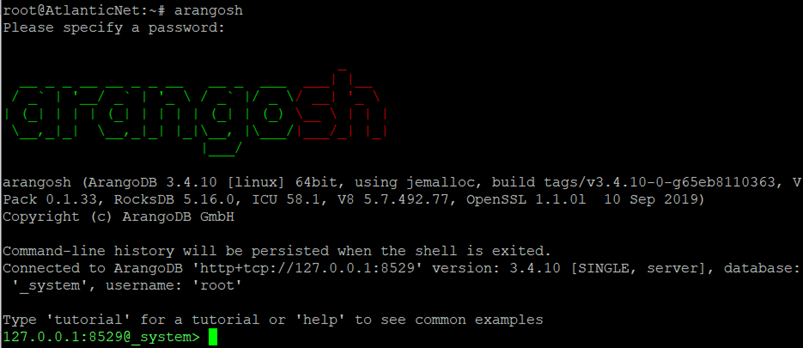
arangosh
You will be asked to provide the password as shown below:
Please specify a password:
Provide the root password which you have set during the installation and hit enter. You should see the following output:
Now, create a database named mydb with the following command:
127.0.0.1:8529@_system> db._createDatabase("mydb");
Next, create a database user with the following command:
127.0.0.1:8529@_system> var users = require("@arangodb/users");
127.0.0.1:8529@_system> users.save("myuser@localhost", "password");
You should see the following output:
{
  "user" : "myuser@localhost",
  "active" : true,
  "extra" : {
  },
  "code" : 201
}
Next, grant all the privileges to the mydb database with the following command:
127.0.0.1:8529@_system> users.grantDatabase("myuser@localhost", "mydb");
Now, you can list your databases using the following command:
127.0.0.1:8529@_system> db._databases()
You should see the following output:
[
  "_system",
  "mydb"
]
Now, exit from the ArangoDB shell with the following command:
127.0.0.1:8529@_system> exit
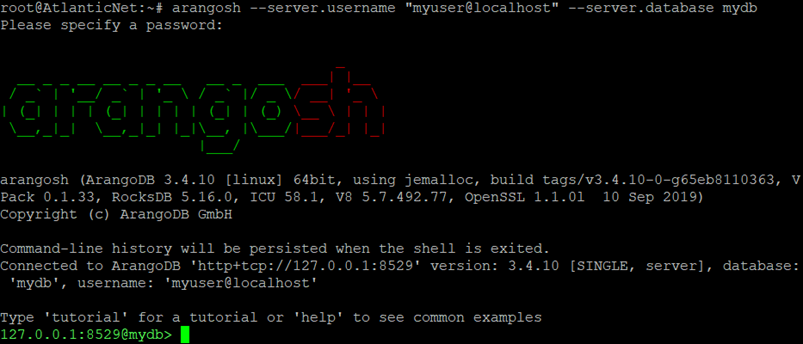
Now, verify the ArangoDB connection using the database and user which you have created earlier using the following command:
arangosh --server.username "myuser@localhost" --server.database mydb
You will be asked to provide password as shown below:
Please specify a password:
Provide the password of the myuser and hit Enter. You should see the following output:
Now, exit from the ArangoDB shell with the following command:
127.0.0.1:8529@_system> exit
Step 3 – Access ArangoDB Web Interface
ArangoDB comes with a web-based interface for managing and monitoring ArangoDB. By default, it is configured to access only from the localhost. So you will need to configure ArangoDB for external access. You can configure it by editing the file /etc/arangodb3/arangod.conf:
nano /etc/arangodb3/arangod.conf
Find the following line:
endpoint = tcp://127.0.0.1:8529
And replace it with the following line:
endpoint = tcp://your-server-ip:8529
Save and close the file, then restart the ArangoDB service to apply the changes.
systemctl restart arangodb3
Now, open your web browser and type the URL http://your-server-ip:8529. You should see the ArangoDB login page:
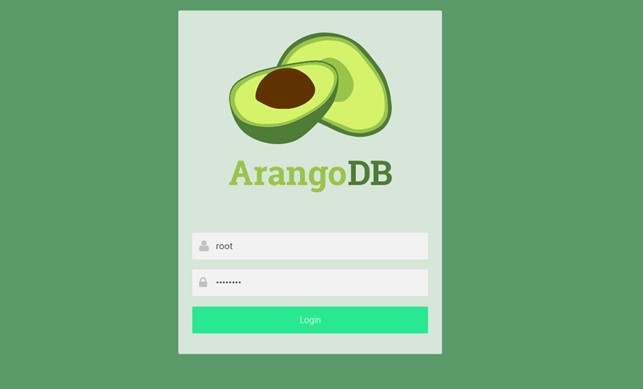
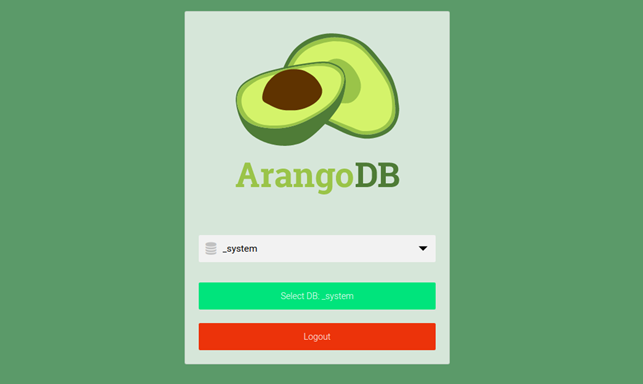
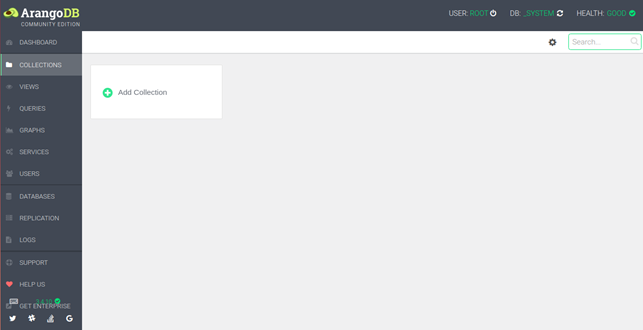
Provide your ArangoDB root username and password and click on the Login button. You should see the ArangoDB dashboard in the following page:
Conclusion
In this tutorial, you learned how to install ArangoDB on Ubuntu 20.04. You also learned how to user ArangoDB shell to create a database and user. ArangoDB is a very good alternative to MongoDB and can be used in a mission-critical environment. Get started with ArangoDB on VPS Hosting from Atlantic.Net!
* This post is for informational purposes only and does not constitute professional, legal, financial, or technical advice. Each situation is unique and may require guidance from a qualified professional.
Readers should conduct their own due diligence before making any decisions.