Joomla is a free, open-source CMS software solution written in PHP. It is used for creating different types of websites including blogs, eCommerce sites, and marketing sites. Joomla provides a user-friendly and powerful control panel that helps you to build and host your website on the Internet easily without the need to learn how to read and write complicated codes and scripts.
In this post, we will explain to you how to install Joomla with Nginx on Oracle Linux 8.
Step 1 – Install Nginx and MariaDB
First, you will need to install Nginx and MariaDB database servers on your server. You can install both packages with the following command:
dnf install nginx mariadb-server -y
After installing both packages, start the Nginx and MariaDB services and enable them to start at system reboot:
systemctl start nginx mariadb
systemctl enable nginx mariadb
Also Read
How to Install and Configure Nginx Web Server on Oracle Linux 8
Step 2 – Install PHP and PHP-FPM
Next, you will need to install PHP 7.4, PHP-FPM, and other PHP dependencies on your server.
By default, the PHP version is set to PHP 7.2 in Oracle Linux 8 default repo. In order to install the latest PHP 7.4, you will need to reset the default PHP streams.
Run the following command to reset the default PHP:
dnf module reset php
Next, enable PHP version 7.4 using the following command:
dnf module enable php:7.4
Next, install PHP 7.4 with other extensions using the following command:
dnf install php php-fpm php-curl php-xml php-zip php-mysqlnd php-intl php-gd php-json php-ldap php-mbstring php-opcache unzip -y
After installing all the packages, edit the php.ini file and modify some settings:
nano /etc/php.ini
Modify the following values:
memory_limit = 256M
output_buffering = Off
max_execution_time = 300
date.timezone = UTC
Save and close the file when you are done.
Next, edit the PHP-FPM configuration file and change the user and group from apache to nginx:
nano /etc/php-fpm.d/www.conf
Change the user and group from apache to nginx:
user = nginx
group = nginx
Save and close the file then set proper permission to the PHP library directory:
chown -R nginx:nginx /var/lib/php/
Next, start the PHP-FPM service and enable it to start at system reboot:
systemctl start php-fpm
systemctl enable php-fpm
Step 3 – Create a Database for Joomla
Joomla uses MySQL/MariaDB as a database backend, so you will need to create a database and user for Joomla.
First, log in to the MariaDB shell with the following command:
mysql
Once you are connected to MariaDB, create a database and user for Joomla:
CREATE DATABASE joomladb;
GRANT ALL PRIVILEGES ON joomladb.* TO 'joomla'@'localhost' IDENTIFIED BY 'password';
Next, flush the privileges and exit from the MariaDB shell with the following command:
FLUSH PRIVILEGES;
EXIT;
Step 4 – Install Joomla on Oracle Linux 8
Next, go to the Joomla download page and download the latest version of Joomla using the wget command:
wget https://downloads.joomla.org/cms/joomla4/4-1-0/Joomla_4-1-0-Stable-Full_Package.tar.bz2
Next, create a directory for Joomla and extract the downloaded file inside the Joomla directory:
mkdir -p /var/www/html/joomla
tar -xvjf Joomla_4-1-0-Stable-Full_Package.tar.bz2 -C /var/www/html/joomla/
Next, set proper permissions and ownership to the Joomla directory:
chown -R nginx:nginx /var/www/html/joomla
chmod -R 755 /var/www/html/joomla
Step 5 – Create an Nginx Virtual Host for Joomla
Next, you will need to create an Nginx virtual host configuration file for Joomla to serve Joomla over the internet. You can create it with the following command:
nano /etc/nginx/conf.d/joomla.conf
Add the following lines:
server {
   listen 80;
   root /var/www/html/joomla;
   index  index.php index.html index.htm;
   server_name  joomla.example.com;

   location / {
       try_files $uri $uri/ /index.php?$args;
   }

   location ~ [^/]\.php(/|$) {
   fastcgi_split_path_info  ^(.+\.php)(/.+)$;
   fastcgi_index            index.php;
   fastcgi_pass             unix:/run/php-fpm/www.sock;
   include                  fastcgi_params;
   fastcgi_param   PATH_INFO       $fastcgi_path_info;
   fastcgi_param   SCRIPT_FILENAME $document_root$fastcgi_script_name;
   }

}
Save and close the file, then edit the Nginx configuration file and define the hash_bucket size:
nano /etc/nginx/nginx.conf
Add the following line below http {:
server_names_hash_bucket_size 64;
Save and close the file, then verify Nginx for any syntax errors using the following command:
nginx -t
You will get the following output:
nginx: the configuration file /etc/nginx/nginx.conf syntax is ok
nginx: configuration file /etc/nginx/nginx.conf test is successful
Next, restart the Nginx service to apply the changes:
systemctl restart nginx
Step 6 – Access Joomla Website
Now, Joomla is installed and configured on your server. You can now access the Joomla website using the URL http://joomla.example.com. You should see the following screen:
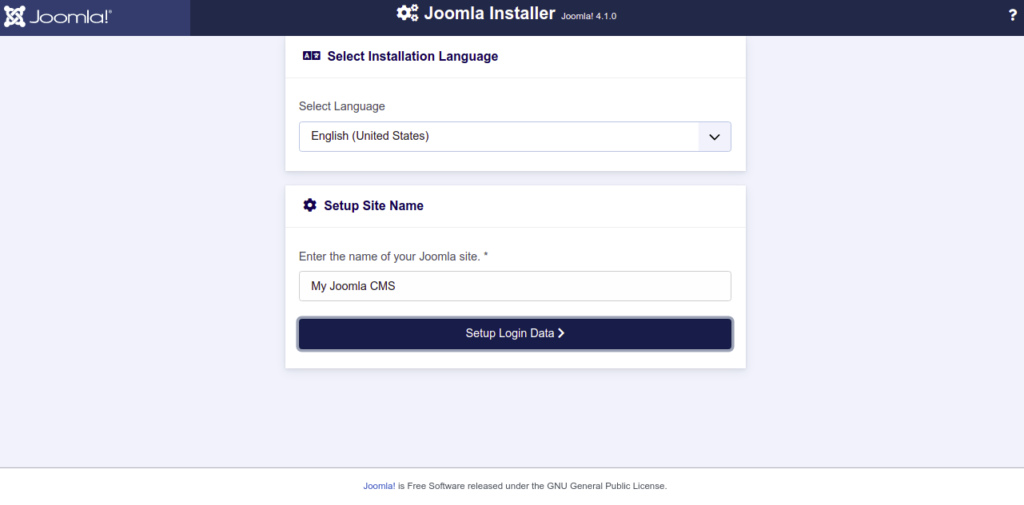
Select your language, provide your site information and click on the Setup Login Data. You should see the following page:
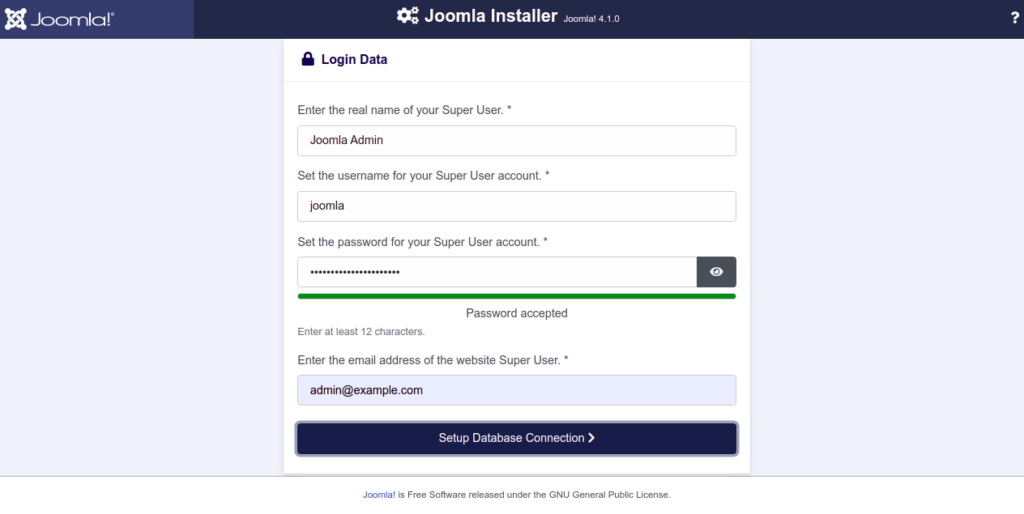
Here, define your admin user and password then click on the Setup Database Connection button. You should see the database configuration page:
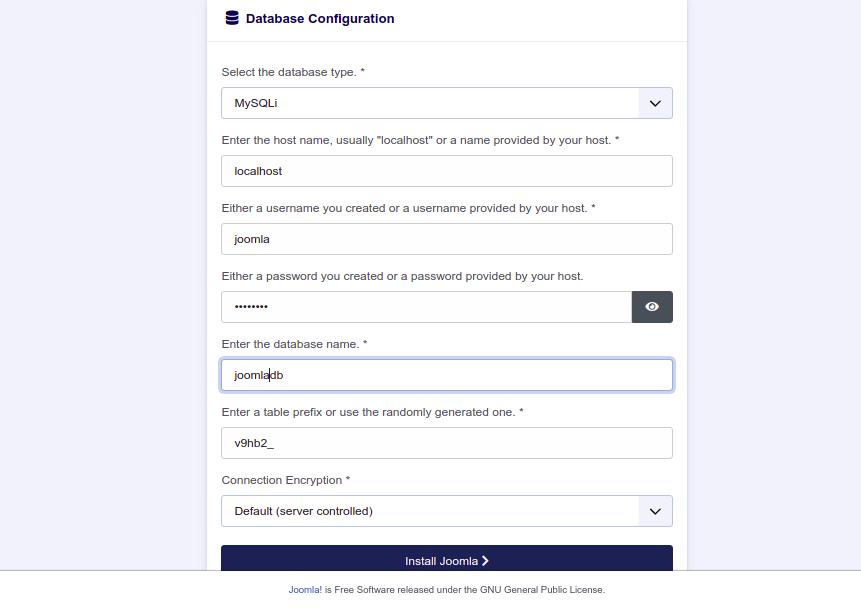
Provide your database information and click on the Install Joomla button. You should see the following page:
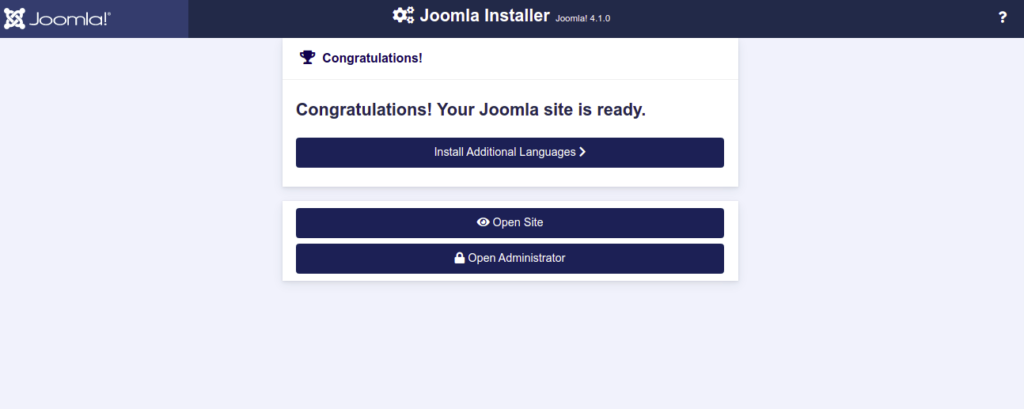
Next, click on the Open Administrator button. You should see the Joomla login page:
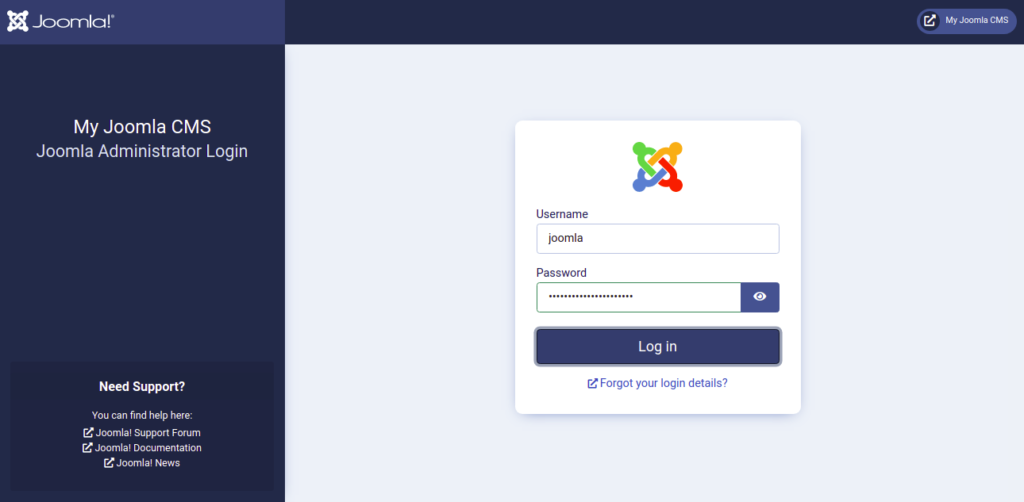
Provide your admin username and password, then click on the Login button. You should see the Joomla dashboard page:

Conclusion
In this post, you learned how to install Joomla with Nginx on Oracle Linux 8. You can now start creating your blog or website from the Joomla web interface. Give it a try on VPS hosting from Atlantic.Net!