
MediaWiki is a free and open-source wiki system that allows you to put texts, photos, and movies on your MediaWiki page. It allows you to keep every change without deleting the previous versions. MediaWiki is simple and easy to use so any beginner user can change the text and content of the page without much training. MediaWiki uses PHP to process the data and MariaDB as a database backend.
This post will show you how to install MediaWiki on Fedora Linux.
Step 1 – Install Apache, MariaDB, and PHP
First, install the Apache and MariaDB server using the following command.
dnf install httpd mariadb-server -y
Next, add the PHP Remi repository to install the latest PHP version.
dnf install -y http://rpms.remirepo.net/fedora/remi-release-34.rpm
dnf module install php:remi-8.1
Next, install PHP and other required extensions with the following command.
dnf install php php-mysqlnd php-gd php-xml php-mbstring php-json
yum --enablerepo=remi install php-intl php-sodium php-zip
Next, start and enable the Apache and MariaDB services using the following command.
systemctl start mariadb httpd
systemctl enable mariadb httpd
Step 2 – Create a Database for MediaWiki
Next, you will need to create a database and user to store the MediaWiki data.
First, log in to the MariaDB shell.
mysql -u root -p
Once you are connected to MariaDB, create a database and user for MediaWiki.
CREATE DATABASE mediawikidb;
GRANT ALL PRIVILEGES ON mediawikidb.* TO 'mediawikiuser'@'localhost' IDENTIFIED BY 'password';
Next, flush the privileges and exit from the MariaDB shell.
FLUSH PRIVILEGES;
EXIT;
Step 3 – Download MediaWiki
First, visit the MediaWiki download page and download the latest version of MediaWiki using the following command.
wget https://releases.wikimedia.org/mediawiki/1.40/mediawiki-1.40.0.tar.gz
Once the download is completed, extract the downloaded file and copy it to the Apache web root.
tar -xvzf mediawiki-1.40.0.tar.gz
mv mediawiki-1.40.0 /var/www/html/mediawiki
Next, change the ownership of the mediawiki directory.
chown -R apache:apache /var/www/html/mediawiki
Step 4 – Configure Apache for MediaWiki
Next, you will need to create an Apache virtual host configuration file to host MediaWiki.
nano /etc/httpd/conf.d/media.conf
Add the following configurations:
<VirtualHost *:80>
 ServerName media.example.com
 DocumentRoot /var/www/html/mediawiki
 ErrorLog /var/log/httpd/error.log
 CustomLog /var/log/httpd/requests.log combined
</VirtualHost>
Save and close the file then restart the Apache service to apply the changes.
systemctl restart httpd
Step 5 – Access MediaWiki
Open your web browser and access the MediaWiki installation using the URL http://media.example.com. You will see the following screen.
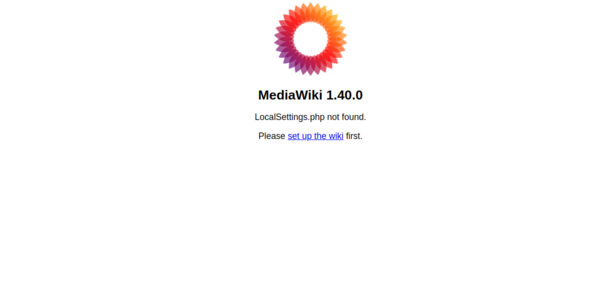
Click on the setup wiki. You will see the following screen.
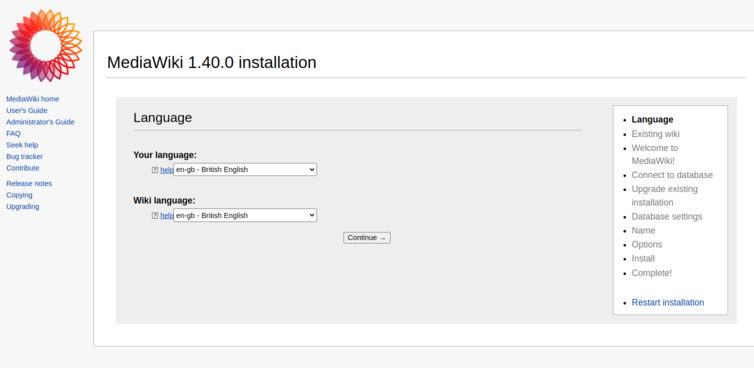
Select your language and click on Continue. You will see the prerequisites check screen.
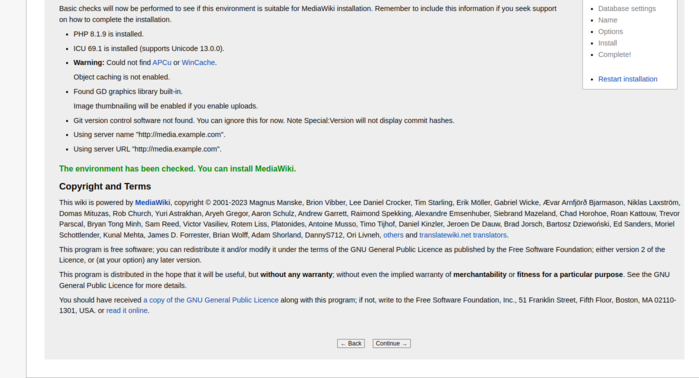
Click on Continue. You will see the database configuration screen.
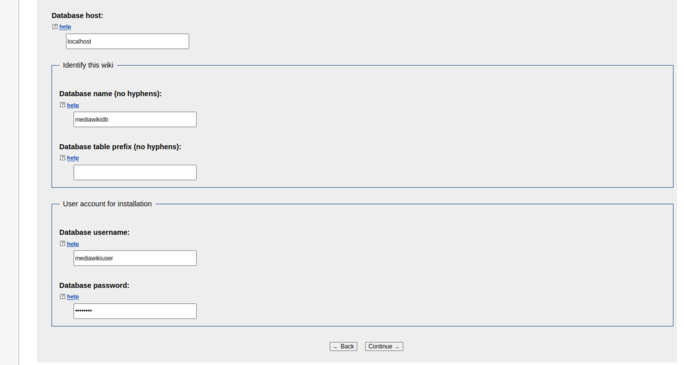
Define your database settings and click on Continue. You will see the following screen.
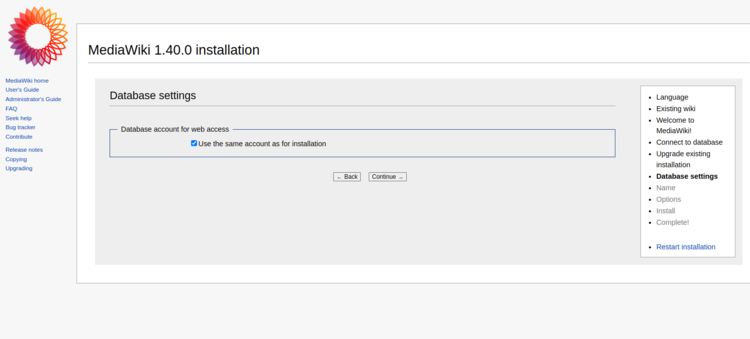
Select “use the same account as for installation” and click on Continue. You will see the MediaWiki configuration screen.
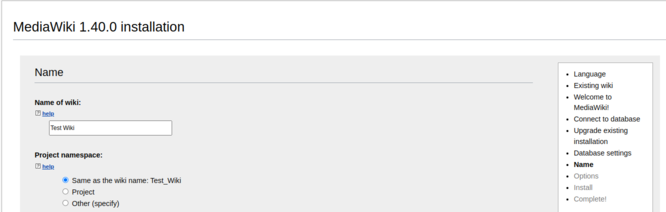
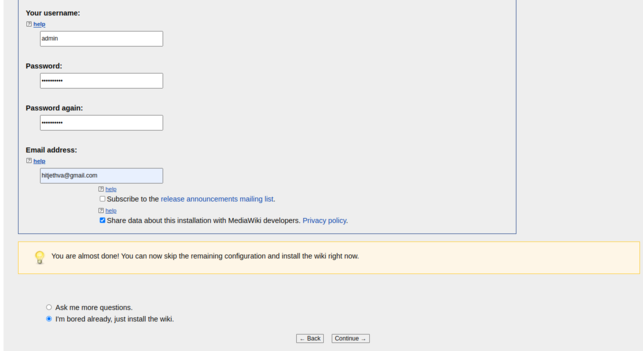
Define your wiki name, admin username, and password, and click on Continue. You will see the following screen.
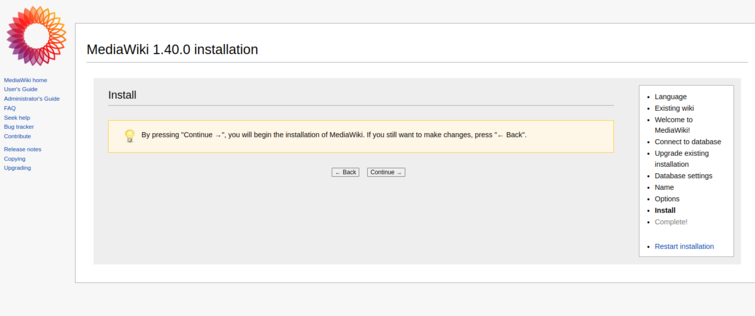
Click on Continue to start the installation. Once the database setup is completed, you will see the following screen.
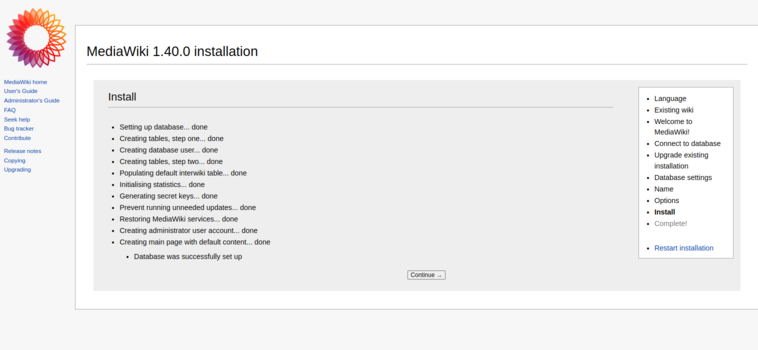
Click on Continue. Once the installation is finished, you will see the following screen.
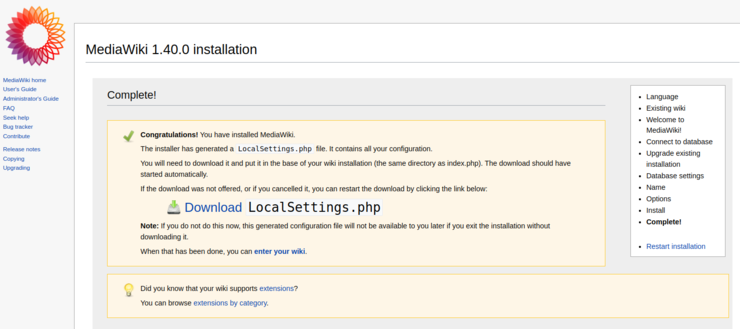
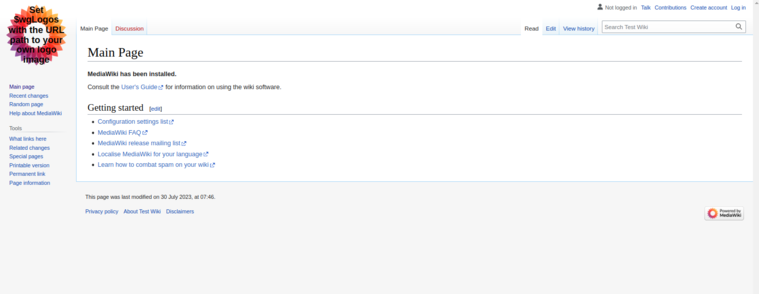
Now, download LocalSettings.php from the above page and copy it to the MediaWiki root directory. Then, click on the Enter your wiki. You will see the MediaWiki dashboard on the following screen.
Conclusion
In this post, we learned how to install MediaWiki with Apache on Fedora and host your own wiki site on the internet. You can now easily host MediaWiki on VPS hosting from Atlantic.Net!

Written by
Hitesh Jethva is a regular contributor to the Atlantic.Net blog. With over 15 years of experience in Linux and open-source technologies, he founded Linux Buz, a website dedicated to Linux enthusiasts.