Sails is the most popular MVC framework for Node.js. It is used for building production-ready enterprise Node.js applications. Sails is a lightweight server-side technology that uses Express for handling HTTP requests and wraps socket.io for managing WebSockets.
It is used to develop chat applications, real-time dashboards, and multiplayer games. Sails provide a simple data access layer that works with any database, including MySQL, MongoDB, PostgreSQL, Redis, and local disk.
In this post, we will show you how to install the Salis.js framework with Nginx as a reverse proxy on Oracle Linux 8.
Step 1 – Install Nodejs
Before starting, you will need to install some required dependencies on your server. You can install all of them by running the following command:
dnf install curl gcc-c++ make -y
Next, list all available Node.js versions using the following command.
dnf module list --all nodejs
You will see the following output.
Name      Stream    Profiles                                Summary
nodejs    10 [d]    common [d], development, minimal, s2i   Javascript runtime
nodejs    12        common [d], development, minimal, s2i   Javascript runtime
nodejs    14        common [d], development, minimal, s2i   Javascript runtime
nodejs    16        common [d], development, minimal, s2i   Javascript runtime
nodejs    18        common [d], development, minimal, s2i   Javascript runtime
nodejs    20        common, development, minimal, s2i       Javascript runtime
Next, enable the Node.js version 20 repo using the following command.
dnf module enable nodejs:20
Next, install the Node.js by running the following command:
dnf install nodejs -y
Once Node.js is installed, you can verify the Node.js version using the following command:
node --version
You will get the following output:
v20.0.0
Step 2 – Install Sailsjs
You can use the Node Package Manager (NPM) to install Sails.js easily on your server.
npm -g install sails
Once installed, create a directory for the Sails.js application.
mkdir sails
Next, change the directory to the sails and create a new application using the following command:
cd sails
sails new project
You will be asked to select the template for your application:
 Choose a template for your new Sails app:
 1. Web App  ·  Extensible project with auth, login, & password recovery
 2. Empty    ·  An empty Sails app, yours to configure
 (type "?" for help, or <CTRL+C> to cancel)
? 1
Type 1 and press the Enter key to create your application:
 info: Installing dependencies...
Press CTRL+C to cancel.
(to skip this step in the future, use --fast)
 info: Created a new Sails app `project`!
Step 3 – Start Sailsjs Application
After creating the Sails.js application, change the directory to your application and start the application using the command below:
cd project
sails lift
You will get the following output:
 info: Starting app...

 info: Initializing project hook... (`api/hooks/custom/`)
 info: Initializing `apianalytics` hook...  (requests to monitored routes will be logged!)
 info: ·• Auto-migrating...  (alter)
 info:    Hold tight, this could take a moment.
 info:  ✓ Auto-migration complete.

debug: Running v0 bootstrap script...  (looks like this is the first time the bootstrap has run on this computer)
 info:
 info:                .-..-.
 info:
 info:    Sails              <|    .-..-.
 info:    v1.5.3              |\
 info:                       /|.\
 info:                      / || \
 info:                    ,'  |'  \
 info:                 .-'.-==|/_--'
 info:                 `--'-------'
 info:    __---___--___---___--___---___--___
 info:  ____---___--___---___--___---___--___-__
 info:
 info: Server lifted in `/root/sails/project`
 info: To shut down Sails, press  + C at any time.
 info: Read more at https://sailsjs.com/support.

debug: -------------------------------------------------------
debug: :: Tue Aug 23 2022 03:54:53 GMT-0400 (Eastern Daylight Time)

debug: Environment : development
debug: Port        : 1337
debug: -------------------------------------------------------
Press CTRL+C to stop the application.
Step 4 – Create a Systemd Service File for Salisjs
It is recommended to create a systemd service file to manage the Sails.js application. You can create it using the following command:
nano /lib/systemd/system/sails.service
Add the following lines:
[Unit]
After=network.target

[Service]
Type=simple
User=root
WorkingDirectory=/root/sails/project
ExecStart=/usr/bin/sails lift
Restart=on-failure

[Install]
WantedBy=multi-user.target
Save and close the file, then reload the systemd daemon to apply the changes:
systemctl daemon-reload
Now, start the Sails.js service and enable it to start at system reboot:
systemctl start sails
systemctl enable sails
You can also verify the status of the Sails.js service using the following command:
systemctl status sails
You will get the following output:
● sails.service
   Loaded: loaded (/usr/lib/systemd/system/sails.service; disabled; vendor preset: disabled)
   Active: active (running) since Tue 2022-08-23 03:56:00 EDT; 7s ago
 Main PID: 12432 (node)
    Tasks: 22 (limit: 11409)
   Memory: 149.9M
   CGroup: /system.slice/sails.service
           ├─12432 node /usr/bin/sails lift
           └─12439 grunt

Aug 23 03:56:02 oraclelinux8 sails[12432]:  info:  ____---___--___---___--___---___--___-__
Aug 23 03:56:02 oraclelinux8 sails[12432]:  info:
Aug 23 03:56:02 oraclelinux8 sails[12432]:  info: Server lifted in `/root/sails/project`
Aug 23 03:56:02 oraclelinux8 sails[12432]:  info: To shut down Sails, press  + C at any time.
Aug 23 03:56:02 oraclelinux8 sails[12432]:  info: Read more at https://sailsjs.com/support.
Aug 23 03:56:02 oraclelinux8 sails[12432]: debug: -------------------------------------------------------
Aug 23 03:56:02 oraclelinux8 sails[12432]: debug: :: Tue Aug 23 2022 03:56:02 GMT-0400 (Eastern Daylight Time)
Aug 23 03:56:02 oraclelinux8 sails[12432]: debug: Environment : development
Aug 23 03:56:02 oraclelinux8 sails[12432]: debug: Port        : 1337
Aug 23 03:56:02 oraclelinux8 sails[12432]: debug: -------------------------------------------------------
At this point, the Sails.js application is started and listens on port 1337. You can check it using the following command:
ss -antpl | grep 1337
You will get the following output:
LISTEN 0 128 *:1337 *:* users:(("node",pid=12432,fd=19))
Step 5 – Configure Nginx as a Reverse Proxy for Sailsjs
Nginx reverse proxy allows you to access the Sails application via port 80. First, install the Nginx with the following command:
dnf install nginx
Next, create an Nginx virtual host configuration file using the following command:
nano /etc/nginx/conf.d/sails.conf
Add the following lines:
server {
 listen       80;
 server_name  sails.example.com;
   location / {
     proxy_pass        http://localhost:1337/;
     proxy_set_header  Host $host;
     proxy_buffering   off;
   }
 }
Save and close the file, then edit the Nginx main configuration file:
nano /etc/nginx/nginx.conf
Add the following line below http {:
server_names_hash_bucket_size 64;
Save and close the file, then verify the Nginx configuration:
nginx -t
You will get the following output:
nginx: the configuration file /etc/nginx/nginx.conf syntax is ok
nginx: configuration file /etc/nginx/nginx.conf test is successful
Finally, restart Nginx to apply the changes:
systemctl restart nginx
Step 6 – Access Sailsjs
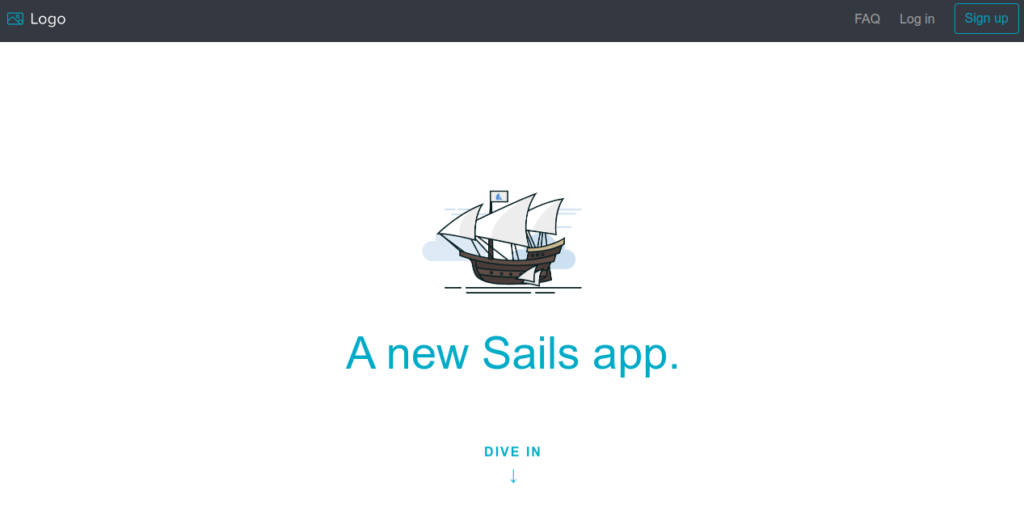
Now, open your web browser and access the Sails.js web interface using the URL http://salis.example.com. You should see the Sails.js application on the following screen:
Conclusion
In this post, you learned how to install Sails.js with Nginx on Oracle Linux 8. You can now start developing your first real-time application using the Sails.js framework. Get started with Sails.js on VPS hosting from Atlantic.Net!