Sails.js is a free, open-source, real-time MVC Framework developed on top of the Node.js environment. It makes it easy to build custom and enterprise-grade Node.js applications. Sails.js uses code generators to build an application with less manual writing of code. You can develop chat applications, real-time dashboards, and multiplayer games using the Salis.js framework.
In this post, we will show you how to install the Salis.js framework with Nginx on Rocky Linux 8.
Step 1 – Install Node.js
Before starting, you will need to install Node.js to your system. First, install all required dependencies using the following command:
dnf update -y
dnf install curl gcc-c++ make -y
Next, add the Node source repo using the following command:
curl --silent --location https://rpm.nodesource.com/setup_18.x | bash -
Next, install Node.js by running the following command:
dnf install nodejs -y
Once Node.js is installed, you can verify the Node.js version using the following command:
node --version
You will get the following output:
v18.19.0
Step 2 – Install Sails.js
Now, you can use NPM to install Sails.js:
npm -g install sails
After installing Sails.js, you will need to create a directory for the Sails.js application.
mkdir sails
Next, change the directory to sails and create a new application using the following command:
cd sails
sails new myapp
You will be asked to select the template for your application:
 Choose a template for your new Sails app:
 1. Web App  ·  Extensible project with auth, login, & password recovery
 2. Empty    ·  An empty Sails app, yours to configure
 (type "?" for help, or <CTRL+C> to cancel)
? 1
Type 1 and press the Enter key to create your application:
 info: Installing dependencies...
Press CTRL+C to cancel.
(to skip this step in the future, use --fast)
 info: Created a new Sails app `myapp`!
Step 3 – Start Sails.js Application
After creating the Sails.js application, change the directory to your application and start the application using the command below:
cd myapp
sails lift
You will get the following output:
 info: Starting app...

 info: Initializing project hook... (`api/hooks/custom/`)
 info: Initializing `apianalytics` hook...  (requests to monitored routes will be logged!)
 info: ·• Auto-migrating...  (alter)
 info:    Hold tight, this could take a moment.
 info:  ✓ Auto-migration complete.

debug: Running v0 bootstrap script...  (looks like this is the first time the bootstrap has run on this computer)
 info:
 info:                .-..-.
 info:
 info:    Sails              <|    .-..-.
 info:    v1.5.0              |\
 info:                       /|.\
 info:                      / || \
 info:                    ,'  |'  \
 info:                 .-'.-==|/_--'
 info:                 `--'-------'
 info:    __---___--___---___--___---___--___
 info:  ____---___--___---___--___---___--___-__
 info:
 info: Server lifted in `/root/sails/myapp`
 info: To shut down Sails, press  + C at any time.
 info: Read more at https://sailsjs.com/support.

debug: -------------------------------------------------------
debug: :: Mon Nov 08 2021 09:20:32 GMT+0000 (Coordinated Universal Time)

debug: Environment : development
debug: Port        : 1337
debug: -------------------------------------------------------
Press CTRL+C to stop the application.
Step 4 – Create a Systemd Service File for Salis.js
It is a good idea to create a systemd service file to manage the Sails.js application. You can create it using the following command:
nano /lib/systemd/system/sails.service
Add the following lines:
[Unit]
After=network.target

[Service]
Type=simple
User=root
WorkingDirectory=/root/sails/myapp
ExecStart=/usr/bin/sails lift
Restart=on-failure

[Install]
WantedBy=multi-user.target
Save and close the file, then reload the systemd daemon to apply the changes:
systemctl daemon-reload
Now, start the Sails.js service and enable it to start at system reboot:
systemctl start sails
systemctl enable sails
You can also verify the status of the Sails.js service using the following command:
systemctl status sails
You will get the following output:
● sails.service
   Loaded: loaded (/usr/lib/systemd/system/sails.service; disabled; vendor preset: disabled)
   Active: active (running) since Mon 2021-11-08 09:22:14 UTC; 7s ago
 Main PID: 48672 (node)
    Tasks: 22 (limit: 11411)
   Memory: 136.0M
   CGroup: /system.slice/sails.service
           ├─48672 node /usr/bin/sails lift
           └─48679 grunt

Nov 08 09:22:16 rockylinux sails[48672]:  info:  ____---___--___---___--___---___--___-__
Nov 08 09:22:16 rockylinux sails[48672]:  info:
Nov 08 09:22:16 rockylinux sails[48672]:  info: Server lifted in `/root/sails/myapp`
Nov 08 09:22:16 rockylinux sails[48672]:  info: To shut down Sails, press  + C at any time.
Nov 08 09:22:16 rockylinux sails[48672]:  info: Read more at https://sailsjs.com/support.
Nov 08 09:22:16 rockylinux sails[48672]: debug: -------------------------------------------------------
Nov 08 09:22:16 rockylinux sails[48672]: debug: :: Mon Nov 08 2021 09:22:16 GMT+0000 (Coordinated Universal Time)
Nov 08 09:22:16 rockylinux sails[48672]: debug: Environment : development
Nov 08 09:22:16 rockylinux sails[48672]: debug: Port        : 1337
Nov 08 09:22:16 rockylinux sails[48672]: debug: -------------------------------------------------------
At this point, the Sails.js application is started and listens on port 1337. You can check it using the following command:
ss -antpl | grep 1337
You will get the following output:
LISTEN 0 128 *:1337 *:* users:(("node",pid=48672,fd=19))
Step 5 – Configure Nginx as a Reverse Proxy for Sails.js
First, install Nginx with the following command:
dnf install nginx
Next, create an Nginx virtual host configuration file using the following command:
nano /etc/nginx/conf.d/sails.conf
Add the following lines:
server {
 listen       80;
 server_name  sails.example.com;
   location / {
     proxy_pass        http://localhost:1337/;
     proxy_set_header  Host $host;
     proxy_buffering   off;
   }
 }
Save and close the file, then verify Nginx for any syntax error:
nginx -t
You will get the following output:
nginx: the configuration file /etc/nginx/nginx.conf syntax is ok
nginx: configuration file /etc/nginx/nginx.conf test is successful
Finally, restart Nginx to apply the changes:
systemctl restart nginx
Step 6 – Access Sails.js
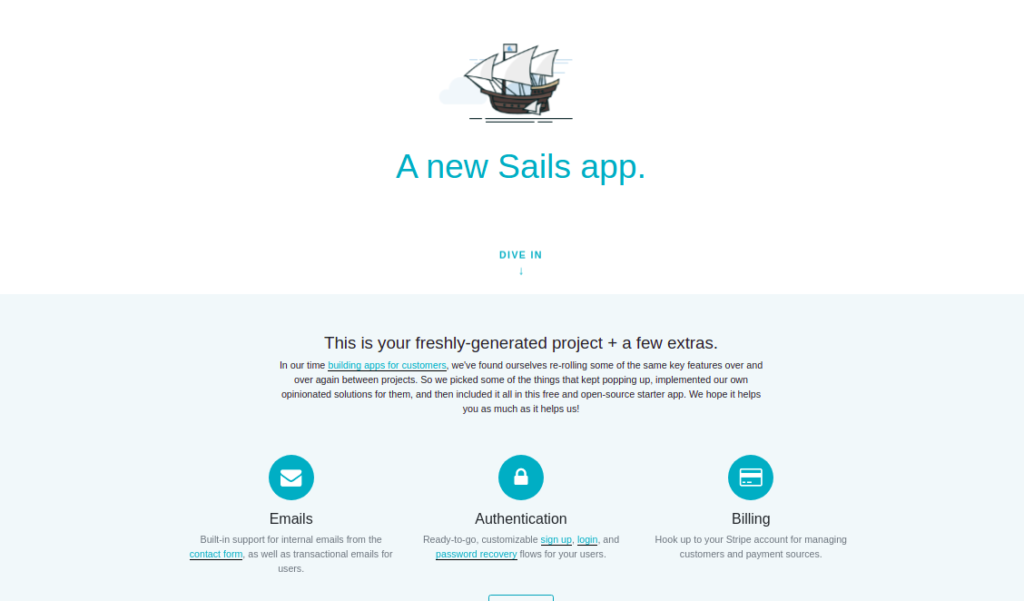
Now, open your web browser and access the Sails.js web interface using the URL http://sails.example.com. You should see the Sails.js application on the following screen:
Conclusion
Congratulations! You have successfully installed Sails.js with Nginx on Rocky Linux 8. You can now start developing your first real-time application using the Sails.js framework. Try it out on your virtual private server from Atlantic.Net!