Symfony is a free, open-source, popular PHP framework with MVC architecture used to build web services, APIs, microservices, and high-performance, complex web applications. Symfony is compatible with other database systems and gives you full control over configuration. It comes with a set of reusable components and a user-friendly web interface, and its flexibility and high performance make it a top choice for developing an enterprise application.
In this tutorial, we will learn how to install the Symfony framework on CentOS 8 server.
Step 1 – Install LAMP Server
First, you will need to install the Apache, MariaDB, PHP and other required PHP extensions in your server. You can install all of them with the following command:
dnf install httpd mariadb-server php php-cli php-common php-spl php-hash php-ctype php-json php-mbstring php-zip php-gd php-curl php-mysqli php-xml php-gmp php-intl php-xmlrpc php-bcmath php-soap php-ldap unzip -y
Once all the packages are installed, start the Apache and MariaDB service and enable them to start after system reboot with the following command:
systemctl start httpd
systemctl enable httpd
systemctl start mariadb
systemctl enable mariadb
Once you are done, you can proceed to the next step.
Step 2 – Secure MariaDB Database
By default, MariaDB is not secured, but you can secure the MariaDB and set a MariaDB root password using the following command:
mysql_secure_installation
Answer all the questions as shown below:
Enter current password for root (enter for none): Just Press Enter
Set root password? [Y/n] Y
Remove anonymous users? [Y/n] Y
Disallow root login remotely? [Y/n] Y
Remove test database and access to it? [Y/n] Y
Reload privilege tables now? [Y/n] Y
Once you are finished, you can proceed to the next step.
Step 3 – Install Symfony
Before installing Symfony, you will need to install Composer in your system. Composer is a dependency manager for PHP that can be used to install PHP dependencies while building the project.
You can install Composer with the following command:
wget https://getcomposer.org/installer -O composer-installer.php
php composer-installer.php --filename=composer --install-dir=/usr/local/bin
Once installed, you should get the following output:
All settings correct for using Composer
Downloading...
Composer (version 1.9.3) successfully installed to: /usr/local/bin/composer
Use it: php /usr/local/bin/composer
Next, change the directory to the /var/www/html and create a new Symfony project with the following command:
cd /var/www/html
composer create-project symfony/website-skeleton symfony5
Next, give proper permissions to the symfony5 directory using the following command:
chown -R apache:apache /var/www/html/symfony5
chmod -R 755 /var/www/html/symfony5
Step 4 – Start Symfony in Development Mode
You can now start Symfony in development mode using the following command:
cd /var/www/html/symfony5
php -S 0.0.0.0:8000 -t public
You should see the following output:
PHP 7.2.11 Development Server started at Thu Feb  6 08:56:29 2020
Listening on http://0.0.0.0:8000
Document root is /var/www/html/symfony5/public
Press Ctrl-C to quit.
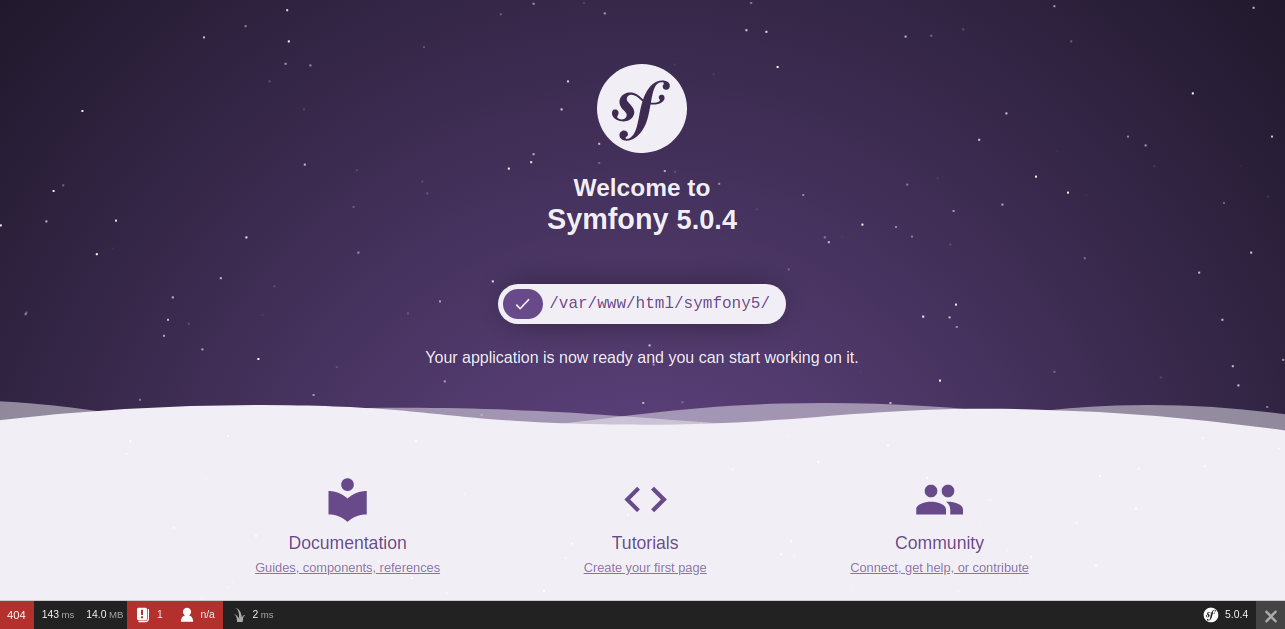
Symfony web server is now started and listening on port 8000. You can access it using the URL http://your-server-ip:8000. You should see the following screen:
You can stop the Symfony web server by pressing CTRL+C on your terminal interface.
Step 5 – Configure Apache for Symfony
Next, you will need to create a new Apache virtual host configuration file for Symfony. You can create it with the following command:
nano /etc/httpd/conf.d/symfony.conf
Add the following lines:
<VirtualHost *:80>
   ServerAdmin admin@example.com
   DocumentRoot "/var/www/html/symfony5/public"
   ServerName symfony.example.com

    <Directory /var/www/html/symfony5/public>
        AllowOverride All
        Order Allow,Deny
        Allow from All
    </Directory>

   ErrorLog "/var/log/httpd/example.com-error_log"
   CustomLog "/var/log/httpd/example.com-access_log" combined

</VirtualHost>
Save and close the file when you are finished. Then, restart the Apache service to apply the changes:
systemctl restart httpd
Step 6 – Configure Firewall
If the firewalld service is enabled in your system, you will need to allow HTTP/HTTPS port through firewalld.
First, check the firewalld service using the following command:
systemctl status firewalld
You should see that firewalld service is not running:
● firewalld.service - firewalld - dynamic firewall daemon
   Loaded: loaded (/usr/lib/systemd/system/firewalld.service; disabled; vendor preset: enabled)
   Active: inactive (dead)
     Docs: man:firewalld(1)
You can start the firewalld service and enable it to start after system reboot with the following command:
systemctl start firewalld
systemctl enable firewalld
Next, allow HTTP and HTTPS port through firewalld with the following command:
firewall-cmd --permanent --add-service=http
firewall-cmd --permanent --add-service=https
Next, reload the firewalld to apply the changes:
firewall-cmd --reload
Step 7 – Access Symfony
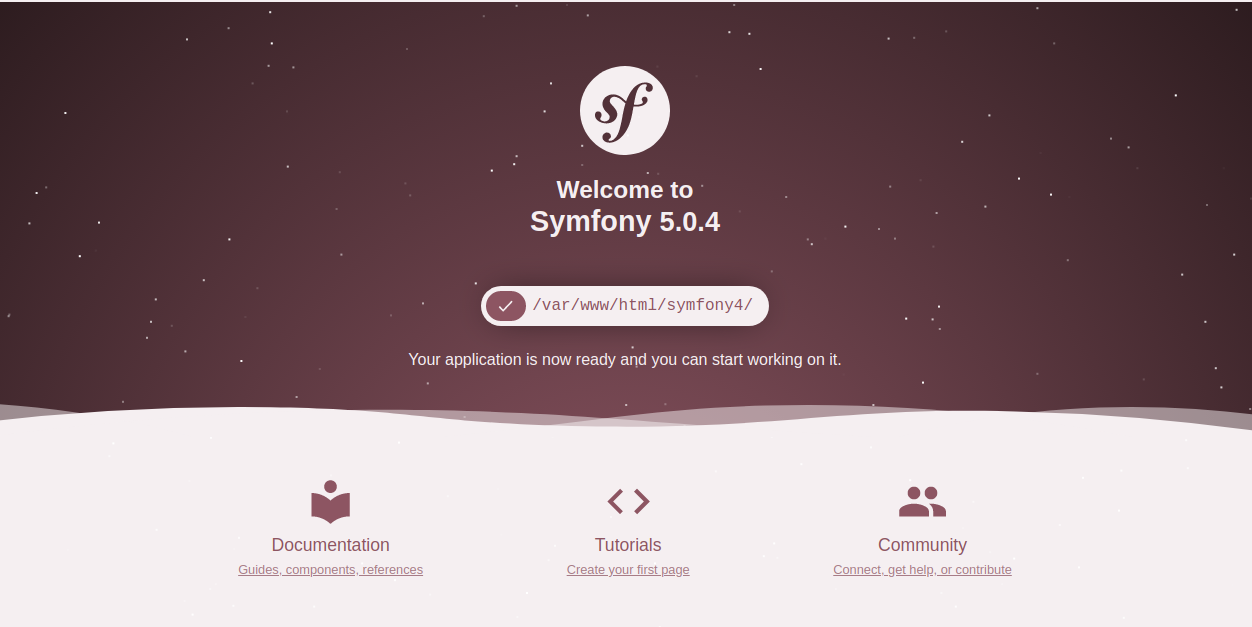
Now, open your web browser and type the URL http://symfony.example.com. You will be redirected to the Symfony default dashboard as shown in the following screen:
Conclusion
Congratulations! you have successfully installed Symfony 5 on CentOS 8 server. You can now start building brilliant applications with Symfony. Get started on Symfony today on a VPS Hosting account from Atlantic.Net!
* This post is for informational purposes only and does not constitute professional, legal, financial, or technical advice. Each situation is unique and may require guidance from a qualified professional.
Readers should conduct their own due diligence before making any decisions.