Table of Contents
Tig is an ncurses-based text-mode interface and repository browser for Git. It is cross-platform and can be installed on various operating systems, including Linux, macOS, and Windows. Tig is a straightforward interface to Git and is used for staging Git commits. It provides a rich set of features. Some of them are listed below:
- View stashes list
- View single file changes
- Browse the commits in the current branch
- Allows to compare two branches
- View the commits for one or more specific branches
This post will show you how to install and use the Tig git repository browser on Oracle Linux 8.
Step 1 – Install Tig
By default, Tig is not included in the Oracle Linux 8 default repository, so you will need to compile it from the source.
First, install the required dependencies using the following command:
dnf update -y
dnf group install "Development Tools"  -y
dnf install ncurses-devel ncurses -y
Next, download the latest version of Tig with the following command:
git clone https://github.com/jonas/tig.git
Next, change the directory to the downloaded manual and compile it with the following command:
cd tig
make
make install
Once Tig is installed, verify the installed version of Tig with the following command:
tig --version
You should get the following output:
tig version 2.5.7
ncursesw version 6.1.20180224
You can see all options available with Tig using the following command:
tig --help
You should see the following output:
tig 2.5.7

Usage: tig        [options] [revs] [--] [paths]
   or: tig log    [options] [revs] [--] [paths]
   or: tig show   [options] [revs] [--] [paths]
   or: tig reflog [options] [revs]
   or: tig blame  [options] [rev] [--] path
   or: tig grep   [options] [pattern]
   or: tig refs   [options]
   or: tig stash  [options]
   or: tig status
   or: tig <      [git command output]

Options:
  +       Select line  in the first view
  -v, --version   Show version and exit
  -h, --help      Show help message and exit
  -C        Start in
Step 2 – Working with Tig
You must clone any Git repository to your local system to use Tig.
Let’s clone the repository using the following command:
git clone https://github.com/hitjethva/linuxbuz
Once the repository is cloned, change the cloned repository using the following command:
cd linuxbuz
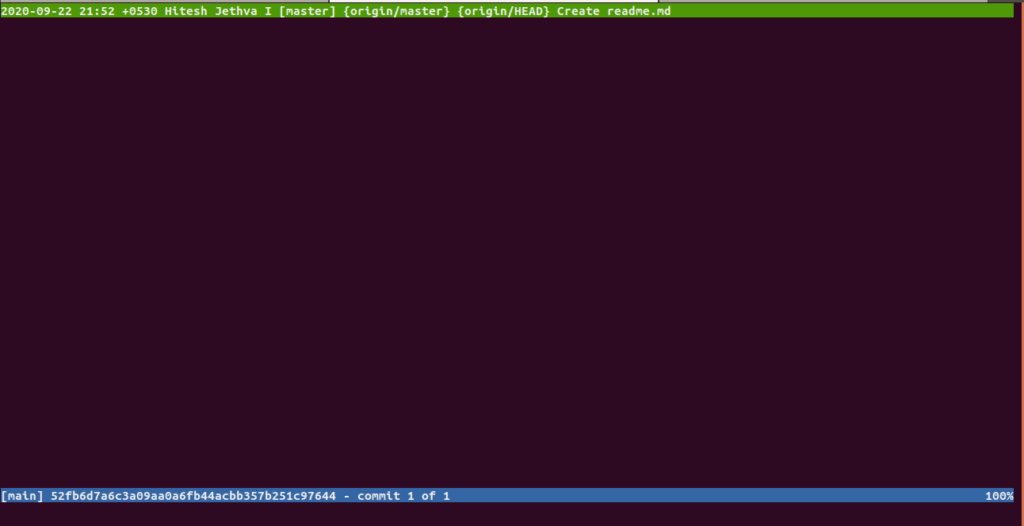
Next, run the Tig command without any argument to display the list of commits on the current branch:
tig
You should see the detailed information on your commits on the following screen:
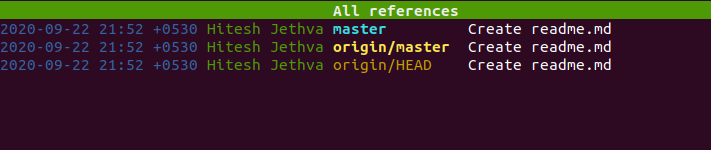
To display all the references of your repository, run the following command:
tig refs
You should see the following screen:
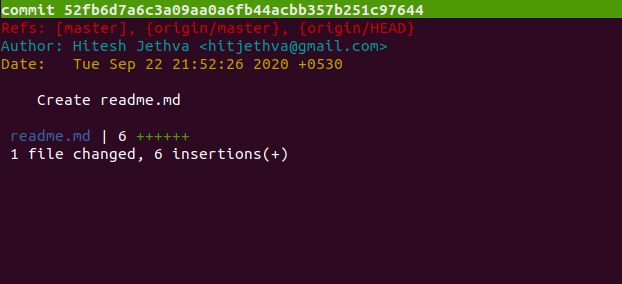
To display a log of activities of the above repository, run the following command:
tig log
You should see the following screen:
If you want to search for a particular pattern from your repository, run the following command:
tig grep linux
You should see the following screen:
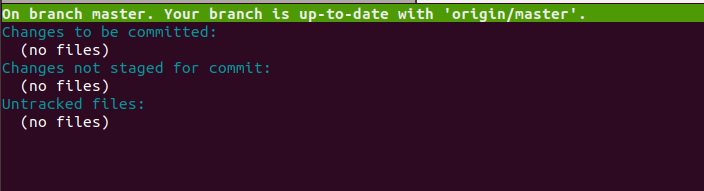
To display the status of your git repository, run the following command:
tig status
You should see the next screen:
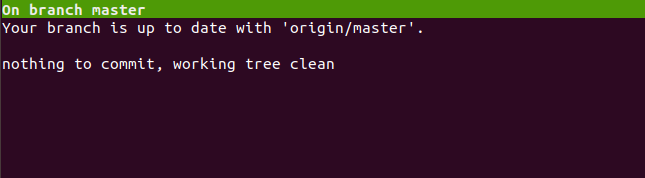
To put Tig in Pager mode, run the following command:
git status | tig
You should see the next screen:
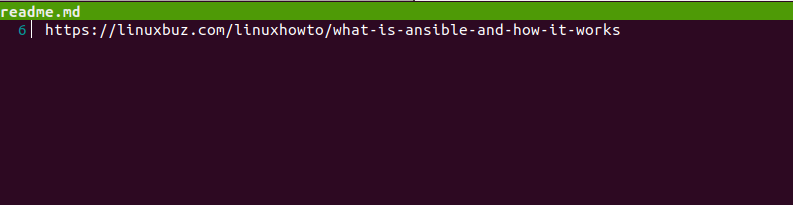
To find out who made a change to a file, run the following command:
tig blame readme.md
You should see the next screen:

Conclusion
The above guide taught you how to install and use the Tig git repository browser on Oracle Linux 8. You can easily track and manage your Git repository from the command-line interface. Try it on VPS hosting from Atlantic.Net!