Introduction
Git is a version-control system. It allows many files to be maintained, changed, backed up, and shared while automatically keeping records of all previous versions. These file types include, but are not limited to: code files, documents, contracts, HTML and CSS files, and more. Anything that is text-based is usable with Git.
Why Use Git?
Have you ever updated a program, a website, or a document only to wish that you had the previous version on hand? Maybe your changes broke the program or website, maybe you cut-and-pasted over some vial information. Either way, a timeline of changes would save you time and effort, which is exactly what the Git protocol was built for.
Additionally, Git can be set up to create automatic backups of any file when saving (“committing”) a file or change to the system. It’s a rapid and lightweight system, as well: the Git protocol only saves the changes you’ve made to each file, not each file individually.
Finally, Git is the industry standard when working with code. It allows multiple users to access and edit the same files without conflict, to bring a local copy (“clone”) of a project to a user’s computer, create a new copy for testing purposes that doesn’t affect the original (“branch”), or to create an entirely new version (“fork”) of your–or someone else’s–program for editing with a single click or command. You can even bring the changes in a branch back into the original (“merge”).
Installing a Git Client
Okay, to get started with Git, you’ll need to install some software. There are many clients out there, but we’re going to focus on one for each major operating system.
Windows Installation
Go to msysgit.github.io, and click “Download” to install the program.
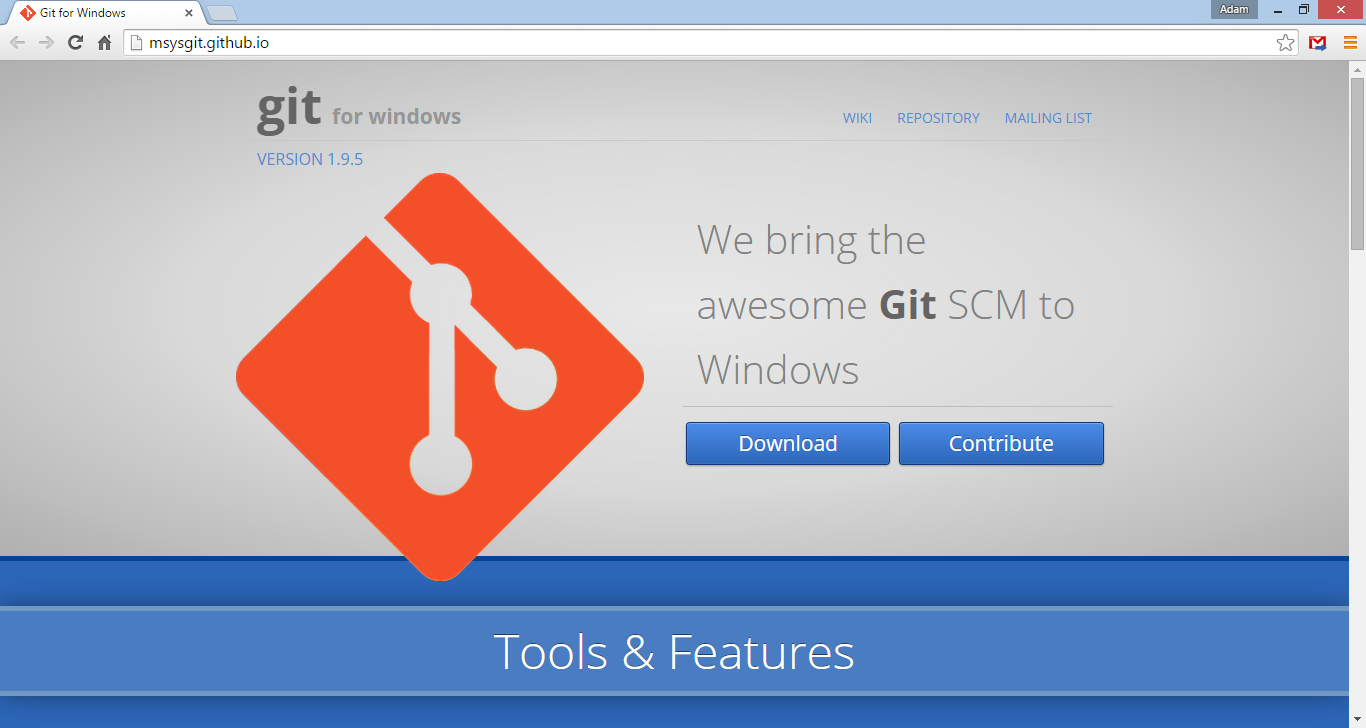
Windows Git client download page
Mac OSX Installation
SourceForge hosts the Max OSX installer. Click the version that matches your version of OSX to download, and then install the program.

Mac OSX Git client download page
Linux Installation
For Debian/Ubuntu:
sudo apt-get install git
For CentOS/RedHat/Fedora:
sudo yum install git
For other Linux or Unix distributions, check the package installation options here.
Understanding Git
Before we get into the commands, we should review some of the major features and terminology used with Git.
Repository: The main database where all of your files are stored for a given project.
Index (Staging Area): The temporary holding space for the file changes you will be committing to the Repository.
HEAD: Points to a current branch where your changes will be committed.
Note: HEAD is a command and a pointer within the git system. It is used to demarcate the ‘head’, a marker which indicates to the system the current branch you’d like to edit.
Blob: the name for a file in Git.
Tag: A note identifying the version number of a document or piece of code.
Message: A description of changes made with a commit (file updates or tags)
History: A record of all commits made to the branch or repository.
Using Git
Open the Git bash program you installed above:
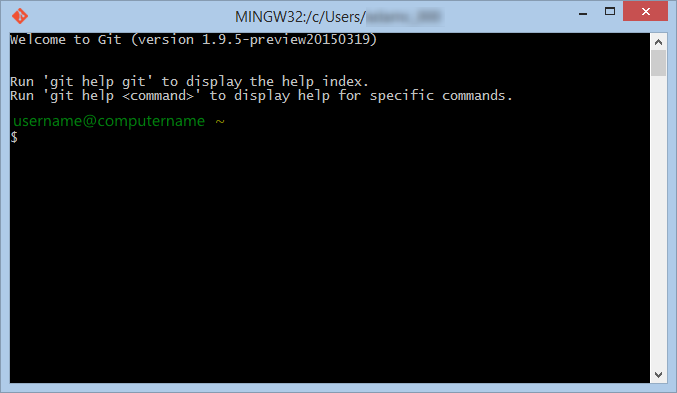
Git bash in Windows
If you would like to use something other than the default folder to store your repository, create the new folder, and then navigate your Git client to the correct folder.
Example of navigating to a folder:
(Windows)
cd C:/Users/username/foldername/(Linux/Mac)
cd /Users/username/foldernameWhere
usernameis your user name on the computer, andfoldernameis the name of the folder you created.
Creating a Git Repository
One way to get started is to create a new repository.
To create a new repository, enter the command:
git init
Cloning a Git Repository
Another way to get started is to clone another, existing repository. To clone an existing repository from GitHub (a popular site for storing and sharing projects using Git, discussed further below), enter the command:
git clone git://github.com/repositoryname
To clone a different online repository (to which you have access), enter the command:
git clone username@host:/path/to/repository.git
Committing Git Repositories
Once you’ve made changes and would like to add those changes to your repository, there is a short process you will follow:
- Place files to commit in the Index (Staging Area)
- Commit to the local repository
- Push the changes to the remote repository (if working with a remote repository).
Index
You need to place the files you’ll be committing each round in the Index (or Staging Area) prior to updating. Your Git client will only update those files that have been placed there. To place a file in the Index, enter the command:
git add filename
Note: You can use a period (.) in place of filename to add all of the current files in the directory.
git add .
Commit
To commit the added files to your local repository enter the command:
git commit -m "message"
Where message is a description of your commit changes. Make sure to include quotation marks.
Tip:
While we’re here, let’s touch on commits and messages. We saw an example above, adding all files to a commit. However, the best practice when using Git is to commit only a set of related changes each time. Commits should be small, discrete chunks that can be explained with a short message. This is what makes version control (the reason for Git’s existence) useful. Small changes can be undone if they cause problems or are later found to be unnecessary or in conflict with other changes. Committing large blocks of unrelated changes makes it difficult to identify what is causing a problem or bug, should one occur. A good rule of thumb: if it takes more than a sentence or two to describe your commit, you need to commit smaller pieces.
Push
Now that your changes have been committed, you can push them to a remote repository (if you are using a remote repository):
git push origin master
Pushing to a remote repository allows other users to access and modify the changes you’ve made.
Creating, Using, and Merging Git Branches
We’ve discussed branches briefly, but let’s review them.
A branch is a separate line of thought for your content or program. For instance, if you’d like to consider a new color palette for a website, you could create one or more branches of the website and test your various color palette concepts without affecting the Master. If you settled on a new orange theme, you could then merge the “orange” branch back into the Master and replace the old palette. Let’s see how this works.
To create a new branch that will house your orange color palette, enter:
git checkout -b orange
checkout is a Git command that switches between branches. The -b option creates a new branch with the name following it–in this case, “orange”.
Note: Make sure you’ve saved any work you’ve done in your editor before creating a new branch to avoid losing it.
If you’d like to switch back to working on the Master branch, enter:
git checkout master
Note: Git requires that you commit all changes before allowing you to switch branches.
In this example, we’ll be working with that new color palette, so we’ll stay with the new branch.
You’ll commit the branch with the same command as the Master branch.
git commit -a -m "branch demonstrating an orange palette"
The -a flag automatically adds all tracked files-–that is, all files that were included in the last commit that have been modified.
If you’d like to push your orange branch to the remote repository, use:
git push origin orange
If you’re satisfied with your testing and would like to include the changes in your primary version (your Master branch), you’ll want to merge.
First, checkout to your Master branch.
git checkout master
Then, use the merge command to update the Master with your “orange” branch information.
git merge orange
After the merge, the branch still exists but is no longer needed. Delete the “orange” branch using the -d option:
git branch -d orange
Conflicts When Merging
If you have two or more branches that have edits to the same file, you may have a conflict when merging them successively. An example of a conflict between a “test layout” branch of your website and your “orange” branch you recently merged into the Master might look like this:
$ git merge orange
<<<<<<< HEAD:index.html
<div id="footer">contact : info@mywebsite.com</div>
=======
<div id="footer"> contact us at support@mywebsite.com</div>
>>>>>>> test-layout:index.html
You will be responsible for changing the two files to match in the conflict areas, then running the command to finalize the merge:
git add index.html
You can always compare branches prior to a merge by utilizing the diff command.
git diff <one-branch> <another-branch>
Pulling & Fetching with Git
We have gone over how to push changes to a remote repository, but what if you’re working with others and you need to access the changes they’ve made? That’s where the pull command comes in.
Pulling retrieves any changes made to the remote repository since you last cloned or pulled it and copies the changes to your local repository.
git pull
If you want remote updates without automatically changing your local copy to reflect the changes, use fetch:
git fetch
You then have a chance to review changes and merge the updates into your Master.
Forking & GitHub
When using and learning Git, you will come across the term “fork” or “forking”. Forking is merely cloning someone else’s repository into your own space, where you can modify it and create your own version without disrupting theirs, thus creating an independent version or “fork”.
You will also come across the name GitHub. With GitHub, forking is made easy and can be done with the click of a button:

Fork button on GitHub
Primarily billed as a collaborative tool, GitHub is a service with which you can back up and share your repositories, or contribute and fork other people’s projects. There are other services similar to GitHub, but GitHub remains one of the most popular options.
To download the client or learn more, go to Github.
Further Resources
There are many sources from which to learn advanced options in Git. One of the most thorough sources is the Pro Git book, available online.
And there’s always the official Git documentation.
GitHub also offers a playlist of video lessons, as well.
Atlantic.Net
Atlantic.Net offers VPS hosting as well as managed hosting services which include a layer of business-essential managed services to your hosting packages. Contact us today for more information.
* This post is for informational purposes only and does not constitute professional, legal, financial, or technical advice. Each situation is unique and may require guidance from a qualified professional.
Readers should conduct their own due diligence before making any decisions.