Table of Contents
Verified and Tested 02/04/2021
Introduction
This guide will walk you through setting up a Minecraft (version 1.16.5) server on CentOS 7 64bit with nifty startup and shutdown scripts for easy management.
Setting up a Minecraft Server on CentOS 7
First, we install our prerequisite software:
yum install nano java-1.8.0-openjdk screen wget -y
Now, we create and enter the directory that the server will reside in:
mkdir /Minecraft
cd /Minecraft/
Next, we download the actual Minecraft server application and make it executable:
wget https://launcher.mojang.com/v1/objects/1b557e7b033b583cd9f66746b7a9ab1ec1673ced/server.jar
chmod +x server.jar
Agree to the EULA that you definitely read:
echo 'eula=true' > eula.txt
The next steps are to create a handy script that allows us to start the server without remembering any arbitrary Java or screen CLI syntax:
echo 'cd /Minecraft' > /usr/bin/startcraft
echo '/usr/bin/screen -d -m sh -c "/usr/bin/java -Xmx768M -Xms768M -jar /Minecraft/server.jar nogui"' >> /usr/bin/startcraft
Depending on the size of the server, you may want to adjust the “Xmx” and “Xms” values. These are the amount of RAM allocated to the Minecraft server instance. Mojang recommends 1GB of dedicated RAM, but you can get away with less if there will be very few people on at once.
If you end up upgrading the server in the future, or just wish to change the value after following this tutorial, simply use “nano” to edit the startcraft command:
nano /usr/bin/startcraft
Now we make “startcraft” executable:
chmod +x /usr/bin/startcraft
Now let’s test that this half of the setup is working:
startcraft
screen –r
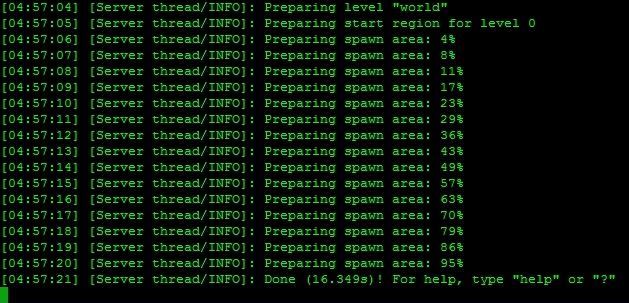
Sample Output
You should now see some text detailing that the server is starting/has started. Use Control + A then D to detach from the screen.
For the final step of the basic setup, we open up the default Minecraft port on the firewall:
firewall-cmd --permanent --zone public --add-port 25565/tcp
To stop the server process gracefully, we would need to enter the screen session:
screen –r
Although we are not at a prompt, we can still type Minecraft server commands here (/give, /op, etc). The command to stop the server is simply “stop.” When it has completed the shutdown process, the screen session will terminate. To run the server once again, just type “startcraft”
Alternatively, we can setup a simple script to inject the “stop” command into the screen session:
echo 'screen -p 0 -X stuff "stop$(printf \\r)"' > /usr/bin/stopcraft chmod +x /usr/bin/stopcraft
To stop the server now, simply run “stopcraft” anytime:
stopcraft
Now you can start and stop the server with single commands without ever having to type out java stuff or jump into screen!
Don’t forget to give your username OP status. This can be done without touching screen with the following command:
screen -p 0 -X stuff "op USERNAME$(printf \\r)"
Replace “USERNAME” with your username.
Once you have it, you can perform any commands including /op while in-game. Depending on the circumstances, you may need to log into the server in the Minecraft game before you can OP yourself.
If you wish to have the “startcraft” script run when the server starts, simply run this command:
echo '/usr/bin/startcraft' >> /etc/rc.d/rc.local
The next step you will likely want to take is to point a DNS record to your server’s IP for easy connecting/distribution. You can read about using our cloud DNS manager here: https://www.atlantic.net/community/howto/manage-cloud-dns-records/
Finished! This page details all of the options you can modify in your “/Minecraft/server.properties” file: Server properties
Happy crafting! Be sure to contact us for all of your VPS hosting needs!