LEMP is an open-source model of web service stacks made up of four components: Linux, Nginx, MariaDB and PHP. A LEMP stack is used for developing and deploying web applications. Most of web applications are run on a LEMP stack, so it is a very important that a system administrator be able to secure a LEMP stack with SSL. If you are a new website developer or blogger looking for improved organic web traffic, then it is essential to have an SSL enabled web server for SEO (search engine optimization).
Let’s Encrypt is a free and open-source certificate authority that provides free SSL certificates. Let’s Encrypt is a non-profit certificate authority which aims to create a more secure Web by promoting widespread adoption of HTTPS.
In this tutorial, we will learn how to secure a LEMP server with Let’s Encrypt free SSL on Ubuntu 18.04 VPS.
Step 1 – Install LEMP on the Server
First, install LEMP on the server by running the following command:
apt-get install nginx mariadb-server php php-common -y
Once all the packages are installed, start Nginx web service and enable it to start after system reboot with the following command:
systemctl start nginx
systemctl enable nginx
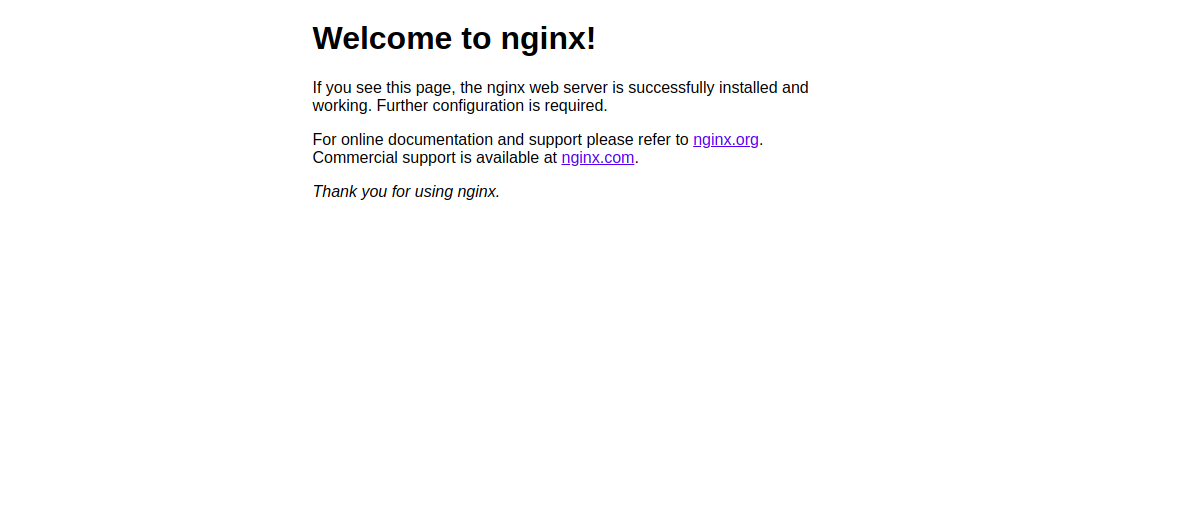
Next, open your web browser and type the URL http://example.com. You should see the Nginx default page:
Step 2 – Create an Nginx Site for Your Domain
Next, you will need to create an Nginx virtual host for your domain. We will install Let’s Encrypt free SSL on this site later.
You can create it with the following command:
nano /etc/nginx/sites-available/example.com.conf
Add the following lines:
server {
   listen 80;

   root /var/www/html;

   index index.html;

   server_name example.com;

   location / {
      try_files $uri $uri/ =404;
   }

}
Save and close the file. Then, enable an Nginx virtual host with the following command:
ln -s /etc/nginx/sites-available/example.com.conf /etc/nginx/sites-enabled/
Next, check Nginx for any syntax errors with the following command:
nginx -t
If everything goes well, you should see the following output:
nginx: the configuration file /etc/nginx/nginx.conf syntax is ok
nginx: configuration file /etc/nginx/nginx.conf test is successful
Finally, restart Nginx service to apply the configuration changes:
systemctl restart nginx
Next, create an index.html file for your domain:
nano /var/www/html/index.html
Add the following lines:

<html>
Nginx web server is now secured with Let's Encrypt free SSL
</html>
Save and close the file. Then, change the ownership of the file to www-data with the following command:
chown www-data: /var/www/html/index.html
Step 3 – Install Let’s Encrypt on Your Domain
Nginx is now installed and running. It’s time to secure it with Let’s Encrypt free SSL.
First, you will need to install Certbot tool to obtain the free SSL certificate from the Let’s Encrypt and install it on your domain. Certbot is a free and full-featured tool that automates the process of obtaining and installing SSL on your domain.
By default, the latest version of Certbot is not available in the Ubuntu 18.04 default repository. So, you will need to add Certbot repository to your system.
You can add the repository using the following command:
add-apt-repository ppa:certbot/certbot
Once the repository is added, update the repository and install Certbot with the following command:
apt-get update -y
apt-get install python-certbot-nginx -y
Once installed, run the following command to obtain and install the certificate for your domain:
certbot --nginx -d example.com
During the installation, you will need to provide your email address and agree to the Terms of Service as shown below:
Saving debug log to /var/log/letsencrypt/letsencrypt.log
Plugins selected: Authenticator nginx, Installer nginx
Enter email address (used for urgent renewal and security notices) (Enter 'c' to
cancel): [email protected]

- - - - - - - - - - - - - - - - - - - - - - - - - - - - - - - - - - - - - - - -
Please read the Terms of Service at
https://letsencrypt.org/documents/LE-SA-v1.2-November-15-2017.pdf. You must
agree in order to register with the ACME server at
https://acme-v02.api.letsencrypt.org/directory
- - - - - - - - - - - - - - - - - - - - - - - - - - - - - - - - - - - - - - - -
(A)gree/(C)ancel: A

- - - - - - - - - - - - - - - - - - - - - - - - - - - - - - - - - - - - - - - -
Would you be willing to share your email address with the Electronic Frontier
Foundation, a founding partner of the Let's Encrypt project and the non-profit
organization that develops Certbot? We'd like to send you email about our work
encrypting the web, EFF news, campaigns, and ways to support digital freedom.
- - - - - - - - - - - - - - - - - - - - - - - - - - - - - - - - - - - - - - - -
(Y)es/(N)o: N
Type N and press Enter to continue. You should see the following output:
Obtaining a new certificate
Performing the following challenges:
http-01 challenge for example.com
Waiting for verification...
Cleaning up challenges
Deploying Certificate to VirtualHost /etc/nginx/sites-enabled/example.com.conf

Please choose whether or not to redirect HTTP traffic to HTTPS, removing HTTP access.
- - - - - - - - - - - - - - - - - - - - - - - - - - - - - - - - - - - - - - - -
1: No redirect - Make no further changes to the webserver configuration.
2: Redirect - Make all requests redirect to secure HTTPS access. Choose this for
new sites, or if you're confident your site works on HTTPS. You can undo this
change by editing your web server's configuration.
- - - - - - - - - - - - - - - - - - - - - - - - - - - - - - - - - - - - - - - -
Select the appropriate number [1-2] then [enter] (press 'c' to cancel):
Here, you will need to select option 1 or 2. Option 1 only downloads the Let's Encrypt certificate and does not change your web server configuration file.
Option 2 will download the Let's Encrypt certificate and configure your webserver config file to redirect all requests to secure HTTPS access.

Please select option 2 and hit Enter. Once the installation has been completed successfully, you should see the following output:

Redirecting all traffic on port 80 to ssl in /etc/nginx/sites-enabled/example.com.conf

- - - - - - - - - - - - - - - - - - - - - - - - - - - - - - - - - - - - - - - -
Congratulations! You have successfully enabled https://example.com

You should test your configuration at:
https://www.ssllabs.com/ssltest/analyze.html?d=example.com
- - - - - - - - - - - - - - - - - - - - - - - - - - - - - - - - - - - - - - - -

IMPORTANT NOTES:
- Congratulations! Your certificate and chain have been saved at:
/etc/letsencrypt/live/example.com/fullchain.pem
Your key file has been saved at:
/etc/letsencrypt/live/example.com/privkey.pem
Your cert will expire on 2019-11-17. To obtain a new or tweaked
version of this certificate in the future, simply run certbot again
with the "certonly" option. To non-interactively renew *all* of
your certificates, run "certbot renew"
- Your account credentials have been saved in your Certbot
configuration directory at /etc/letsencrypt. You should make a
secure backup of this folder now. This configuration directory will
also contain certificates and private keys obtained by Certbot so
making regular backups of this folder is ideal.
- If you like Certbot, please consider supporting our work by:

Donating to ISRG / Let's Encrypt: https://letsencrypt.org/donate
Donating to EFF: https://eff.org/donate-le
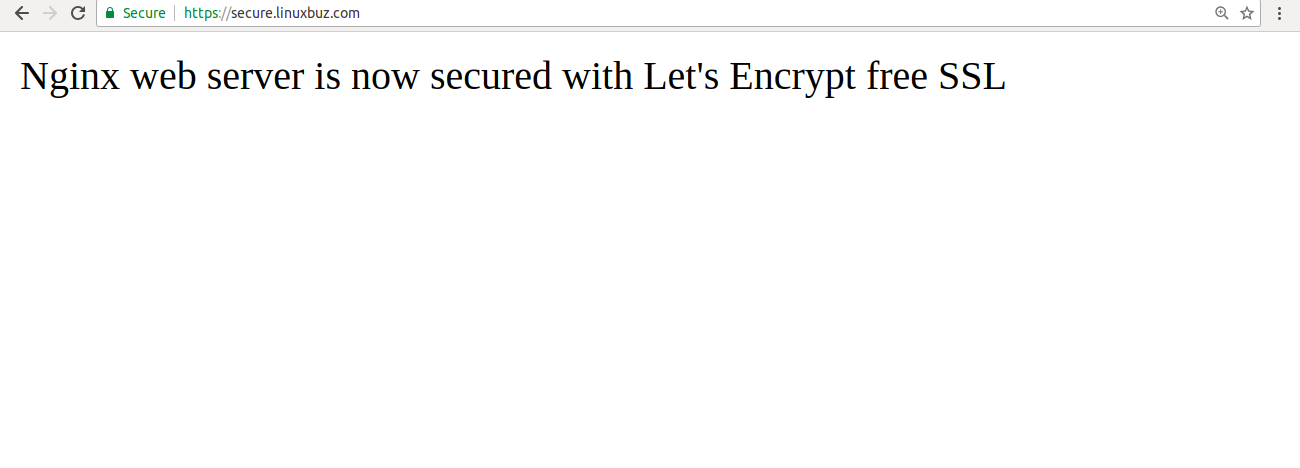
Now, open your web browser and type the URL https://example.com. You will notice that it indicates that your site is secured.
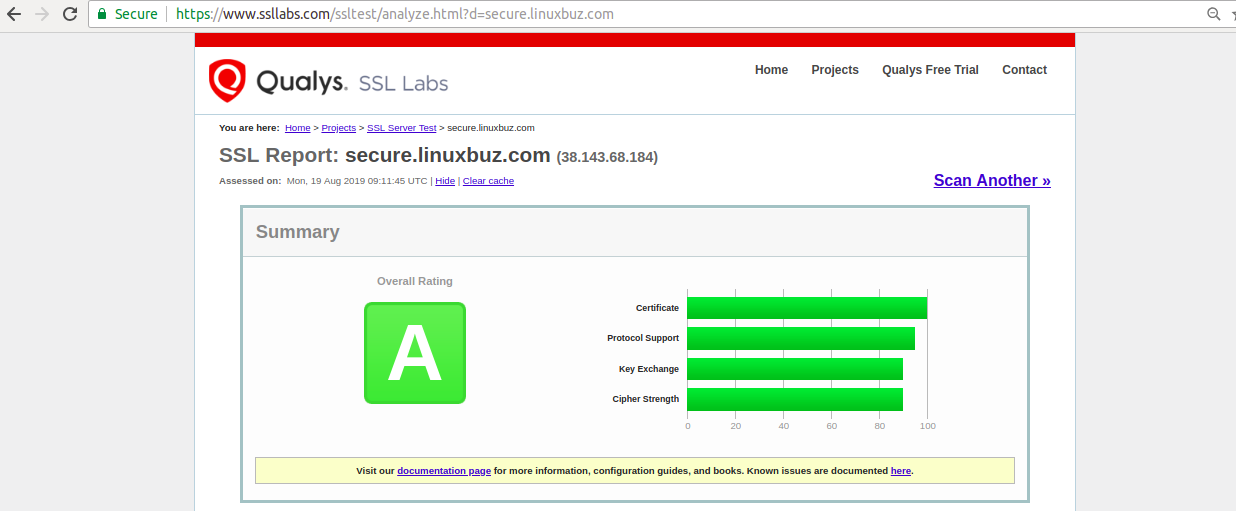
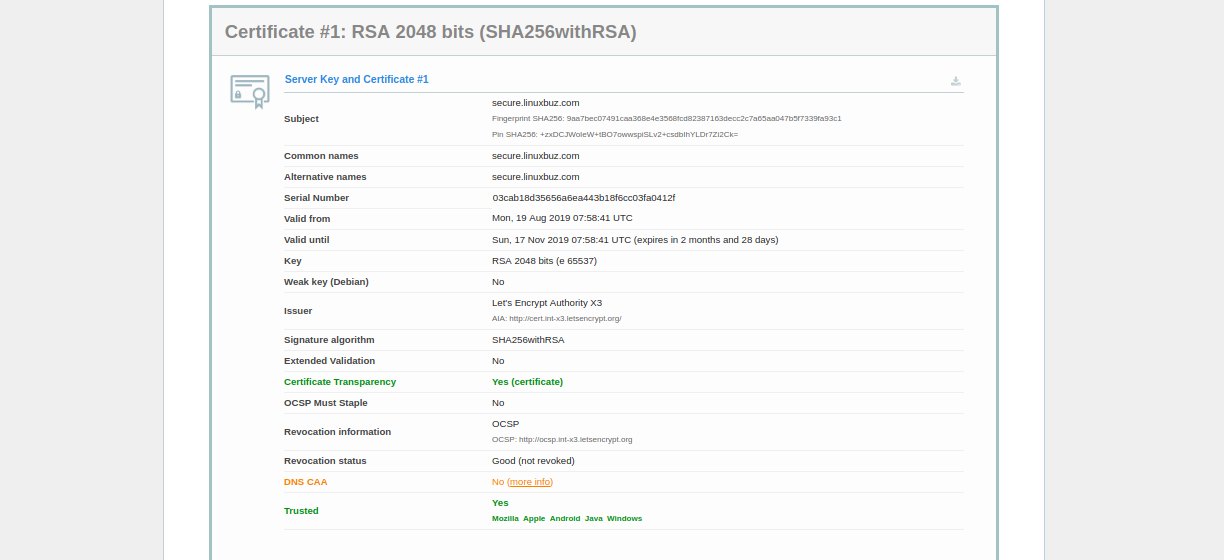
Meanwhile, you can also test your server using the SSL Labs Server Test :

Step 4 – Set Up Let’s Encrypt SSL Certificate Auto-Renewal
By default, a Let’s Encrypt SSL Certificate expires after 90 days. It is recommended to set up a cron job to renew SSL certificate automatically before it expired.
You can set up auto-renewal by editing the crontab file as shown below:
crontab -e
Add the following line:
12 8 * * * root /usr/bin/certbot renew >/dev/null 2>&1
Save and close the file when you are finished.
You can also renew the SSL certificate manually with the following command:
certbot renew --dry-run
If you get an error, then certbot will auto-renew the certificate for your website. If auto-renewal has failed, you will be notified on the specified email address.
Conclusion
In the above article, you have learned how to secure a LEMP server with Let’s Encrypt Free SSL on Ubuntu 18.04. If you’re ready to get started with a virtual private server for hosting your websites, visit Atlantic.Net’s VPS Hosting page to find a hosting package that’s right for you.


