Apache is one of the most reliable and powerful web servers available. Apache is open-source, highly customizable, and comes with many modules that allow you to add additional functionality. It is known for its power and is specially designed for small-to-medium-sized websites.
Using Apache in parallel with Nginx and FastCGI Cache allows you to get the best of both worlds. This setup will improve your web server performance using the strengths of both web server applications. Nginx FastCGI cache works by storing copies of files in a cache so that they can be accessed more quickly.
In this tutorial, we will show you how to setup Nginx FastCGI cache with LAMP Server on Ubuntu 18.04. We will configure Apache as a backend server and Nginx as a frontend server with FastCGI Cache.
Step 1 – Install LAMP Server
First, install the Apache web server, PHP, PHP-FPM and other modules with the following command:
apt-get update -y
apt-get install apache2 php php-fpm libapache2-mod-php7.2 libapache2-mod-fcgid -y
Once all the packages are installed, you will need to enable some required Apache modules so that Apache can work with PHP-FPM.
You can enable them with the following command:
a2enmod actions fcgid alias proxy_fcgi
Next, restart the Apache service to apply the changes.
systemctl restart apache2
Step 2 – Create a Sample Website
First, create a directory for your website with the following command:
mkdir /var/www/html/example.com
Next, create a sample info.php file inside your website directory:
nano /var/www/html/example.com/info.php
Add the following lines:
<?php phpinfo(); ?>
Save and close the file, then change the ownership of your website to www-data user:
chown -R www-data:www-data /var/www/html/example.com
chmod -R 755 /var/www/html/example.com
Once you are finished, you can proceed to the next step.
Step 3 – Configure Apache Web Server
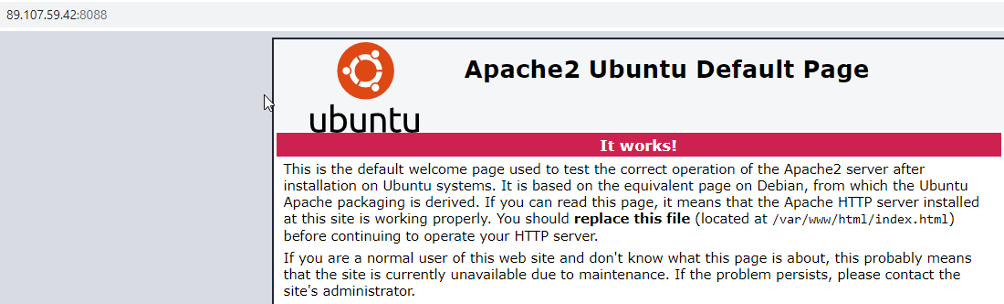
By default, the Apache web server listens on port 80. Here, we will use Apache as a backend server, so change the Apache default port from 80 to 8088.
nano /etc/apache2/ports.conf
Change the line from “Listen 80” to “Listen 8088”:
Listen 8088
Save and close the file when you are finished, then disable the Apache default virtual host file with the following command:
a2dissite 000-default.conf
Next, restart the Apache web server to implement the changes.
systemctl restart apache2
Next, create a new virtual host configuration file to serve your website:
nano /etc/apache2/sites-available/example.com.conf
Add the following content:
<VirtualHost 127.0.0.1:8088>
ServerName 127.0.0.1
ServerAdmin webmaster@localhost
DocumentRoot /var/www/html/example.com
DirectoryIndex info.php

<FilesMatch \.php$>
# 2.4.10+ can proxy to unix socket
SetHandler "proxy:unix:/run/php/php7.2-fpm.sock|fcgi://localhost"
</FilesMatch>

<Directory /var/www/html/>
Options FollowSymLinks Includes ExecCGI
AllowOverride All
Require all granted
</Directory>
CustomLog /var/log/apache2/access.log combined
ErrorLog /var/log/apache2/error.log
</VirtualHost>
Save and close the file when you are finished, then enable the Apache virtual host configuration file with the following command:
a2ensite example.com.conf
Next, restart the Apache service to apply the changes:
systemctl restart apache2
At this point, the Apache web server is configured and listening on localhost on port 8088.
Step 4 – Configure Nginx as a Reverse Proxy with FastCGI Cache
In this section, we will configure Nginx as a reverse proxy for Apache web server and enable FastCGI Cache.
First, install the Nginx web server with the following command:
apt-get install nginx -y
Once installed, create a new Nginx virtual host configuration file:
nano /etc/nginx/sites-available/example.com.conf
Add the following content:
# Enable FastCGI Support
proxy_cache_path /etc/nginx/cache levels=1:2 keys_zone=nginxcache:100m max_size=1g inactive=60m use_temp_path=off;
fastcgi_cache_key "$scheme$request_method$host$request_uri";
add_header X-Cache $upstream_cache_status;

server {
listen 80;
server_name example.com;
access_log /var/log/nginx/access.log;
error_log /var/log/nginx/error.log;
location = /favicon.ico { access_log off; log_not_found off; }
set $skip_cache 0;

#Disable caching for login session, user cookie, POST request, query string, site map and feeds
if ($request_method = POST) {
set $skip_cache 1;
}
if ($query_string != "") {
set $skip_cache 1;
}

# Enable caching for your website.
location / {
proxy_pass http://127.0.0.1:8088;
proxy_set_header Host $host;
proxy_buffering on;
proxy_cache nginxcache;
proxy_cache_use_stale error timeout invalid_header updating http_500 http_502
http_503 http_504;
proxy_cache_valid 200 301 302 60m;
proxy_cache_min_uses 1;
proxy_cache_lock on;

}
}
Save and close the file when you are finished, then enable the Nginx virtual host file with the following command:
ln -s /etc/nginx/sites-available/example.com.conf /etc/nginx/sites-enabled/
Next, restart the Nginx service to apply the changes:
systemctl restart nginx
Step 5 – Test Nginx FastCGI Cache
At this point, Nginx is installed and configured as a reverse proxy for Apache with FastCGI Cache support. It’s time to verify whether the caching is working or not.
Open your web browser and access your Nginx web server using the URL http://example.com and reload the page for a few times.
Next, open your terminal and run the following command to fetch the http response header.
curl -I http://example.com
You should get the following output:
HTTP/1.1 200 OK
Server: nginx/1.14.0 (Ubuntu)
Date: Fri, 24 Apr 2020 17:01:42 GMT
Content-Type: text/html; charset=UTF-8
Connection: keep-alive
Vary: Accept-Encoding
X-Cache: HIT
From the above output, X-Cache: HIT indicates that the response was served from the cache.
Conclusion
In the above guide, we have installed and configured the Apache web server as a backend server and Nginx as a frontend server with FastCGI caching. Hopefully, this setup will dramatically improve the performance of your webserver. Get started with FastCGI caching on your LAMP server with VPS hosting from Atlantic.Net today!
* This post is for informational purposes only and does not constitute professional, legal, financial, or technical advice. Each situation is unique and may require guidance from a qualified professional.
Readers should conduct their own due diligence before making any decisions.