AngularJS is a free and open-source front-end web framework for developing single-page applications. It is based on JavaScript and maintained by Google and a community of individuals and corporations. It is fully extensible and can be used to keep track of all components and check regularly for their updates. It comes with a set of developer tools for developing, updating, and testing code.
Features
- Data-binding
- Routing
- Forms management
- Deep linking
- Dependency injection
- Large community
In this post, we will explain how to install AngularJS on Rocky Linux 8.
Step 1 – Install Node.js
Before installing AngularJS, you will need to install Node.js on your server.
First, install the curl utility with the following command:
dnf install curl -y
Next, add the Node.js repository with the following command:
curl --silent --location https://rpm.nodesource.com/setup_18.x | bash -
Next, install Node.js using the following command:
dnf install nodejs -y
After the installation, verify the Node.js version using the command below:
node -v
You will get the following output:
v18.19.0
Next, update NPM to the latest version using the command below:
npm install npm@latest -g
Next, verify the NPM version using the command below:
npm --version
You should see the following output:
10.2.3
Step 2 – Install Angular CLI
By default, Angular CLI is included in the Rocky Linux default repo. You can install it by running the following command:
npm install -g @angular/cli
Once the Angular CLI is installed, you can verify the installation using the following command:
ng version
You will get the following output:
     _                      _                 ____ _     ___
    / \   _ __   __ _ _   _| | __ _ _ __     / ___| |   |_ _|
   / △ \ | '_ \ / _` | | | | |/ _` | '__|   | |   | |    | |
  / ___ \| | | | (_| | |_| | | (_| | |      | |___| |___ | |
 /_/   \_\_| |_|\__, |\__,_|_|\__,_|_|       \____|_____|___|
                |___/


Angular CLI: 13.0.4
Node: 14.18.2
Package Manager: npm 8.2.0
OS: linux x64

Angular:
...

Package                      Version
------------------------------------------------------
@angular-devkit/architect    0.1300.4 (cli-only)
@angular-devkit/core         13.0.4 (cli-only)
@angular-devkit/schematics   13.0.4 (cli-only)
@schematics/angular          13.0.4 (cli-only)
Step 3 – Create a Sample Application with Angular
Next, use the Angular CLI tool to create a new application named newapp:
ng new newapp
Once the application has been installed, you will get the following output:
✔ Packages installed successfully.

*** Please tell me who you are.

Run

  git config --global user.email "[email protected]"
  git config --global user.name "Your Name"

to set your account's default identity.
Omit --global to set the identity only in this repository.
Next, navigate to the newapp directory and start your application on port 8080:
cd newapp
ng serve --host 0.0.0.0 --port 8080
You will get the following output:
✔ Browser application bundle generation complete.

Initial Chunk Files   | Names         |      Size
vendor.js             | vendor        |   1.94 MB
polyfills.js          | polyfills     | 339.07 kB
styles.css, styles.js | styles        | 212.39 kB
main.js               | main          |  53.19 kB
runtime.js            | runtime       |   6.85 kB

                      | Initial Total |   2.54 MB

Build at: 2021-12-06T13:57:31.158Z - Hash: be63da5bbfd6b41d - Time: 43952ms

** Angular Live Development Server is listening on 0.0.0.0:8080, open your browser on http://localhost:8080/ **


✔ Compiled successfully.
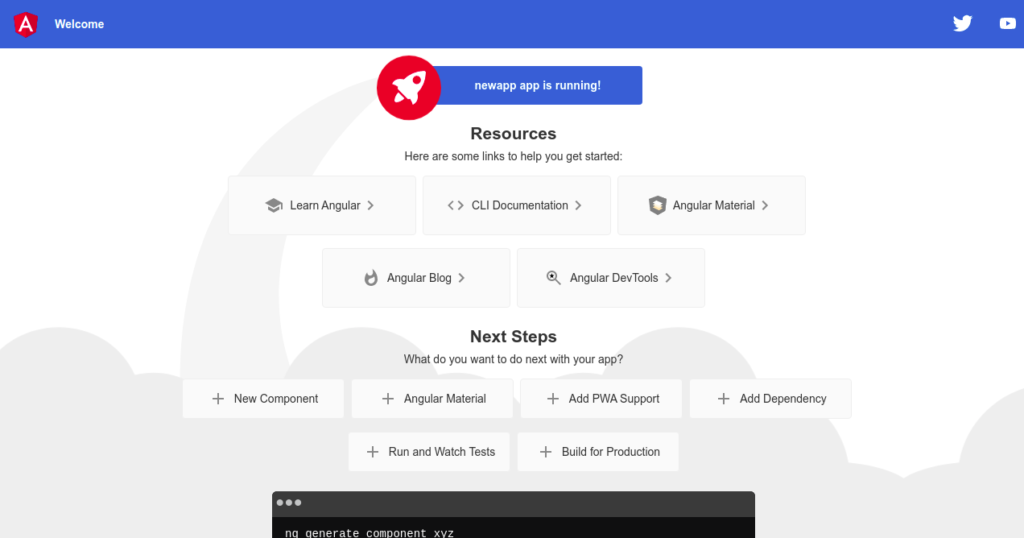
Now, open your favorite web browser and access your Angular application using the URL http://your-server-ip:8080. You should see the Angular Dashboard on the following screen:
Now, go back to your terminal and press CTRL+C to stop the application.
Step 4 – Manage Angular Application with PM2
PM2 is a process manager used to manage the Nodejs-based application. In this section, we will install PM2 and use it to manage the AngularJS application.
First, install PM2 using the NPM as shown below:
npm install -g pm2
Once PM2 is installed, start your Angular Application using PM2:
pm2 start "ng serve --host 0.0.0.0 --port 8080" --name "myapp"
You will get the following output:
[PM2] Spawning PM2 daemon with pm2_home=/root/.pm2
[PM2] PM2 Successfully daemonized
[PM2] Starting /usr/bin/bash in fork_mode (1 instance)
[PM2] Done.
┌─────┬──────────┬─────────────┬─────────┬─────────┬──────────┬────────┬──────┬───────────┬──────────┬──────────┬──────────┬──────────┐
│ id  │ name     │ namespace   │ version │ mode    │ pid      │ uptime │ ↺    │ status    │ cpu      │ mem      │ user     │ watching │
├─────┼──────────┼─────────────┼─────────┼─────────┼──────────┼────────┼──────┼───────────┼──────────┼──────────┼──────────┼──────────┤
│ 0   │ myapp    │ default     │ N/A     │ fork    │ 14200    │ 0s     │ 0    │ online    │ 0%       │ 34.3mb   │ root     │ disabled │
└─────┴──────────┴─────────────┴─────────┴─────────┴──────────┴────────┴──────┴───────────┴──────────┴──────────┴──────────┴──────────┘
To check the status of your application, run:
pm2 status
You should see the following output:
┌─────┬──────────┬─────────────┬─────────┬─────────┬──────────┬────────┬──────┬───────────┬──────────┬──────────┬──────────┬──────────┐
│ id  │ name     │ namespace   │ version │ mode    │ pid      │ uptime │ ↺    │ status    │ cpu      │ mem      │ user     │ watching │
├─────┼──────────┼─────────────┼─────────┼─────────┼──────────┼────────┼──────┼───────────┼──────────┼──────────┼──────────┼──────────┤
│ 0   │ myapp    │ default     │ N/A     │ fork    │ 14200    │ 20s    │ 0    │ online    │ 0%       │ 336.1mb  │ root     │ disabled │
└─────┴──────────┴─────────────┴─────────┴─────────┴──────────┴────────┴──────┴───────────┴──────────┴──────────┴──────────┴──────────┘
To list all running applications, run:
pm2 ls
To stop the running application, run:
pm2 stop myapp
To restart the application, run:
pm2 restart myapp
Conclusion
In the above guide, you learned how to install AngularJS on Rocky Linux 8. You also learned how to manage the Angular App with PM2. You can now start developing Mobile, Web, and Desktop applications using the Angular framework. Try it on dedicated hosting from Atlantic.Net!