SuiteCRM is a free and open-source Customer Relationship Management application written in PHP. It is an alternative to the popular CRM solution SugarCRM. SuiteCRM comes with all the functionalities required by a business with a need for a CRM solution. SuiteCRM offers many features that help you run your business and collaborate with your customers and employees.
Features
- Email marketing
- Social media integration
- Customer support, social CRM, and reporting
- Supports multiple user accounts
- Can be integrated Gmail, Facebook, Twitter, and more
- Task management
In this post, we will show you how to install SuiteCRM with Nginx on Rocky Linux 8.
Step 1 – Install Nginx, MariaDB, and PHP
First, install Nginx and MariaDB server using the following command:
dnf install nginx mariadb-server -y
Once both packages are installed, start and enable the Nginx and MariaDB services:
systemctl start nginx mariadb
systemctl enable nginx mariadb
Next, install the PHP Remi repo package using the command below:
dnf install http://rpms.remirepo.net/enterprise/remi-release-8.rpm -y
Next, disable the default PHP repo and install the PHP Remi repo:
dnf module reset php -y
dnf module install php:remi-7.4 -y
Finally, install PHP with all required extensions using the following command:
dnf install php php-pear php-cgi php-common php-curl php-mbstring php-gd php-mysqlnd php-gettext php-bcmath php-json php-xml php-fpm php-intl php-zip php-gmp php-imap unzip curl git -y
Once all the packages are installed, edit the php.ini file and change some default settings:
nano /etc/php.ini
Change the following lines:
upload_max_filesize = 120M
max_execution_time = 300
date.timezone = UTC
Save and close the file, then edit the PHP-FPM configuration file:
nano /etc/php-fpm.d/www.conf
Change the user and group from www-data to nginx:
user = nginx
group = nginx
Save and close the file, then start the PHP-FPM service and enable it to start at system reboot:
systemctl start php-fpm
systemctl enable php-fpm
Step 2 – Create a Database for SuiteCRM
Next, you will need to create a database and user for SuiteCRM.
First, log in to MariaDB with the following command:
mysql
Once you are logged in, create a database and user with the following command:
CREATE DATABASE suitecrm;
GRANT ALL ON suitecrm.* TO suitecrm@localhost IDENTIFIED by "yourpassword";
Next, flush the privileges and exit from the MariaDB shell:
FLUSH PRIVILEGES;
EXIT;
Step 3 – Install SuiteCRM
First, you will need to install Composer to your system. You can install it using the following command:
wget https://getcomposer.org/installer -O composer-installer.php
php composer-installer.php --filename=composer --install-dir=/usr/local/bin
Next, download the latest version of SuiteCRM with the following command:
wget https://suitecrm.com/files/147/SuiteCRM-8.0/589/SuiteCRM-8.0.0.zip
Next, unzip the downloaded file with the following command:
unzip SuiteCRM-8.0.0.zip -d /var/www/html/suitecrm
Next, change the directory to the downloaded directory and install all the required PHP dependencies:
cd /var/www/html/suitecrm
composer install
Next, set proper ownership and permissions for the SuiteCRM directory:
chown -R nginx:nginx /var/www/html/suitecrm
chmod -R 755 /var/www/html/suitecrm
You will also need to change the ownership of the session directory as shown below:
chown -R nginx:nginx /var/lib/php/session/
Once you are done, you can proceed to the next step.
Step 4 – Configure Nginx for SuiteCRM
Next, you will need to create an Nginx virtual host configuration file for SuiteCRM. You can create it using the command below:
nano /etc/nginx/conf.d/suitecrm.conf
Add the following lines:
server {
    server_name suitecrm.example.com;
    client_max_body_size 20M;
    root /var/www/html/suitecrm/public;


location ~ \.php$ {
    fastcgi_pass unix:/var/run/php-fpm/www.sock;
    fastcgi_index index.php;
    fastcgi_param SCRIPT_FILENAME $document_root$fastcgi_script_name;
    include fastcgi_params;
  }
error_log /var/log/nginx/suitecrm_error.log;
access_log /var/log/nginx/suitecrm_access.log;

}
Save and close the file, then edit the nginx.conf file and set the hach_bucket size:
nano /etc/nginx/nginx.conf
Add the following line below the line http {:
server_names_hash_bucket_size 64;
Save and close the file, then restart the Nginx service to apply the configuration changes:
systemctl restart nginx
Step 5 – Access SuiteCRM
Now, open your web browser and access SuiteCRM using the URL http://suitecrm.example.com. You should see the License agreement screen:
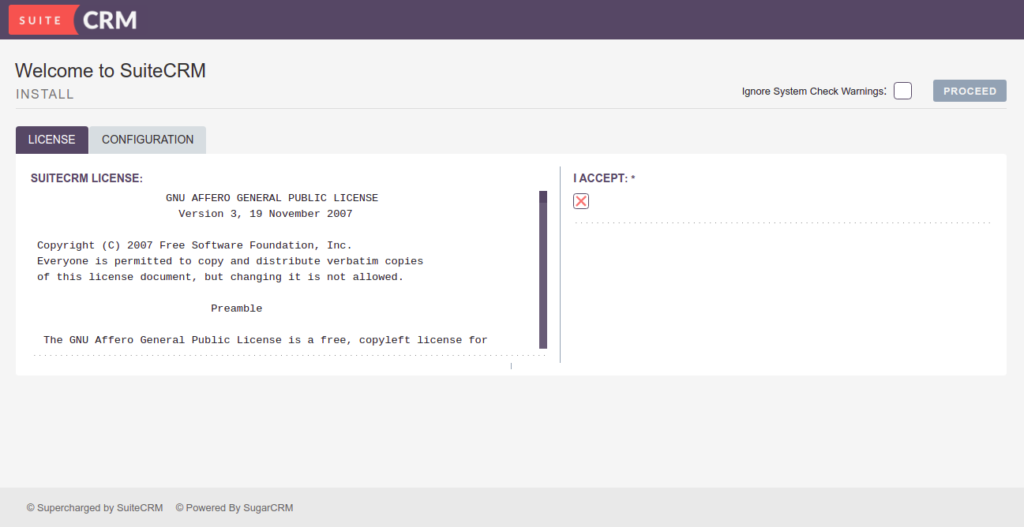
Accept the License Agreement, then click on the CONFIGURATION tab. You should see the database setup screen:
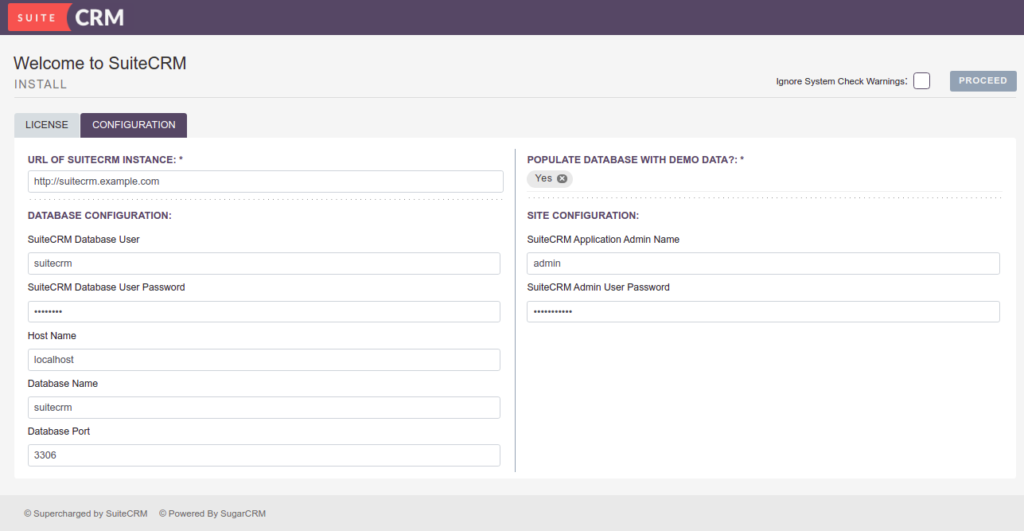
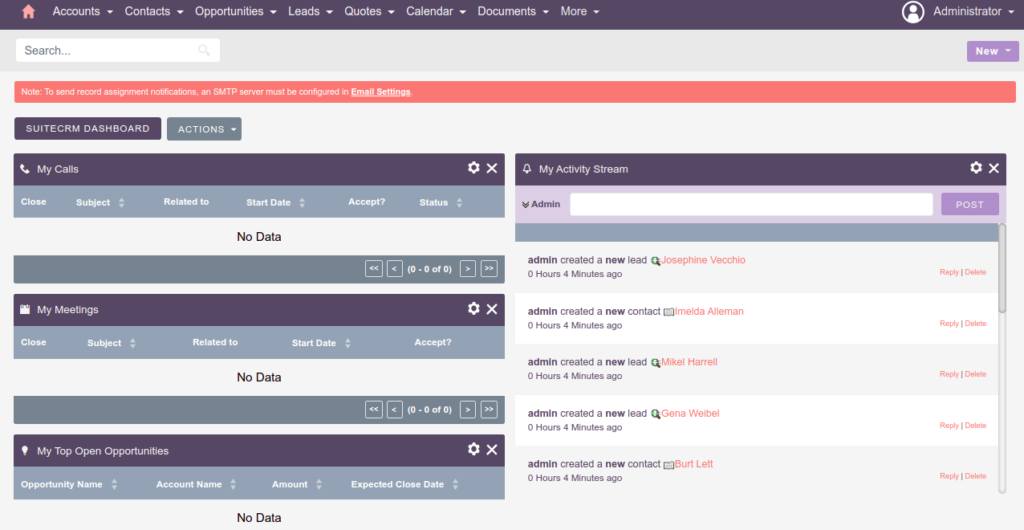
Provide your server URL, database configuration, admin username, and password, then click on the PROCEED button. You should see the SuiteCRM login screen:

Provide your admin username and password and click on the Log In button. You should see the SuiteCRM dashboard on the following screen:
Conclusion
Congratulations! You have successfully installed SuiteCRM on Rocky Linux 8. You can now explore the SuiteCRM and implement it in your organization to help you run your business and collaborate with your customers. Try it on dedicated hosting from Atlantic.Net!