SonarQube is an open-source code quality checking platform developed by SonarSource. It detects bugs and vulnerabilities in your code automatically and provides reports for the code quality of your project. It can analyze code in 27 different programming languages including C, C++, Java, Javascript, PHP, Go, Python, and many more. SonarQube helps developers to reduce the code size, complexity, and maintenance time and make it easier to read and understand.
In this post, we will show you how to install SonarQube on Rocky Linux 8
Step 1 – Getting Started
First, you will need to tweak the kernel settings per SonarQube requirements. You can do it editing /etc/sysctl.conf file.
nano /etc/sysctl.conf
Add the following lines:
vm.max_map_count=262144
fs.file-max=65536
Save and close the file, then run the following command to apply the changes:
sysctl -f
Next, install Java JDK using the following command:
dnf install java-11-openjdk-devel unzip -y
After the installation, verify the Java version using the command given below:
java --version
You should see the following output:
openjdk 11.0.13 2021-10-19 LTS
OpenJDK Runtime Environment 18.9 (build 11.0.13+8-LTS)
OpenJDK 64-Bit Server VM 18.9 (build 11.0.13+8-LTS, mixed mode, sharing)
Step 2 – Install and Configure PostgreSQL
SonarQube uses PostgreSQL as a database backend, so you will need to install a PostgreSQL database on your server.
First, install the PostgreSQL repo using the following command:
dnf -y install https://download.postgresql.org/pub/repos/yum/reporpms/EL-8-x86_64/pgdg-redhat-repo-latest.noarch.rpm
Next, disable the default PostgreSQL module and install the latest version of PostgreSQL with the following command:
dnf -qy module disable postgresql
dnf install postgresql13 postgresql13-server
Once the installation is completed, initialize the PostgreSQL database using the following command:
/usr/pgsql-13/bin/postgresql-13-setup initdb
Next, start and enable the PostgreSQL service with the following command:
systemctl enable --now postgresql-13
Next, log in to PostgreSQL with the following command:
su - postgres
psql
Next, create a database and user for SonarQube using the following command:
create user sonar;
create database sonardb owner sonar;
Next, grant all the privileges to the SonarQube database and set the user password:
grant all privileges on database sonardb to sonar;
ALTER USER sonar WITH ENCRYPTED password 'securepassword';
Next, exit from PostgreSQL using the following command:
\q
exit
Step 3 – Install and Configure SonarQube
First, create a dedicated user for SonarQube using the following command:
useradd sonar
Next, download the latest version of SonarQube with the following command:
wget https://binaries.sonarsource.com/Distribution/sonarqube/sonarqube-9.2.2.50622.zip
After the successful download, unzip the downloaded file using the following command:
unzip sonarqube-9.2.2.50622.zip
Next, move the extracted directory to /opt with the following command:
mv sonarqube-9.2.2.50622 /opt/sonarqube
Next, edit the SonarQube configuration file:
nano /opt/sonarqube/conf/sonar.properties
Define your SonarQube database, web host, JVM option, and data directory:
sonar.jdbc.username=sonar
sonar.jdbc.password=securepassword
sonar.jdbc.url=jdbc:postgresql://localhost/sonardb

sonar.web.host=0.0.0.0
sonar.web.port=9000

sonar.web.javaOpts=-Xmx512m -Xms128m -XX:+HeapDumpOnOutOfMemoryError
sonar.search.javaOpts=-Xmx512m -Xms512m -XX:MaxDirectMemorySize=256m -XX:+HeapDumpOnOutOfMemoryError

sonar.path.data=data
sonar.path.temp=temp
Save and close the file, then change the ownership of the /opt/sonarqube:
chown -R sonar:sonar /opt/sonarqube
Next, edit the wrapper.conf file and define your Java path:
nano /opt/sonarqube/conf/wrapper.conf
Change the following line:
wrapper.java.command=/usr/local/jdk-11.0.2/bin/java
Save and close the file.
Step 4 – Create a Systemd Service File for SonarQube
Next, you will need to create a systemd service to manage the SonarQube service. You can create it using the following command:
nano /etc/systemd/system/sonarqube.service
Add the following lines:
[Unit]
Description=SonarQube service
After=syslog.target network.target

[Service]
Type=forking
ExecStart=/opt/sonarqube/bin/linux-x86-64/sonar.sh start
ExecStop=/opt/sonarqube/bin/linux-x86-64/sonar.sh stop
LimitNOFILE=65536
LimitNPROC=4096
User=sonar
Group=sonar
Restart=on-failure

[Install]
WantedBy=multi-user.target
Save and close the file, then reload the systemd daemon to apply the changes:
systemctl daemon-reload
Next, start and enable the SonarQube service:
systemctl start sonarqube
systemctl enable sonarqube
Next, verify the SonarQube service status using the command given below:
systemctl status sonarqube
You should see the following output:
● sonarqube.service - SonarQube service
   Loaded: loaded (/etc/systemd/system/sonarqube.service; disabled; vendor preset: disabled)
   Active: active (running) since Thu 2021-12-16 15:25:55 UTC; 5s ago
  Process: 6372 ExecStart=/opt/sonarqube/bin/linux-x86-64/sonar.sh start (code=exited, status=0/SUCCESS)
 Main PID: 6421 (wrapper)
    Tasks: 52 (limit: 23695)
   Memory: 680.4M
   CGroup: /system.slice/sonarqube.service
           ├─6421 /opt/sonarqube/bin/linux-x86-64/./wrapper /opt/sonarqube/bin/linux-x86-64/../../conf/wrapper.conf wrapper.syslog.ident=Sona>
           ├─6423 java -Dsonar.wrapped=true -Djava.awt.headless=true --add-exports=java.base/jdk.internal.ref=ALL-UNNAMED --add-opens=java.ba>
           └─6451 /usr/lib/jvm/java-11-openjdk-11.0.13.0.8-3.el8_5.x86_64/bin/java -XX:+UseG1GC -Djava.io.tmpdir=/opt/sonarqube/temp -XX:Erro>

Dec 16 15:25:54 rockylinux systemd[1]: Starting SonarQube service...
Dec 16 15:25:54 rockylinux sonar.sh[6372]: Starting SonarQube...
Dec 16 15:25:55 rockylinux sonar.sh[6372]: Started SonarQube.
Dec 16 15:25:55 rockylinux systemd[1]: Started SonarQube service.
At this point, SonarQube is started and listens on port 9000. You can check it using the following command:
ss -antpl | grep 9000
You should see the following output:
LISTEN 0 25 *:9000 *:* users:(("java",pid=6541,fd=13))
Step 5 – Access SonarQube Web Interface
Now, open your web browser and access the SonarQube web interface using the URL http://your-server-ip:9000. You should see the SonarQube login page:
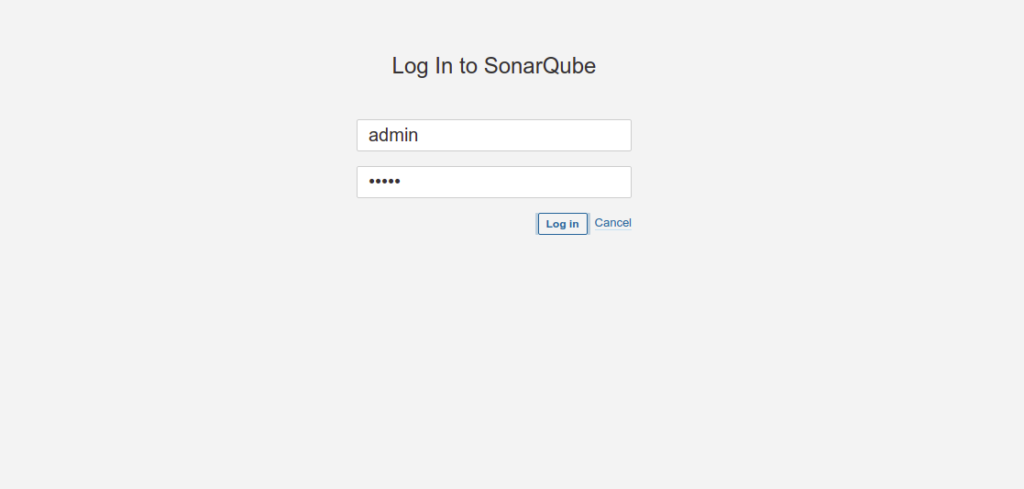
Provide default admin username and password as admin/admin and click on the Log in button. Once you are logged in, you should see the password update page:
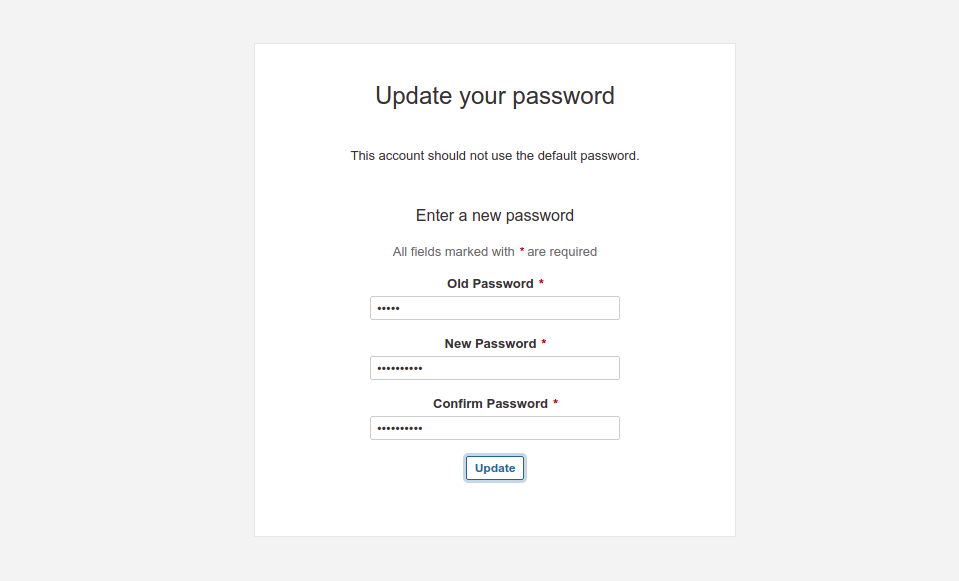
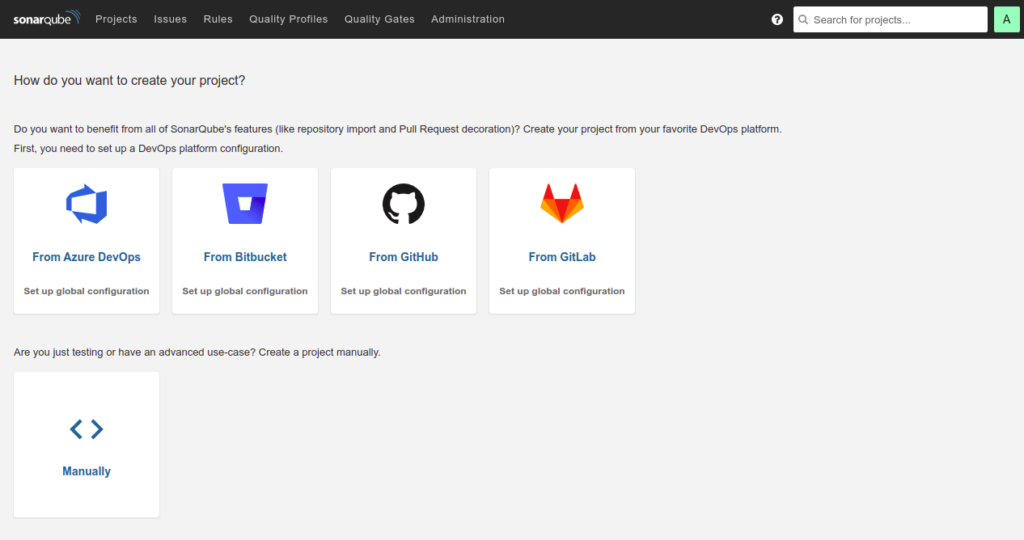
Change the default admin password and click on the Update button. You should see the SonarQube dashboard on the following page:
Conclusion
Congratulations! You have successfully installed SonarQube on Rocky Linux 8. You can now create your project manually or import from GitHub, GitLab, or Azure and start analyzing your code from the web browser. Try it on dedicated hosting from Atlantic.Net!