Mailtrain is a free, open-source, self-hosted newsletter application and email marketing tool. It is built on Node.js and uses MySQL/MariaDB as a database backend. Mailtrain is not only a newsletter app, but also provides other features including list management, a template editor, RSS campaigns, custom fields, and much more. You can integrate Mailtrain with an external SMTP server or use a local SMTP server to send emails, and you can use the RSS feed to generate a newsletter automatically and send emails to all subscribers.
In this tutorial, we will learn how to install Mailtrain Newsletter Application on Ubuntu 20.04.
Step 1 – Install and Configure MariaDB Server
Mailtrain uses MySQL/MariaDB as a database backend, so a MariaDB server must be installed in your system. If not installed, you can install it using the following command:
apt-get install mariadb-server mariadb-client -y
After installing the MariaDB server, you will need to set up a MariaDB root password. You can set up it with the following command:
mysql_secure_installation
Answer all the questions as shown below to reset the root password and secure MariaDB:
Enter current password for root (enter for none):
Set root password? [Y/n] Y
New password:
Re-enter new password:
Remove anonymous users? [Y/n] Y
Disallow root login remotely? [Y/n] Y
Remove test database and access to it? [Y/n] Y
Reload privilege tables now? [Y/n] Y
Next, log in to MariaDB and create a database and user for Mailtrain.
mysql -u root -p
Provide your MariaDB root password, then create a database with the following command:
create database mailtrain;
Next, create a user and grant all the privileges to the Mailtrain database:
grant all privileges on mailtrain.* to mailtrain@localhost identified by 'password';
grant all privileges on mailtrain.* to mailtrain_readonly@localhost identified by 'password';
Next, flush the privileges and exit from the MariaDB shell with the following command:
flush privileges;
exit;
Step 2 – Install Node.js
Mailtrain is built on Node.js, so you will need to install it in your system. In this tutorial, we will install Node.js using Snapd, so you will need to install Snapd and other packages in your system. You can install them with the following command:
apt-get install snapd git build-essential -y
Once all the required packages are installed, run the following command to install Node.js:
snap install node --classic --channel=8/stable
Next, log out of the system and log in again to activate the snapd.
Once logged in, verify the Node.js version using the following command:
node -v
You should see the following output:
v8.16.0
Step 3 – Install and Configure Mailtrain
First, create a separate user and group for Mailtrain.
adduser --system --group mailtrain
You should see the following output:
Adding system user `mailtrain' (UID 112) ...
Adding new group `mailtrain' (GID 121) ...
Adding new user `mailtrain' (UID 112) with group `mailtrain' ...
Creating home directory `/home/mailtrain' ...
Next, create a directory for Mailtrain with the following command:
mkdir -p /var/www/html
Next, change the directory to /var/www/html and download the latest version of Mailtrain from the Git repository using the following command:
cd /var/www/html
git clone https://github.com/Mailtrain-org/mailtrain.git
Next, import the Mailtrain database with the following command:
mariadb -u mailtrain -p mailtrain < /var/www/html/mailtrain/setup/sql/mailtrain.sql
Next, create a new Mailtrain configuration file:
nano /var/www/html/mailtrain/config/production.toml
Add the following lines:
user="mailtrain"
group="mailtrain"
[log]
level="error"
[www]
port="3000"
# HTTP interface to listen on
host="0.0.0.0"
[mysql]
host="localhost"
user="mailtrain"
password="password"
database="mailtrain"
[queue]
processes=5
Save and close the file, then create a configuration file for the report worker.
nano /var/www/html/mailtrain/workers/reports/config/production.toml
Add the following lines:
[log]
level="error"
[mysql]
user="mailtrain_readonly"
password="password"
Next, change the ownership and permissions of the mailtrain directory:
chown -R mailtrain:mailtrain /var/www/html/mailtrain/
chmod -R 775 /var/www/html/mailtrain/
Next, you will also need to install Python version 2.7 and create a symlink:
apt-get install python2.7 -y
ln -s /usr/bin/python2.7 /usr/bin/python
Next, change the directory to mailtrain and install required node packages with the following command:
cd /var/www/html/mailtrain
sudo -u mailtrain npm config set scripts-prepend-node-path true
sudo -u mailtrain npm install --no-progress --production --unsafe-perm=true
Step 4 – Create a Systemd Service File for Mailtrain
Next, you will need to create a systemd service file to manage the Mailtrain application. You can create it with the following command:
nano /etc/systemd/system/mailtrain.service
Add the following lines:
[Unit]
Description=Mailtrain server
#Requires=mysql.service
After=syslog.target network.target

[Service]
Environment="NODE_ENV=production"
WorkingDirectory=/var/www/html/mailtrain
ExecStart=/snap/bin/node index.js
Type=simple
Restart=always
RestartSec=10

[Install]
WantedBy=multi-user.target
# Alias=mailtrain.service
Save and close the file, then reload the systemd daemon to apply the changes:
systemctl daemon-reload
Next, start the Mailtrain service and enable it to start at system reboot with the following command:
systemctl start mailtrain
systemctl enable mailtrain
Next, verify the status of Mailtrain with the following command:
systemctl status mailtrain
You should get the following output:
-
mailtrain.service - Mailtrain server
Loaded: loaded (/etc/systemd/system/mailtrain.service; disabled; vendor preset: enabled)
Active: active (running) since Fri 2020-10-30 06:11:52 UTC; 18s ago
Main PID: 31946 (mailtrain)
Tasks: 20 (limit: 4691)
Memory: 231.0M
CGroup: /system.slice/mailtrain.service
├─31946 mailtrain
└─31986 /snap/node/2310/bin/node /var/www/html/mailtrain/services/sender.js
Oct 30 06:11:52 ubuntu2004 systemd[1]: Started Mailtrain server.
At this point, Mailtrain is started and listening on port 3000. You can verify it with the following command:
ss -tunelp | grep 3000
You should get the following output:
tcp LISTEN 0 511 0.0.0.0:3000 0.0.0.0:*
users:(("mailtrain",pid=32013,fd=10)) ino:79343 sk:11 <->
Step 5 – Access Mailtrain Web Interface
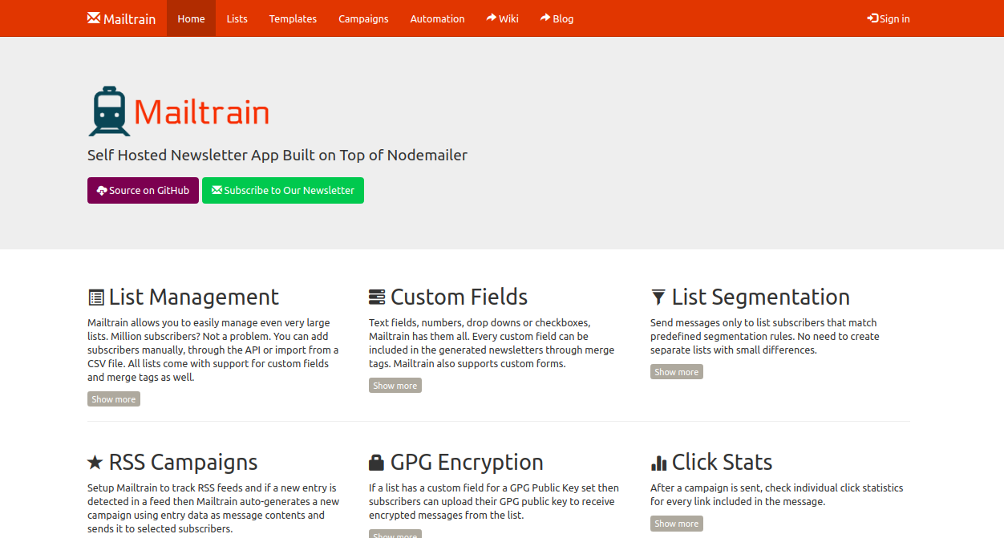
Now, open your web browser and access the Mailtrain using the URL http://your-server-ip:3000. You will be redirected to the following page:
Now, click on the Sign in button. You should see the Mailtrain login page:
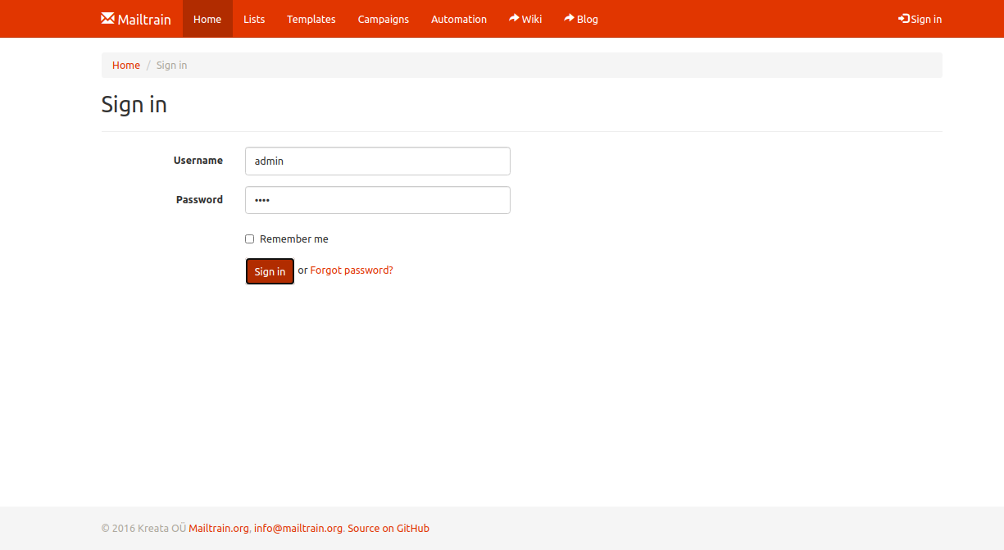
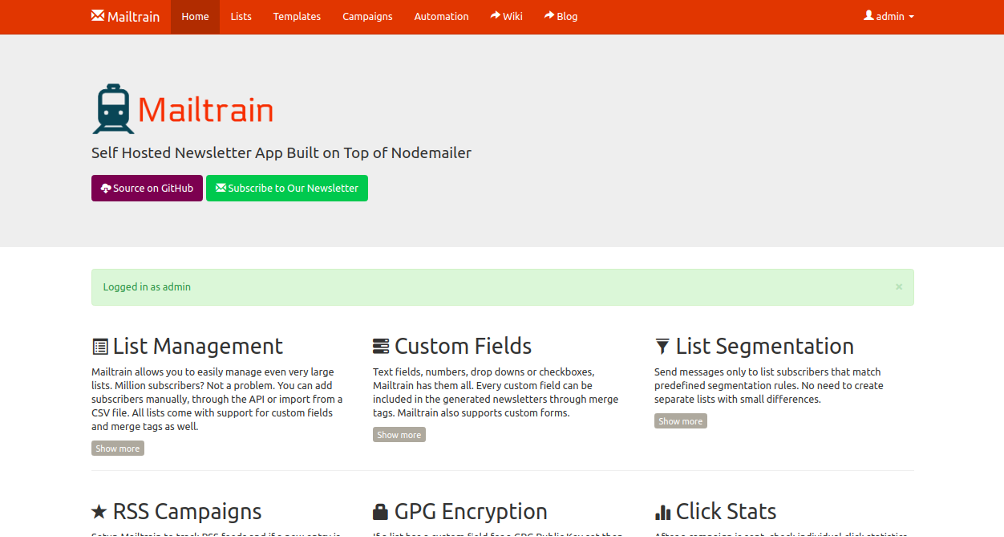
Provide default username as admin and the password as test then click on the Sign–in button. You should see the Mailtrain default dashboard on the following screen:
Conclusion
Congratulations! You have successfully installed and configured the Mailtrain newsletter application on Ubuntu 20.04. Now, you can configure the SMTP server setting or use an external SMTP server and start managing your email subscription lists. Start using Mailtrain today on dedicated server hosting from Atlantic.Net!
* This post is for informational purposes only and does not constitute professional, legal, financial, or technical advice. Each situation is unique and may require guidance from a qualified professional.
Readers should conduct their own due diligence before making any decisions.