Nextcloud is a free, open-source file share and collaboration platform – the most widely used one – that allows you to host your own file hosting services. It is a fork of ownCloud and very similar to other storage solutions including Dropbox, Google Drive, and others. Nextcloud allows you to store your personal contents, files, documents, and photos and share them with your friends and family. It comes with a lot of add-ons that help you to extend its functionality.
In this tutorial, we will show you how to install Nextcloud server and client on Ubuntu 20.04.
Prerequisites
- A fresh Ubuntu 20.04 VPS on the Atlantic.Net Cloud Platform
- A desktop system running Ubuntu 20.04
- A valid domain name pointed to your server IP
- A root password configured on your server
Step 1 – Install LAMP Server
Before starting, a LAMP stack must be installed on your server. If not installed, you can install them with the following command:
apt-get install apache2 mariadb-server libapache2-mod-php php php-gmp php-bcmath php-gd php-
json php-mysql php-curl php-mbstring php-intl php-imagick php-xml php-zip bzip2 -y
Once all the packages are installed, edit the php.ini file and modify some of the values according to your requirements.
nano /etc/php/7.4/apache2/php.ini
Change the following lines:
memory_limit = 512M
date.timezone = Asia/Kolkata
Save and close the file when you are finished, then restart the Apache service to apply the changes:
systemctl restart apache2
Step 2 – Create a Nextcloud Database
Next, you will need to create a database and user for Nextcloud. First, connect to MariaDB with the following command:
mysql
Once connected, create a database and user with the following command:
create database nextclouddb;
grant all on nextclouddb.* to 'nextcloud'@'localhost' identified by 'yourpassword';
Next, flush the privileges and exit from the MariaDB shell with the following command:
flush privileges;
exit;
Step 3 – Download Nextcloud
First, download the latest version of Nextcloud from its official website with the following command:
wget https://download.nextcloud.com/server/releases/latest-20.tar.bz2
Once the download is completed, extract the downloaded file with the following command:
tar -jxvf latest-20.tar.bz2
Next, move the extracted directory to the Apache web root directory and give proper permissions with the following command:
mv nextcloud /var/www/html/
chown -R www-data:www-data /var/www/html/nextcloud
chmod -R 775 /var/www/html/nextcloud
Once you are done, you can proceed to configure the Apache server.
Step 4 – Configure Apache for Nextcloud
Next, you will need to create an Apache virtual host configuration file to serve Nextcloud.
You can create it with the following command:
nano /etc/apache2/sites-available/nextcloud.conf
Add the following lines:
<VirtualHost *:80>
DocumentRoot "/var/www/html/nextcloud"
ServerName nextcloud.example.com

ErrorLog ${APACHE_LOG_DIR}/nextcloud.error
CustomLog ${APACHE_LOG_DIR}/nextcloud.access combined

<Directory /var/www/html/nextcloud/>
Require all granted
Options FollowSymlinks MultiViews
AllowOverride All

<IfModule mod_dav.c>
Dav off
</IfModule>

SetEnv HOME /var/www/html/nextcloud
SetEnv HTTP_HOME /var/www/html/nextcloud
Satisfy Any

</Directory>

</VirtualHost>
Save and close the file, then enable the Apache virtual host with the following command:
a2ensite nextcloud.conf
Next, enable the required Apache modules with the following command:
a2enmod rewrite headers env dir mime setenvif ssl
Next, restart the Apache service to apply the configuration changes:
systemctl restart apache2
At this point, Apache web server is configured to serve Nextcloud.
Step 5 – Access Nextcloud
Now, open your web browser and access the Nextcloud using the URL http://nextcloud.example.com. You should see the following page:
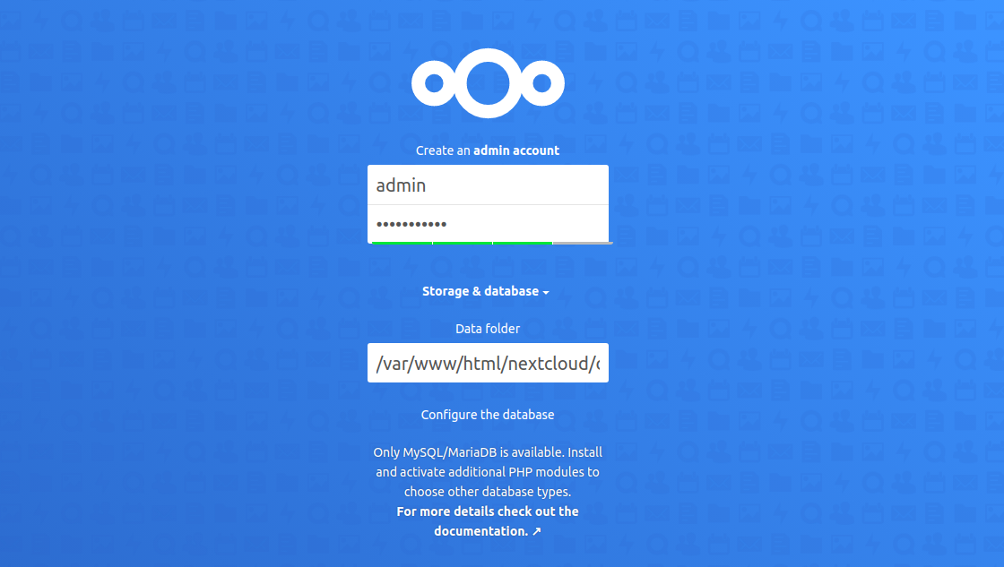
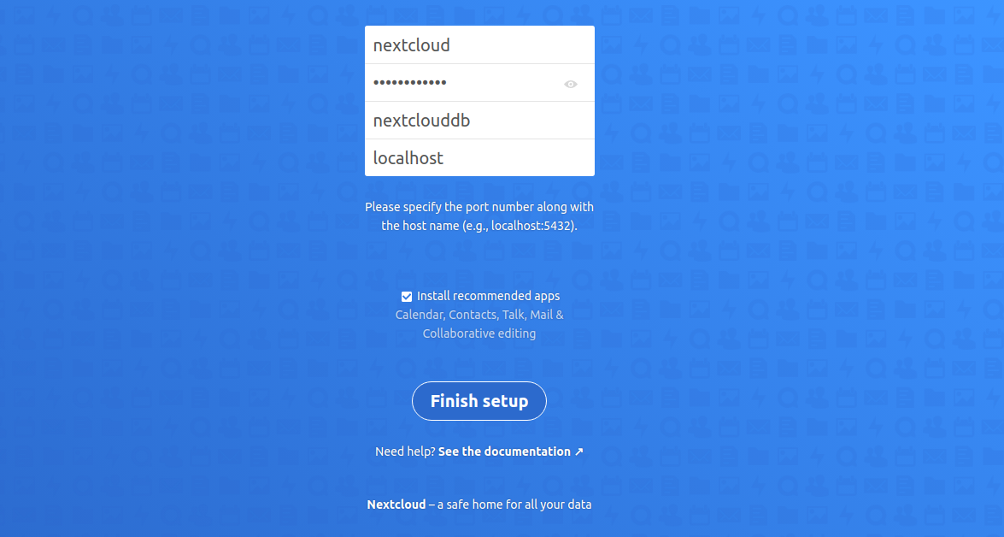
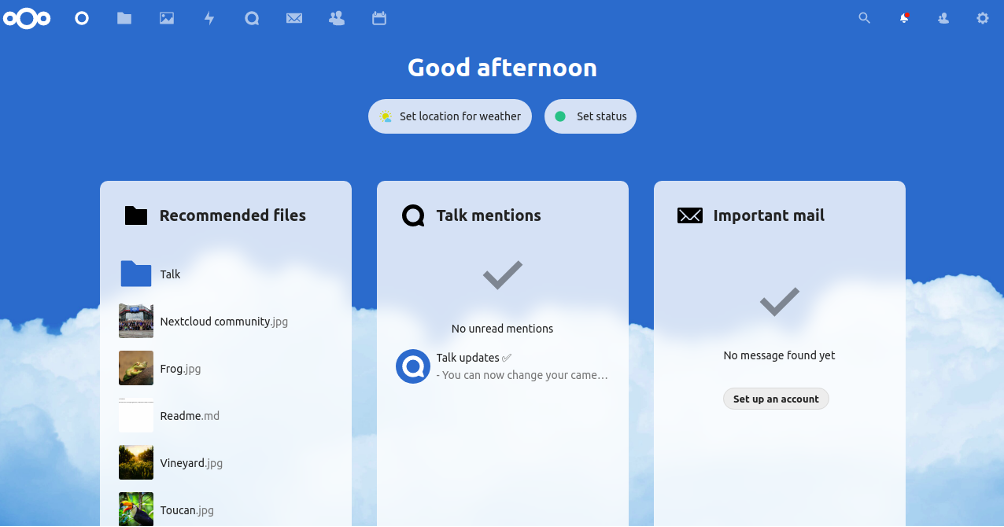
Set your admin username and password, define your database settings, and click on the Finish setup page. You should see the Nextcloud dashboard in the following page:
Step 6 – Install and Configure Nextcloud Client
Nextcloud provides a client application for Android, Windows, iOS that can be used to connect your Nextcloud server. It allows users to access and sync files on the go.
On the client machine, install the Nextcloud application using the following command:
apt-get install software-properties-common gnupg2 -y
add-apt-repository ppa:nextcloud-devs/client
apt-get update -y
apt-get install nextcloud-client -y
Once the application is installed, launch the Nextcloud application from your Ubuntu DASH. You should see the following screen:
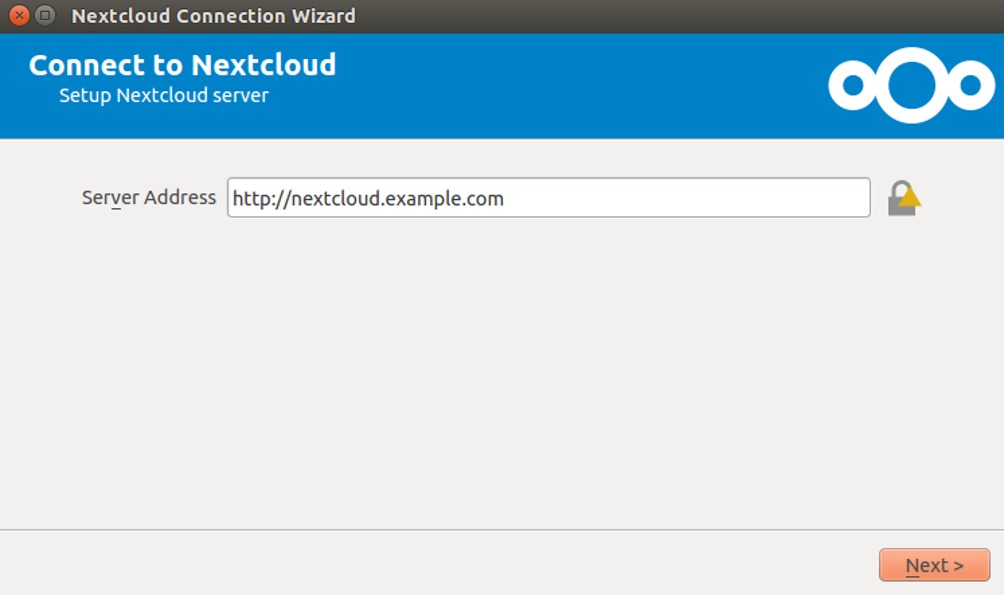
Provide your Nextcloud server URL and click on the Next button. You will be asked to provide your Nextcloud username and password:
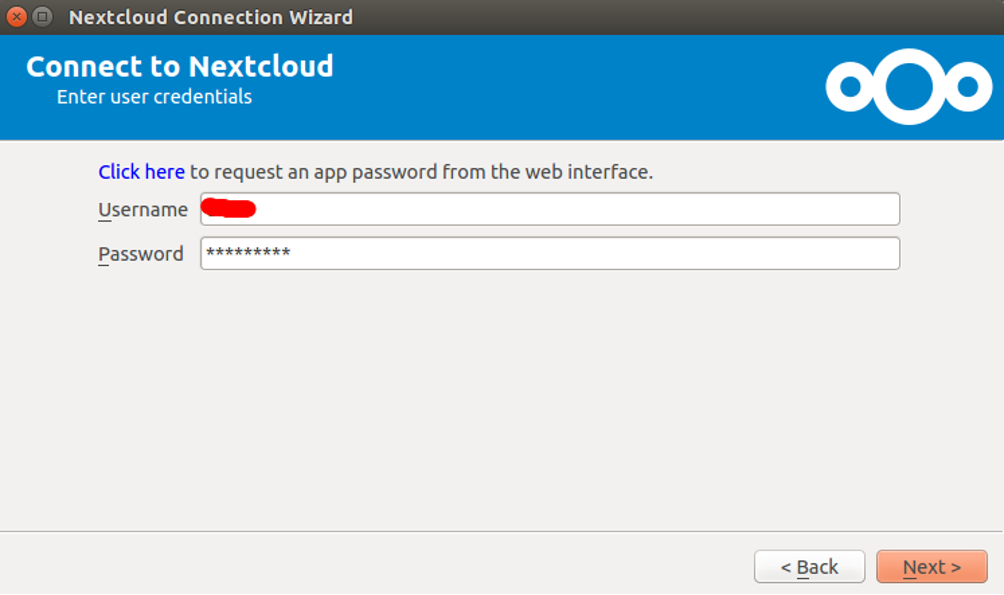
Provide your username and password and click on the Next button. You should see the following page:
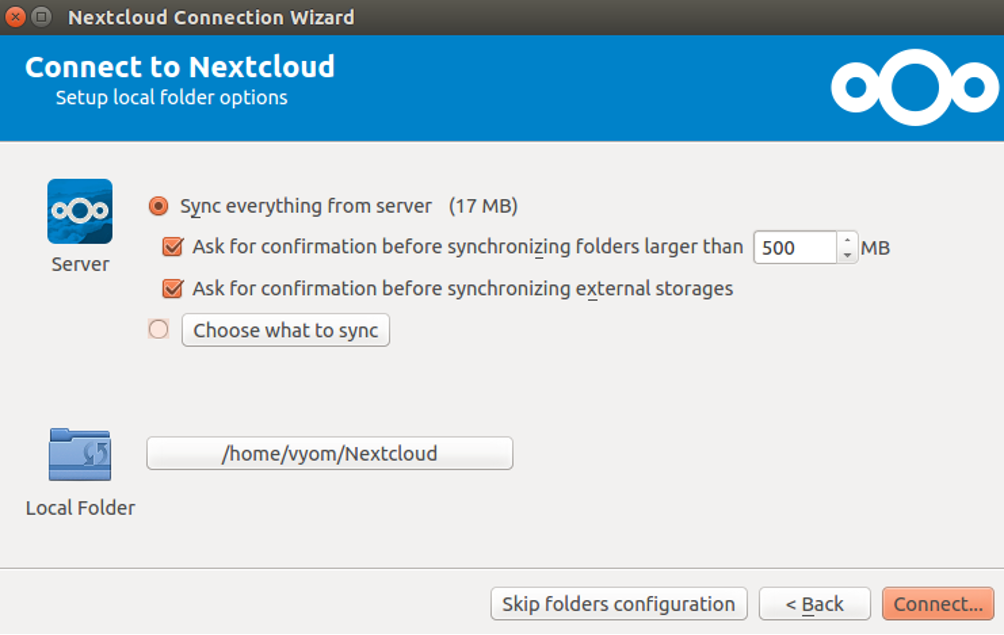
Select your desired settings and click on the Connect button. Once connected, you should see the following page:
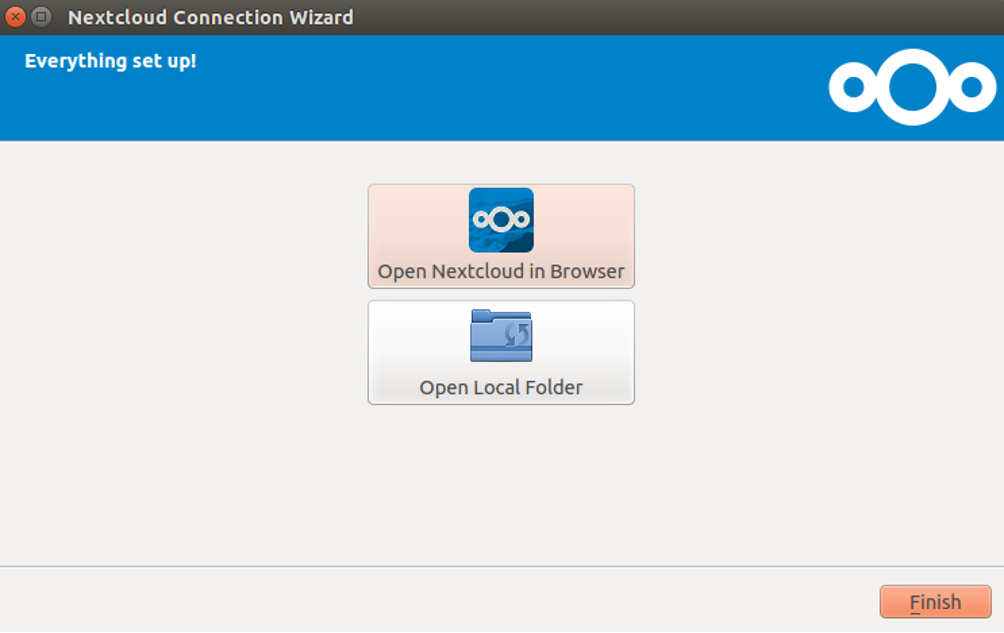
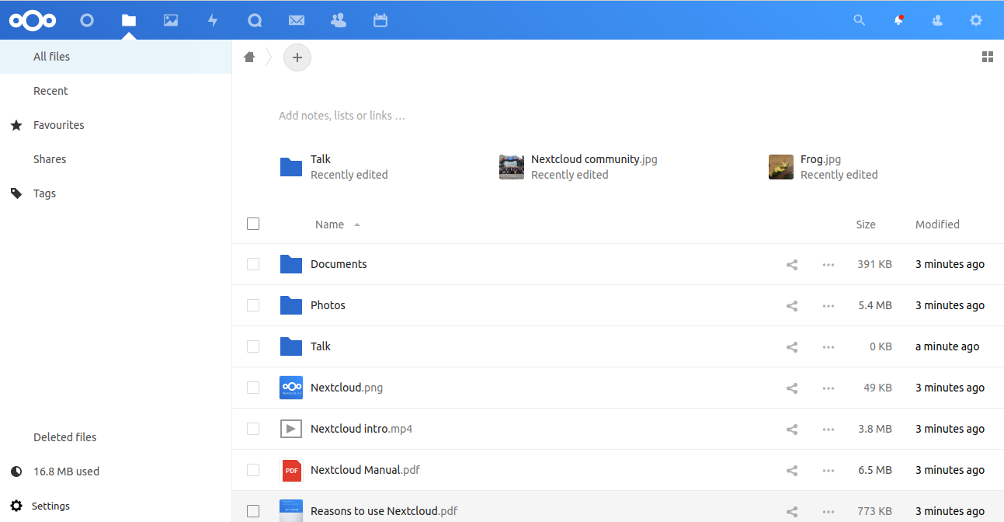
Select OpenLocal Folder and click on the Finish button. You should see your Nextcloud folder in the following page:
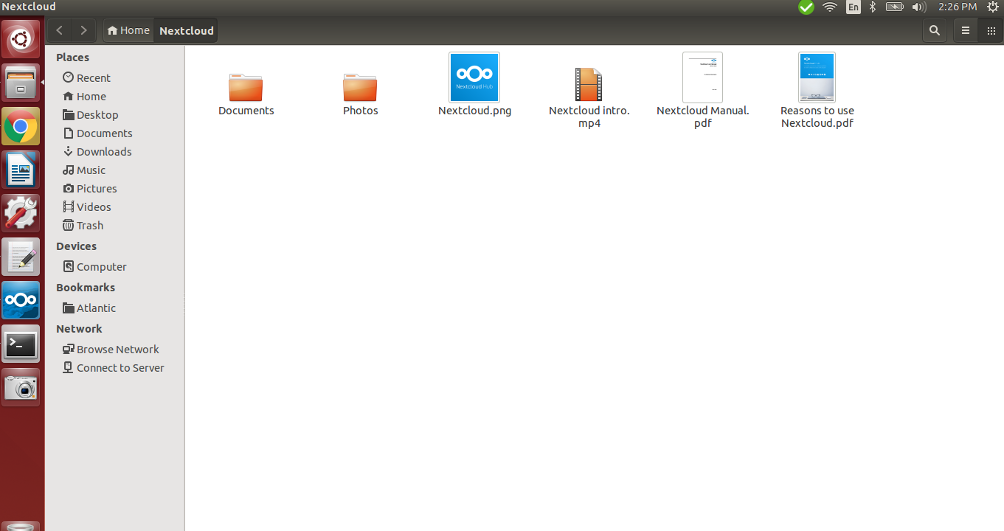
You can now easily put any files and folders inside this directory and synchronize them with Nextcloud.
Conclusion
In this guide, you learned how to install Nextcloud on Ubuntu 20.04 server. You also learned how to install the Nextcloud client on the Desktop machine and connect it with the Nextcloud server. You can now easily save and share your personal content with your friends and family. Try out Nextcloud on VPS Hosting from Atlantic.Net today!
* This post is for informational purposes only and does not constitute professional, legal, financial, or technical advice. Each situation is unique and may require guidance from a qualified professional.
Readers should conduct their own due diligence before making any decisions.