Table of Contents
- Prerequisites
- Step 1 - Install Required Dependencies
- Step 2 - Install Nginx and MariaDB
- Step 3 - Create a Database for Seafile
- Step 4 - Install Seafile
- Step 5 – Set Up Admin Account
- Step 6 - Create a Systemd Service File for Seafile
- Step 7 - Configure Nginx for Seafile
- Step 8 - Access Seafile Web Interface
- Conclusion
Seafile is a free, open-source, self-hosted file-sharing solution for Linux. It is a cross-platform file-hosting software that can be used to store files on a central server and sync them with your personal computer or mobile device. Seafile is written with Python Django framework and is functionally very similar to Dropbox and Google Drive. It has a lot of features including file encryption, version control, two-factor authentication, online editing, file locking, and many more.
In this tutorial, we will show you how to install Seafile with Nginx as a reverse proxy on CentOS 8.
Prerequisites
- A fresh CentOS 8 VPS
- A valid domain name pointed to your server IP
- A root password is configured on your server
Step 1 – Install Required Dependencies
First, you will need to install the EPEL repository in your system. You can install it with the following command:
yum install epel-release -y
Once the EPEL repository is installed, install other dependencies with the following command:
yum install python3 python3-devel python3-setuptools gcc gcc-c++ freetype-devel python3-pip
python3-ldap memcached java-1.8.0-openjdk libmemcached libreoffice-headless libreoffice-pyuno
libffi-devel pwgen curl tar -y
Once all the dependencies are installed, use the pip command to install other dependencies:
pip3 install Pillow pylibmc captcha jinja2 sqlalchemy psd-tools django-pylibmc django-simple-
captcha
Once all the packages are installed, enable the Memcached service to start at system reboot:
systemctl enable --now memcached
Step 2 – Install Nginx and MariaDB
Next, you will need to install Nginx and MariaDB server on your system. You can install both packages with the following command:
yum install nginx mariadb-server -y
Once installed, start the Nginx and MariaDB services and enable them to start at system reboot:
systemctl start nginx
systemctl start mariadb
systemctl enable nginx
systemctl enable mariadb
Step 3 – Create a Database for Seafile
First, you will need to set the MariaDB root password and secure the MariaDB installation. You can do it using the following script:
mysql_secure_installation
Answer all the questions as shown below:
Enter current password for root (enter for none):
Set root password? [Y/n] Y
New password:
Re-enter new password:
Remove anonymous users? [Y/n] Y
Disallow root login remotely? [Y/n] Y
Remove test database and access to it? [Y/n] Y
Reload privilege tables now? [Y/n] Y
Next, log in to the MariaDB shell with the following command:
mysql -u root -p
Once logged in, create a database for Seafile with the following command:
create database `ccnetdb` character set = 'utf8';
create database `seafiledb` character set = 'utf8';
create database `seahubdb` character set = 'utf8';
Next, create a user for Seafile with the following command:
create user 'seafile'@'localhost' identified by 'yourpassword';
Next, grant all the privileges to the ccnetdb, seafiledb and seahubdb with the following command:
GRANT ALL PRIVILEGES ON `ccnetdb`.* to `seafile`@localhost;
GRANT ALL PRIVILEGES ON `seafiledb`.* to `seafile`@localhost;
GRANT ALL PRIVILEGES ON `seahubdb`.* to `seafile`@localhost;
Next, flush the privileges and exit from the MariaDB shell with the following command:
FLUSH PRIVILEGES;
EXIT;
Step 4 – Install Seafile
First, download the latest version of Seafile with the following command:
wget https://s3.eu-central-1.amazonaws.com/download.seadrive.org/seafile-server_7.1.5_x86-
64.tar.gz
Once downloaded, extract the downloaded file with the following command:
tar -xvzf seafile-server_7.1.5_x86-64.tar.gz
Next, move the extracted directory to /opt with the following command:
mv seafile-server-* /opt/seafile
cd /opt/seafile
Next, change the directory to /opt/seafile and set up the Seafile server by running the following script:
./setup-seafile-mysql.sh
You will be asked to provide the server name, valid domain name, and database details as shown below.
Checking python on this machine ...

-----------------------------------------------------------------
This script will guide you to setup your seafile server using MySQL.
Make sure you have read seafile server manual at

https://download.seafile.com/published/seafile-manual/home.md

Press ENTER to continue
-----------------------------------------------------------------

What is the name of the server? It will be displayed on the client.
3 - 15 letters or digits
[ server name ] seafile

What is the ip or domain of the server?
For example: www.mycompany.com, 192.168.1.101
[ This server's ip or domain ] seafile.example.com

Which port do you want to use for the seafile fileserver?
[ default "8082" ]

-------------------------------------------------------
Please choose a way to initialize seafile databases:
-------------------------------------------------------

[1] Create new ccnet/seafile/seahub databases
[2] Use existing ccnet/seafile/seahub databases

[ 1 or 2 ] 2

What is the host of mysql server?
[ default "localhost" ]

What is the port of mysql server?
[ default "3306" ]

Which mysql user to use for seafile?
[ mysql user for seafile ] seafile

What is the password for mysql user "seafile"?
[ password for seafile ]

verifying password of user seafile ... done

Enter the existing database name for ccnet:
[ ccnet database ] ccnetdb

verifying user "seafile" access to database ccnetdb ... done

Enter the existing database name for seafile:
[ seafile database ] seafiledb

verifying user "seafile" access to database seafiledb ... done

Enter the existing database name for seahub:
[ seahub database ] seahubdb

verifying user "seafile" access to database seahubdb ... done
Provide each detail carefully. Once the installation has been completed, you should see the following output:
---------------------------------
This is your configuration
---------------------------------

server name: seafile
server ip/domain: seafile.example.com

seafile data dir: /opt/seafile-data
fileserver port: 8082

database: use existing
ccnet database: ccnetdb
seafile database: seafiledb
seahub database: seahubdb
database user: seafile

---------------------------------
Press ENTER to continue, or Ctrl-C to abort

-----------------------------------------------------------------
Your seafile server configuration has been finished successfully.
-----------------------------------------------------------------

run seafile server: ./seafile.sh { start | stop | restart }
run seahub server: ./seahub.sh { start <port> | stop | restart <port> }

-----------------------------------------------------------------
If you are behind a firewall, remember to allow input/output of these tcp ports:
-----------------------------------------------------------------

port of seafile fileserver: 8082
port of seahub: 8000

When problems occur, Refer to

https://download.seafile.com/published/seafile-manual/home.md

for information.
Step 5 – Set Up Admin Account
Next, you will need to set up an admin account to access Seafile. First, start the Seafile service with the following command:
/opt/seafile/seafile.sh start
Next, start the Seahub service to set an admin password:
/opt/seafile/seahub.sh start
You will be asked to set an admin username and password as shown below.
LC_ALL is not set in ENV, set to en_US.UTF-8
Starting seahub at port 8000 ...

----------------------------------------
It's the first time you start the seafile server. Now let's create the admin account
----------------------------------------

What is the email for the admin account?
[ admin email ] admin@example.com

What is the password for the admin account?
[ admin password ]

Enter the password again:
[ admin password again ]

----------------------------------------
Successfully created seafile admin
----------------------------------------
Next, stop the Seafile and Seahub services with the following command:
/opt/seafile/seafile.sh stop
/opt/seafile/seahub.sh stop
Step 6 – Create a Systemd Service File for Seafile
Next, you will need to create systemd service files for Seafile and Seahub to manage the services. First, create a service file for Seafile using the following command:
nano /etc/systemd/system/seafile.service
Add the following lines:
[Unit]
Description=Seafile
After= mysql.service
After=network.target

[Service]
Type=forking
ExecStart=/opt/seafile-server-latest/seafile.sh start
ExecStop=/opt/seafile-server-latest/seafile.sh stop

[Install]
WantedBy=multi-user.target
Save and close the file, then create a service file for Seahub with the following command:
nano /etc/systemd/system/seahub.service
Add the following lines:
[Unit]
Description=Seafile
After= mysql.service
After=network.target

[Service]
Type=forking
ExecStart=/opt/seafile-server-latest/seahub.sh start
ExecStop=/opt/seafile-server-latest/seahub.sh stop

[Install]
WantedBy=multi-user.target
Save and close the file, then reload the systemd daemon with the following command:
systemctl daemon-reload
Next, start the Seafile and Seahub service and enable them to start at system reboot with the following command:
systemctl start seafile
systemctl enable seafile
systemctl start seahub
systemctl enable seahub
At this point, Seafile server is started and listening on port 8000. You can verify it with the following command:
ss -tunelp | grep 8000
You should get the following output:
tcp LISTEN 0 128 127.0.0.1:8000 0.0.0.0:*
users:(("python3",pid=44925,fd=8),("python3",pid=44924,fd=8),("pyt
hon3",pid=44923,fd=8),("python3",pid=44922,fd=8),("python3",pid=44921,fd=8),("python3",pid=44916,fd=8)) ino:77620 sk:9
<->
Step 7 – Configure Nginx for Seafile
Next, you will need to configure Nginx as a reverse proxy to access Seafile using port 80. You can configure it with the following command:
nano /etc/nginx/conf.d/seafile.conf
Add the following lines:
server {
listen 80;
listen [::]:80;
server_name seafile.example.com;
autoindex off;
client_max_body_size 100M;
access_log /var/log/nginx/seafile.com.access.log;
error_log /var/log/nginx/seafile.com.error.log;

location / {
proxy_pass http://127.0.0.1:8000;
proxy_set_header Host $host;
proxy_set_header X-Real-IP $remote_addr;
proxy_set_header X-Forwarded-For $proxy_add_x_forwarded_for;
proxy_set_header X-Forwarded-Host $server_name;
proxy_read_timeout 1200s;
}

location /seafhttp {
rewrite ^/seafhttp(.*)$ $1 break;
proxy_pass http://127.0.0.1:8082;
proxy_set_header X-Forwarded-For $proxy_add_x_forwarded_for;
proxy_connect_timeout 36000s;
proxy_read_timeout 36000s;
proxy_send_timeout 36000s;
send_timeout 36000s;
}

location /media {
root /opt/seafile-server-latest/seahub;
}
}
Save and close the file, then restart the Nginx service with the following command:
systemctl restart nginx
If you got any errors, then edit the Nginx.conf file:
nano /etc/nginx/nginx.conf
Add the following line below http {:
server_names_hash_bucket_size 64;
Save and close the file, then restart the Nginx service:
systemctl restart nginx
Step 8 – Access Seafile Web Interface
At this point, Nginx is configured to serve Seafile. Now, open your web browser and access the Seafile web interface using the URL http://seafile.example.com. You will be redirected to the Seafile login page:
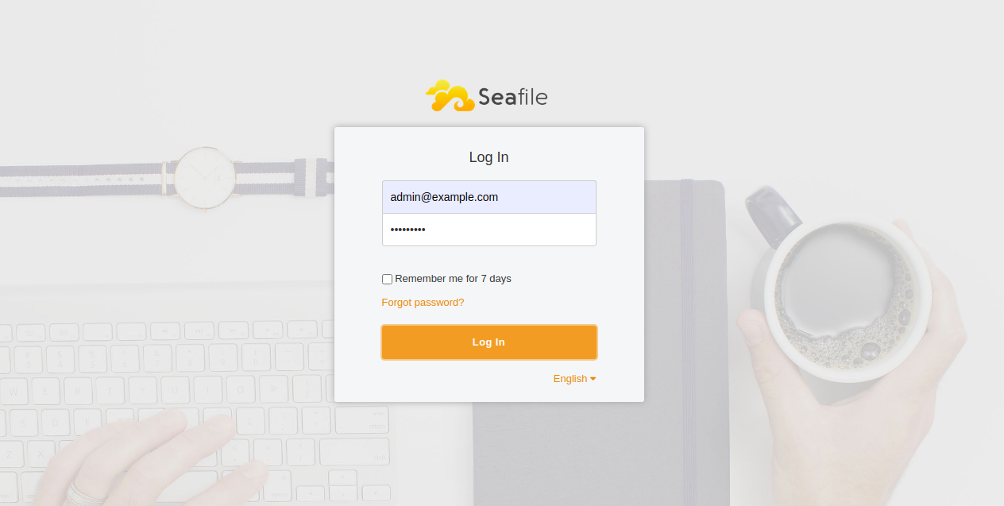
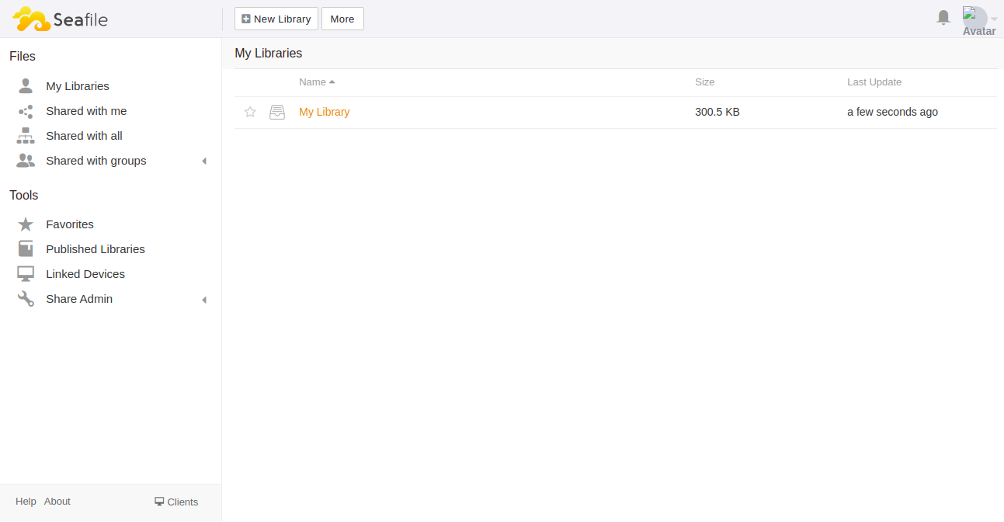
Provide your admin username and password and click on the Login button. You should see the Seafile dashboard on the following page:
Conclusion
In the above tutorial, you learned how to install the Seafile server with Nginx as a reverse proxy on CentOS 8. You can now upload your files and personal photos to the Seafile server, share them with your friends, and access them from your computer or mobile device. Try Seafile on VPS Hosting from Atlantic.Net using the tutorial above!
* This post is for informational purposes only and does not constitute professional, legal, financial, or technical advice. Each situation is unique and may require guidance from a qualified professional.
Readers should conduct their own due diligence before making any decisions.