Radicale is a free, open-source, simple, powerful CalDAV and CardDAV server. It’s written in Python and is a complete solution to store calendars and contacts on the web. Radicale can be installed on operating systems like Linux, BSD, macOS, and Windows. It works out-of-the-box without any complicated configuration. Radicale allows you to share calendars and contact lists through CalDAV, CardDAV, and HTTP.
In this post, we will show you how to install Radicale Calendar Server on Ubuntu 20.04.
Step 1 – Install Required Dependencies
First, you will need to install some Python dependencies on your server. You can install them by running the following command:
apt-get install python3-pip python3-passlib -y
pip3 install bcrypt -y
Once all the dependencies are installed, you can proceed to install the Radicale server.
Step 2 – Install and Configure Radicale Server
The Radicale package comes in the Ubuntu 20.04 main repository. You can install it by just running the following command:
apt-get install radicale -y
Once the installation is completed, edit the Radicale main configuration file:
nano /etc/radicale/config
In the [server] section, uncomment the following lines:
[server]
hosts = 127.0.0.1:5232
max_connections = 20
max_content_length = 100000000
timeout = 30

# SSL flag, enable HTTPS protocol
#ssl = False

# SSL certificate path
#certificate = /etc/ssl/certs/ssl-cert-snakeoil.pem

# SSL private key
#key = /etc/ssl/private/ssl-cert-snakeoil.key
In the [auth] and [storage] sections, uncomment and change the following lines:
[auth]
type = htpasswd
htpasswd_filename = /etc/radicale/passwd
htpasswd_encryption = bcrypt

[storage]
type = multifilesystem
filesystem_folder = /var/lib/radicale/collections
filesystem_locking = True
Save and close the file when you are finished.
Next, install the Apache Utils package using the following command:
apt-get install apache2-utils -y
Next, create an admin user to secure the Radicale server.
htpasswd -B -c /etc/radicale/passwd admin
Set your password as shown below:
New password:
Re-type new password:
Adding password for user admin
Next, start and enable the Radicale service using the following command:
systemctl start radicale
systemctl enable radicale
You can check the status of Radicale using the following command:
systemctl status radicale
You will get the following output:
● radicale.service - LSB: Radicale CalDAV and CardDAV server
     Loaded: loaded (/etc/init.d/radicale; generated)
     Active: active (exited) since Fri 2021-11-26 03:48:39 UTC; 4s ago
       Docs: man:systemd-sysv-generator(8)
    Process: 9833 ExecStart=/etc/init.d/radicale start (code=exited, status=0/SUCCESS)

Nov 26 03:48:38 ubuntu2004 systemd[1]: Starting LSB: Radicale CalDAV and CardDAV server...
Nov 26 03:48:38 ubuntu2004 radicale[9833]:  * Starting Radicale CalDAV server  radicale
Nov 26 03:48:39 ubuntu2004 radicale[9833]:    ...fail!
Nov 26 03:48:39 ubuntu2004 systemd[1]: Started LSB: Radicale CalDAV and CardDAV server.
Step 3 – Configure Apache for Radicale
Next, you will need to install and configure Apache as a reverse proxy for the Radicale server.
First, install the Apache package using the following command:
apt-get install apache2 -y
Next, enable the required modules using the following command:
a2enmod proxy proxy_ajp proxy_http rewrite deflate headers proxy_balancer proxy_connect proxy_html ssl
Next, create an Apache virtual host configuration file:
nano /etc/apache2/sites-available/radicale.conf
Add the following lines:
<VirtualHost *:80>

    ServerName radicale.example.com
    ServerAdmin webmaster@example.com

    ErrorLog ${APACHE_LOG_DIR}/error.log
    CustomLog ${APACHE_LOG_DIR}/access.log combined

    ProxyRequests Off
    <Proxy *>
        Order deny,allow
        Allow from all
    </Proxy>

    RewriteEngine On
    RewriteRule ^/radicale$ /radicale/ [R,L]

    <Location "/radicale/">
        AuthType     Basic
        AuthName     "Radicale - Password Required"
        AuthUserFile "/etc/radicale/passwd"
        Require      valid-user

        ProxyPass        http://localhost:5232/ retry=0
        ProxyPassReverse http://localhost:5232/
        RequestHeader    set X-Script-Name /radicale
        RequestHeader    set X-Remote-User expr=%{REMOTE_USER}
    </Location>

    <Location />
        Order allow,deny
        Allow from all
    </Location>

</VirtualHost>
Save and close the file, then activate the Radicale virtual host with the following command:
a2ensite radicale.conf
Finally, restart Apache to apply the changes:
systemctl restart apache2
Step 4 – Access Radicale Web Interface
Now, open your web browser and access the Radicale web interface using the URL http://radicale.example.com/radicale. You should see the following screen:
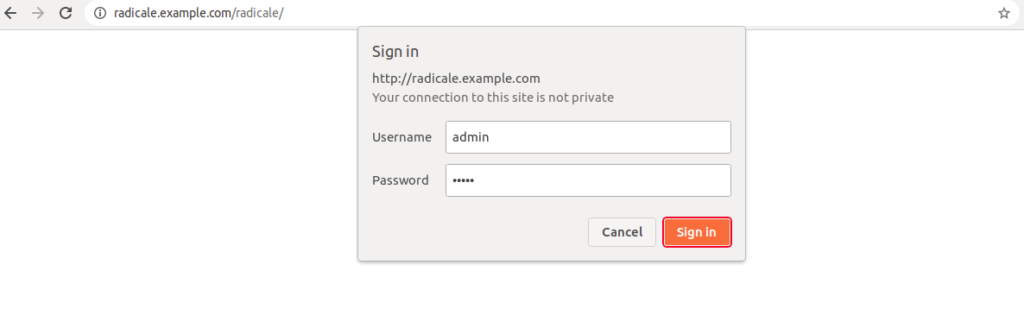
Provide your admin username and password and click on the Sign In button. You should see the Radicale login page:
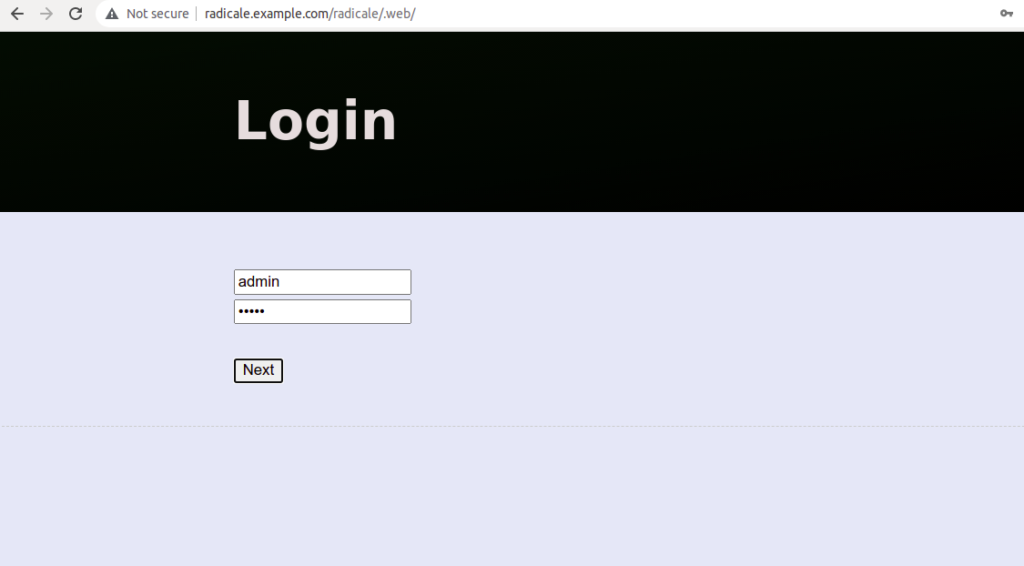
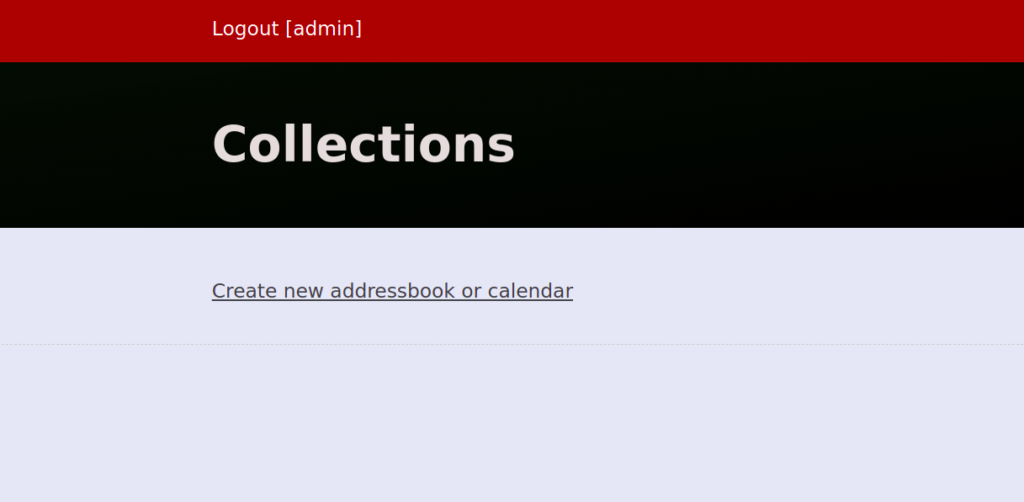
Provide the same admin username and password again and click on the Next button. You should see the Radicale dashboard on the following screen:
Conclusion
Congratulations! You have successfully installed the Radicale Calendar server with Apache as a reverse proxy on Ubuntu 20.04. You can now add contacts and share them with other users. Try it on dedicated hosting from Atlantic.Net!
* This post is for informational purposes only and does not constitute professional, legal, financial, or technical advice. Each situation is unique and may require guidance from a qualified professional.
Readers should conduct their own due diligence before making any decisions.