Rancher is a free and open-source platform that can be used to manage the Docker containers through a web-based interface. You can deploy and manage containers, manage clusters, manage centralized policy and workloads, and much more with Rancher. It includes different technologies from the Docker environment like orchestration and scheduling frameworks Swarm and Kubernetes in one application.
Rancher can be deployed as a set of Docker containers with one container as the management server and another container on a node as an agent. In this tutorial, we will show you how to install Rancher on Ubuntu 20.04 VPS.
Step 1: Install Docker
First, you will need to install Docker dependencies on both nodes. You can install them using the following command:
apt-get install apt-transport-https ca-certificates curl gnupg-agent software-properties-common -y
Once all the dependencies are installed, download and add the GPT key with the following command:
curl -fsSL https://download.docker.com/linux/ubuntu/gpg | apt-key add -
Next, add the Docker repository using the following command:
add-apt-repository "deb [arch=amd64] https://download.docker.com/linux/ubuntu $(lsb_release -cs)
stable"
Now, run the following command to install the latest version of Docker:
apt-get install docker-ce docker-ce-cli containerd.io -y
Once the installation has been completed, start the Docker service and enable it to start at system reboot with the following command:
systemctl start docker
systemctl enable docker
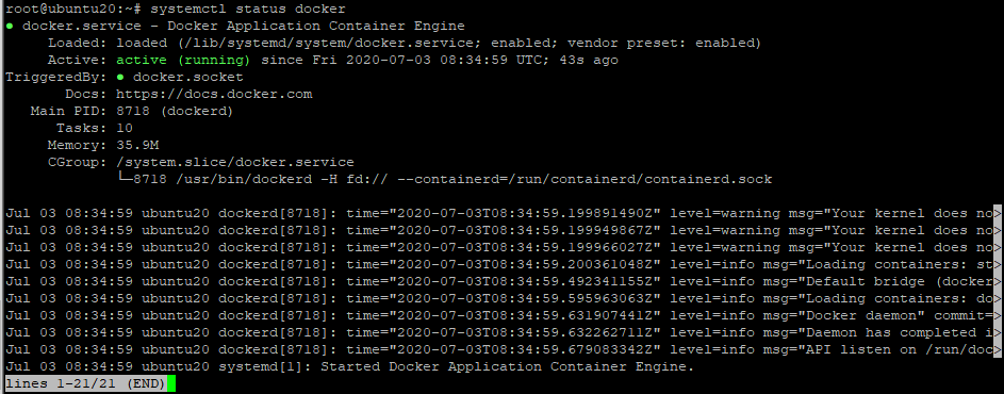
You can now verify the status of Docker with the following command:
systemctl status docker
You should get the following output:
Note: Run all commands on both nodes.
Step 2: Install the Rancher Container
Next, you will need to install the Rancher container on the master node. You can deploy the Rancher container by running the following command:
docker run -d --restart=unless-stopped -p 8080:8080 rancher/server:stable
This will download the Rancher image and start the container on port 8080 as shown below:
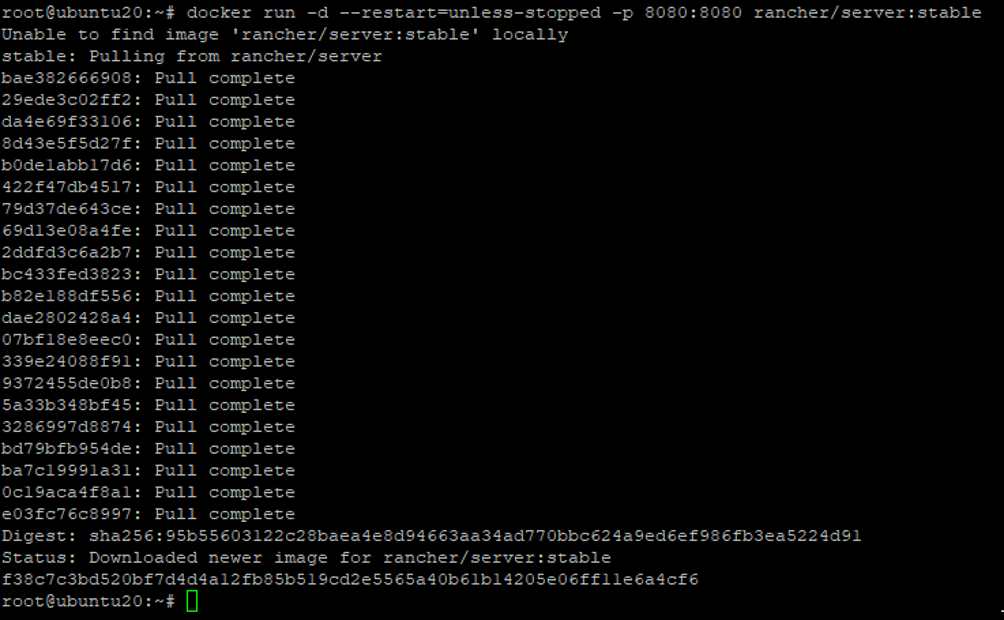
At this point, The Rancher is installed and listening on port 8080.
Step 3: Configure Rancher
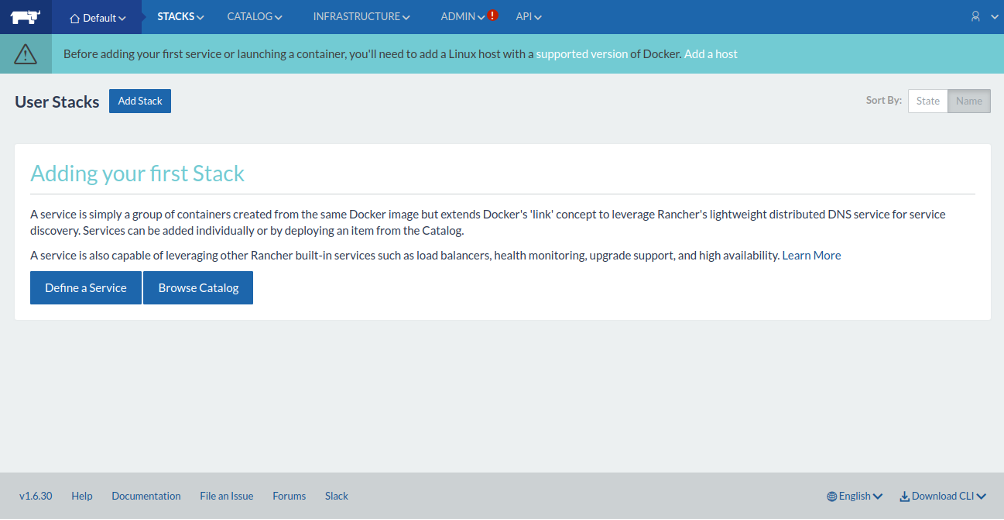
Now, access the Rancher container using the URL http://rancher-server-ip:8080/. You will be redirected to the Rancher dashboard, as shown below:
Next, you will need to configure Rancher’s Access Control to manage users. Rancher supports many access controls including Active Directory, Azure AD, Github, OpenLDAP, SAML, and Local Authentication.
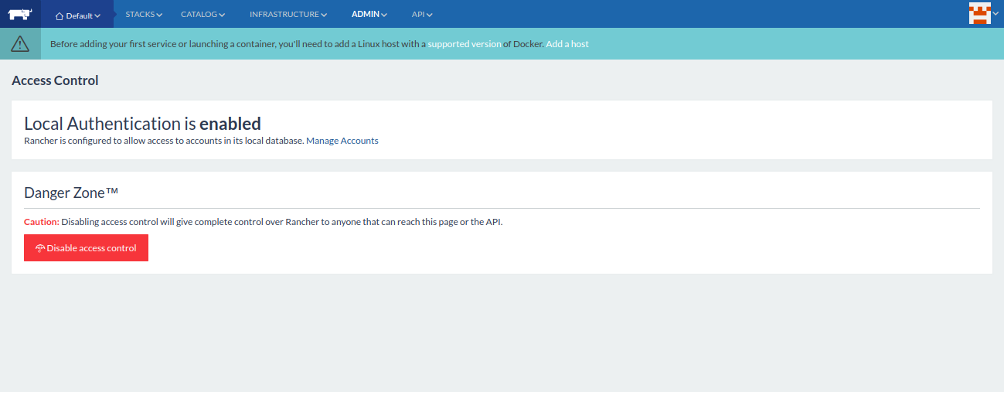
To configure the local authentication for Rancher, click on the ADMIN => Access Control. You should see the following screen:
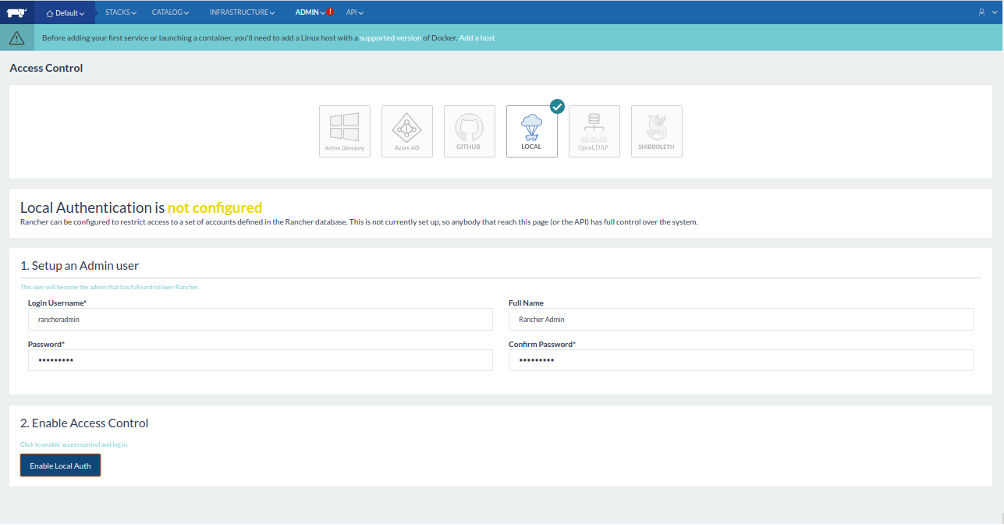
Select Local Access Control, provide username and password, and click on the Enable Local Auth button. Once the LOCAL authentication is enabled, you should see the following screen:
Step 4: Add Rancher Agent to Rancher Server
In this section, we will add a Rancher agent to the Rancher server.
On the Rancher server Dashboard, click on INFRASTRUCTURE => HOSTS. You should see the following screen:
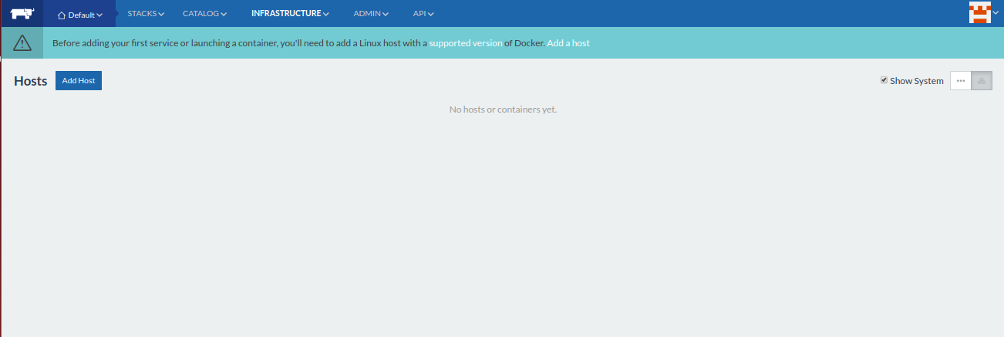
Click on Add Host. You should see the following screen:
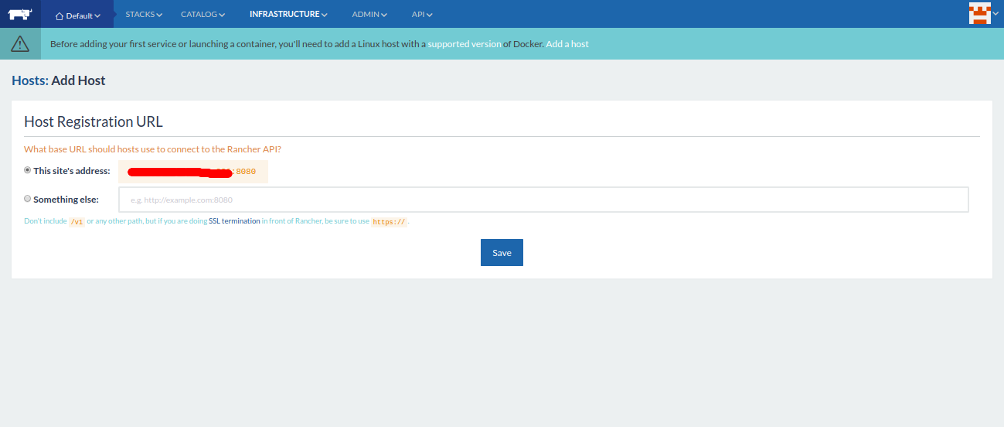
Now, click on the Save button. You should see the following screen:
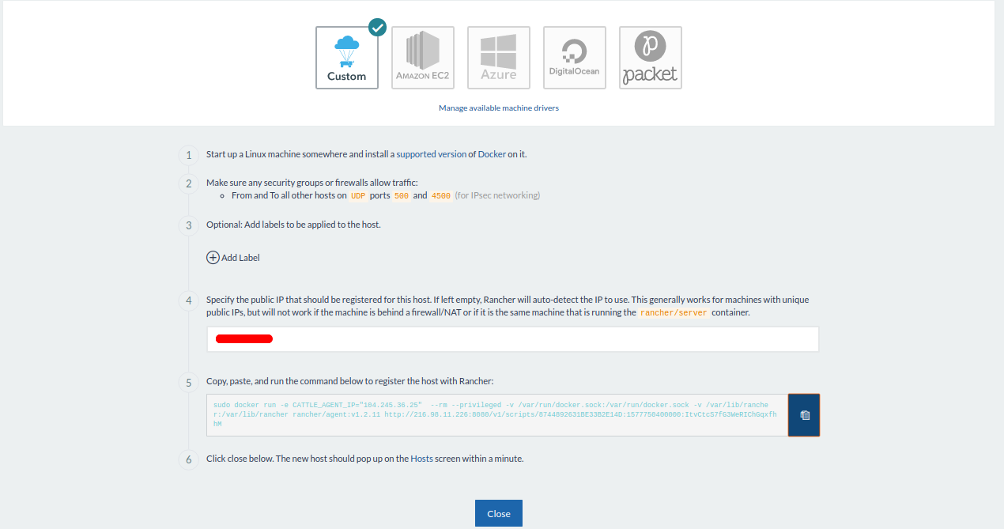
Select Custom host type, provide your Rancher agent IP, and copy the Docker command from the box.
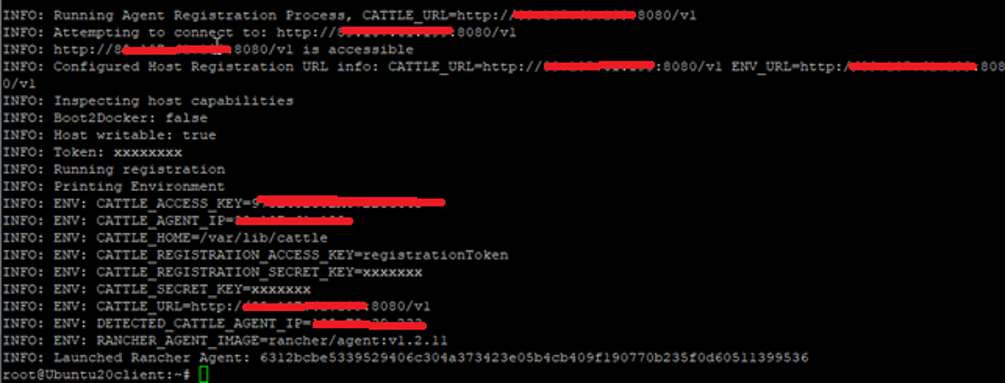
Now, login to the Rancher agent node (node 2) and paste the command which you have copied earlier:
docker run -e CATTLE_AGENT_IP="rancher-agent-ip" --rm --privileged -v
/var/run/docker.sock:/var/run/docker.sock -v /var/lib/rancher:/var/lib/rancher rancher/agent:v1.2.11
http://rancher-server-
ip:8080/v1/scripts/8744892631BE33B2E14D:1577750400000:ItvCtcS7fG3WeRIChGqxfhhM
This will deploy the new container on the Rancher client node. Once the container has been deployed, you should see the following output:
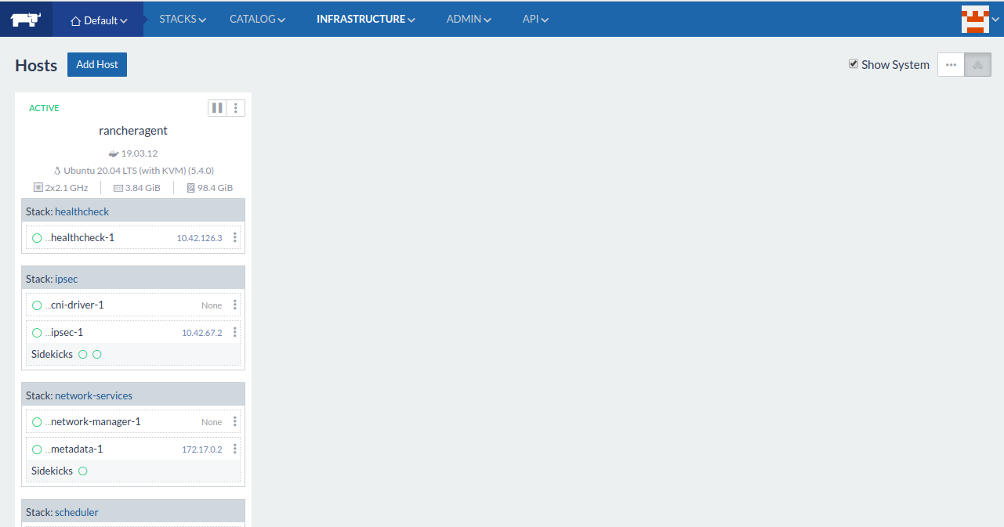
On the Rancher server dashboard, click on the Close button. You should see the newly added Rancher agent in the following page:
Step 5: Deploy WordPress Container with Rancher
Now, you can easily deploy any container through the Rancher server dashboard. In this section, we will deploy a WordPress container.
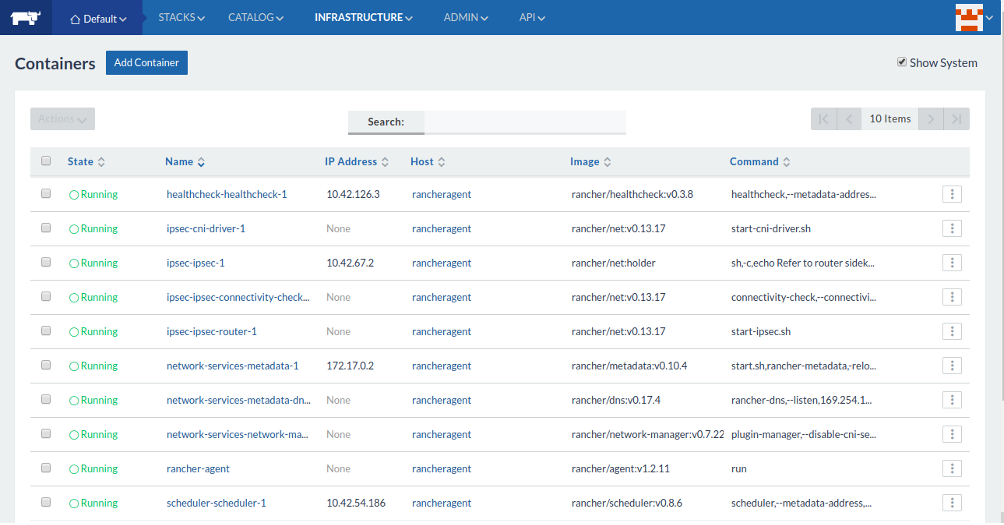
On the Rancher Dashboard, click on the INFRASTRUCTURE => Containers. You should see the following screen:
Now, click on the Add Container button. You should see the following screen:
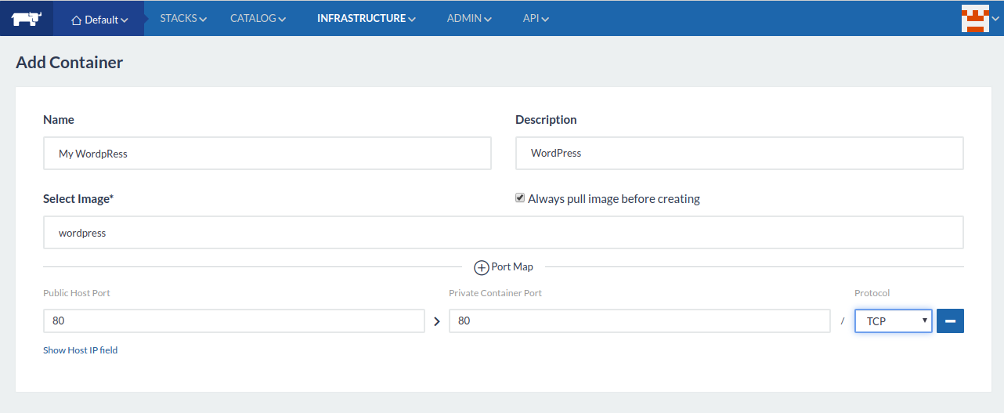
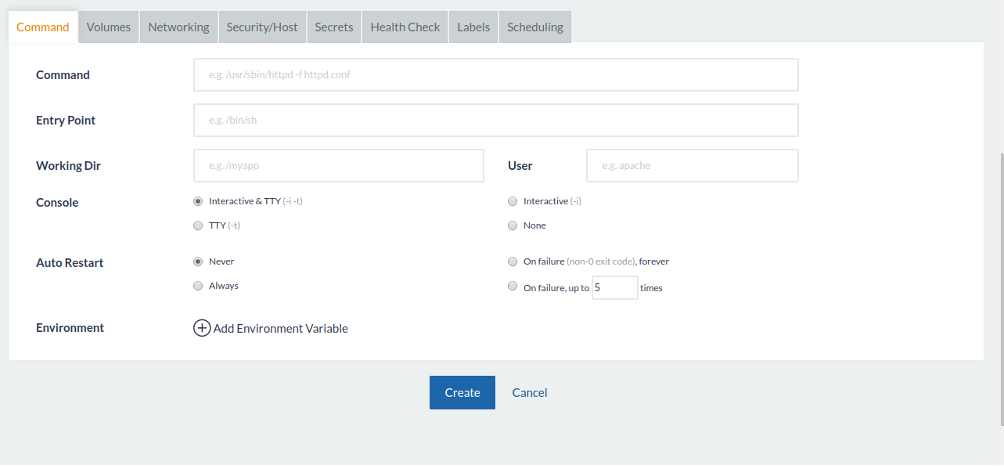
Provide your container name, port number, and image and click on the Create button. Once the container has been created successfully, you should see your WordPress container in the following screen:
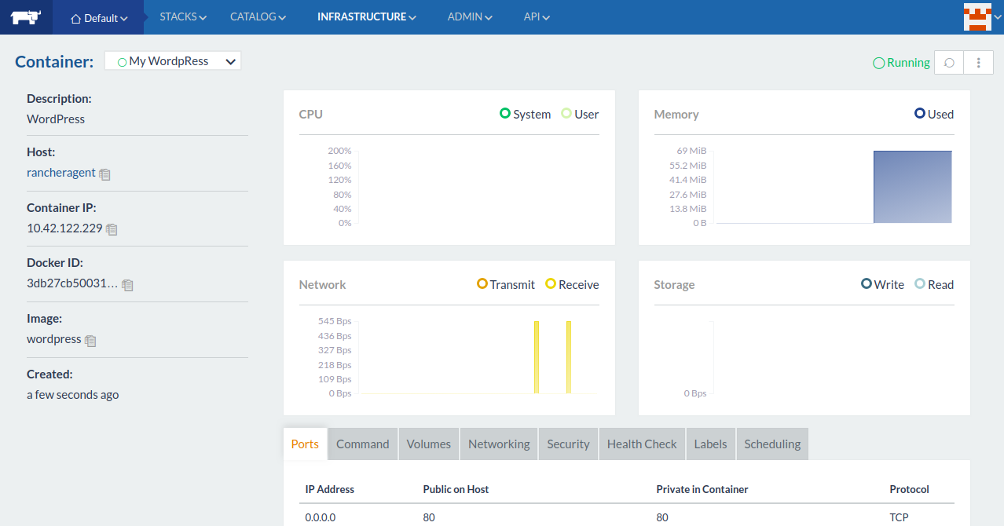
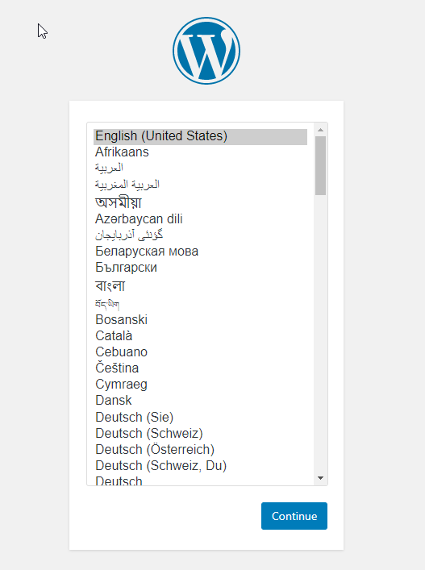
You can view your Docker WordPress image by entering your Rancher Client IP and the port you configured, e.g. 185.50.60.70:80
Conclusion
In the above guide, you learned how to install Rancher server and Rancher agent on Ubuntu 20.04 VPS. You have also deployed new WordPress container with Rancher. You can now easily manage and deploy containers using the Rancher web interface. Get started with Rancher on dedicated server hosting from Atlantic.Net!
* This post is for informational purposes only and does not constitute professional, legal, financial, or technical advice. Each situation is unique and may require guidance from a qualified professional.
Readers should conduct their own due diligence before making any decisions.