Docker is a free and open-source platform that allows you to build, package, and run applications in a lightweight container. It helps you to separate your applications from your infrastructure so you can deliver software quickly.
Django is an open-source web application framework that follows the Model-View-Controller architecture. Written in Python, it is used for rapidly developed, pragmatically designed, and secure websites.
In this tutorial, we will explain how to deploy Python Django web application in the Docker environment.
Step 1 – Install Docker and Docker Compose
First, you will need to install Docker and Docker Compose in your system. By default, the latest version of Docker is not available in the Ubuntu 20.04 default repository, so you will need to add the repository for that.
First, install all dependencies with the following command:
apt-get install apt-transport-https curl gnupg2 software-properties-common tree -y
Once all the dependencies are installed, import the GPG key with the following command:
curl -fsSL https://download.docker.com/linux/ubuntu/gpg | apt-key add -
Next, add the Docker official repository with the following command:
add-apt-repository "deb [arch=amd64] https://download.docker.com/linux/ubuntu $(lsb_release -
cs) stable"
Once the repository has been added, install the Docker and Docker Compose with the following command:
apt-get install docker-ce docker-compose -y
Once both packages are installed, verify the installed version of Docker with the following command:
docker -v
Output:
Docker version 19.03.13, build 4484c46d9d
You can also check the Docker Compose version using the following command:
docker-compose -v
Output:
docker-compose version 1.25.0, build unknown
Step 2 – Create a Dockerfile
Next, you will need to create a Dockerfile to build a container image for your Django application.
First, create a project directory named myapp with the following command:
mkdir ~/myapp
Next, change the directory to myapp and create a new Dockerfile with the following command:
cd ~/myapp
nano Dockerfile
Add the following lines:
FROM python:3
ENV PYTHONUNBUFFERED=1
RUN mkdir /code
WORKDIR /code
COPY requirements.txt /code/
RUN pip install -r requirements.txt
COPY . /code/
Save and close the file when you are finished.
The above file will pull the official Python image from Dockerhub, create a code directory inside the container, and install the requirements listed in the requirements.txt file.
Next, create a requirements.txt file and add the required modules:
nano requirements.txt
Add the following lines:
Django==3.0.7
psycopg2-binary==2.8.5
Save and close the file when you are finished.
Step 3 – Create a Docker-compose.yml File
Docker compose is a tool used for defining and running multi-container Docker applications. You can create a docker-compose.yml file with the following command:
nano ~/myapp/docker-compose.yml
Add the following lines:
version: "3.7"

services:
db:
image: postgres
environment:
- POSTGRES_DB=postgres
- POSTGRES_USER=postgres
- POSTGRES_PASSWORD=postgres
web:
build: .
command: python manage.py runserver 0.0.0.0:8000
volumes:
- .:/code
ports:
- "8000:8000"
depends_on:
- db
Save and close the file when you are finished.
The above file will create the database service named db using the PostgreSQL image and create our python Django container using the custom docker images generated from our Dockerfile.
Step 4 – Create a Django Project
Next, you will need to download the sample Django project named composeexample inside your project directory.
First, change the directory to ~/myapp and run the following command:
cd ~/myapp
docker-compose run web django-admin startproject composeexample
This will download the composeexample project in the current directory.
Next, copy the required directory and files from the downloaded directory with the following command:
mv composeexample /opt/
mv /opt/composeexample/* .
Your project directory structure will look like the following:
tree
Output:
.
├── composeexample
│ ├── asgi.py
│ ├── __init__.py
│ ├── __pycache__
│ │ ├── __init__.cpython-39.pyc
│ │ ├── settings.cpython-39.pyc
│ │ ├── urls.cpython-39.pyc
│ │ └── wsgi.cpython-39.pyc
│ ├── settings.py
│ ├── urls.py
│ └── wsgi.py
├── docker-compose.yml
├── Dockerfile
├── manage.py
└── requirements.txt
Next, you will need to edit the settings.py file and define your database settings and allowed hosts:
nano composeexample/settings.py
Change the following lines:
ALLOWED_HOSTS = ['your-server-ip']

DATABASES = {
'default': {
'ENGINE': 'django.db.backends.postgresql',
'NAME': 'postgres',
'USER': 'postgres',
'PASSWORD': 'postgres',
'HOST': 'db',
'PORT': 5432,
}
}
Save and close the file when you are finished.
Step 5 – Build and Run the Docker Image
Next, change the directory to your project and build the image with the following command:
docker-compose build
This will download the required images to your system:
---> ad21d53c5de1
Step 7/7 : COPY . /code/
---> 0d912d4c215b

Successfully built 0d912d4c215b
Successfully tagged myapp_web:latest
Next, start the all containers by running the following command:
docker-compose up -d
You should get the following output:
Pulling db (postgres:)...
latest: Pulling from library/postgres
bb79b6b2107f: Pull complete
e3dc51fa2b56: Pull complete
f213b6f96d81: Pull complete
2780ac832fde: Pull complete
ae5cee1a3f12: Pull complete
95db3c06319e: Pull complete
475ca72764d5: Pull complete
8d602872ecae: Pull complete
c4fca31f2e3d: Pull complete
a00c442835e0: Pull complete
2e2305af3390: Pull complete
6cff852bb872: Pull complete
25bb0be11543: Pull complete
4738c099c4ad: Pull complete
Digest: sha256:8f7c3c9b61d82a4a021da5d9618faf056633e089302a726d619fa467c73609e4
Status: Downloaded newer image for postgres:latest
Creating myapp_db_1 ... done
Creating myapp_web_1 ... done
Now, you can verify the running containers with the following command:
docker-compose ps
You should get the following output:
Name Command State Ports
-----------------------------------------------------------------------------
myapp_db_1 docker-entrypoint.sh postgres Up 5432/tcp
myapp_web_1 python manage.py runserver ... Up 0.0.0.0:8000->8000/tcp
You can also list all downloaded images with the following command:
docker-compose images
You should get the following output:
Container Repository Tag Image Id Size
-----------------------------------------------------------
myapp_db_1 postgres latest c96f8b6bc0d9 314.1 MB
myapp_web_1 myapp_web latest 0d912d4c215b 928.6 MB
If you have any problem running the container, you can verify the container log with the following command:
docker-compose logs
Step 6 – Access Django Web UI
At this point, the Django container is started and running on port 8000. You can access it using the URL http://your-server-ip:8000. You should see your Django application dashboard on the following screen: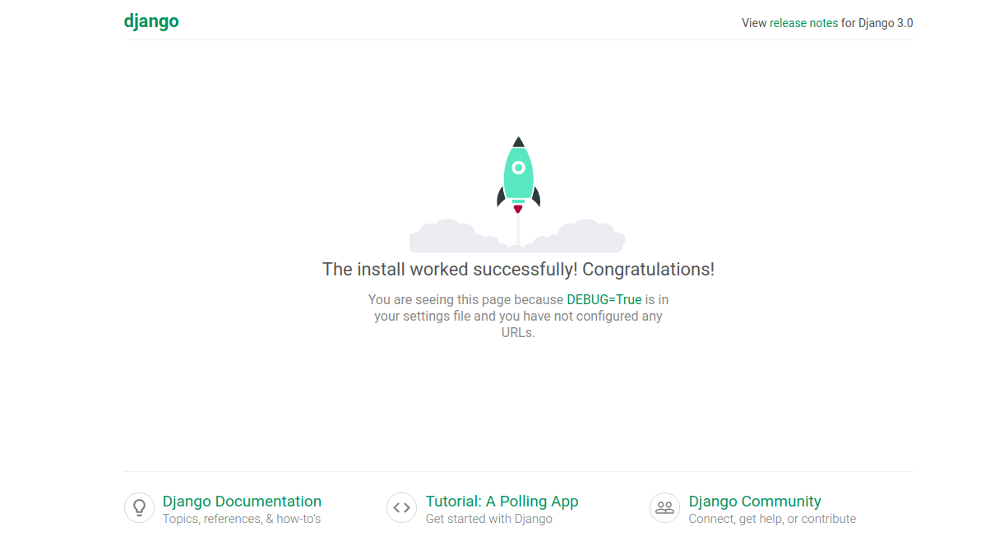
Conclusion
Congratulations! You have successfully deployed the Django application with Docker on Ubuntu 20.04. You should now be able to deploy your Python application easily with Docker. Try it today on dedicated server hosting from Atlantic.Net!
* This post is for informational purposes only and does not constitute professional, legal, financial, or technical advice. Each situation is unique and may require guidance from a qualified professional.
Readers should conduct their own due diligence before making any decisions.