Verified and Tested 03/27/2015
Introduction
In this How-To, we will walk you through Building a Static Website on IIS Windows Server 2012.
Static content is considered to be HTML files. These types of files have no movement and hardly change, such as pictures or text documents.
Prerequisites
– A Server with Windows Server 2012.
– Internet Information Services(IIS) installed on your server. If you need to install IIS, follow our guide Install IIS On Windows Server 2012 R2.
Build a Static Website on IIS using Windows Server 2012
Open Server Manager, select IIS, right-click your server, and select Internet Information Services (IIS) Manager.
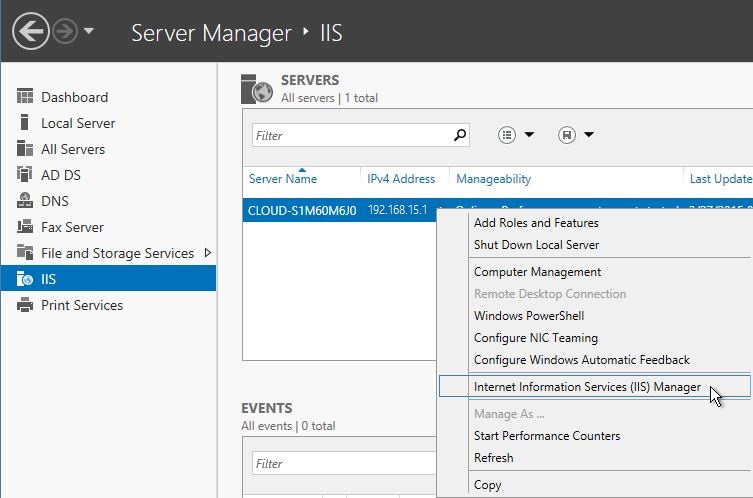 Internet Information Services (IIS) Manager
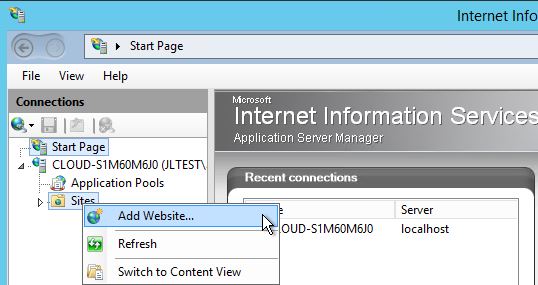
In the Connections pane, right-click the Sites node in the tree, and then click Add Website.
 IIS: Add websiteIn the Add Website dialog box, enter a friendly name for your website in the Site name box.
If you want to select a different application pool than the one listed in the Application Pool box, click Select. In the Select Application Pool dialog box, select an application pool from the Application Pool list and then click OK.
In the Physical path box, enter the physical path of the website’s folder, or click the browse button (…) to navigate the file system to find the folder. (Note: It is best to make a folder in your C: specifically for your websites. I have named mine www)
If the physical path that you entered in the previous step is to a remote share, click Connect as to specify credentials that have permission to access the path. If you do not use specific credentials, select the Application user (pass-through authentication) option in the Connect As dialog box.
Select the protocol for the website from the Type list.
If you must specify a static IP address for the website (by default, this is set to All Unassigned), enter the IP address in the IP address box.
Enter a port number in the Port text box.
Optionally, enter a host header name for the website in the Host Header box.
If you do not have to make any changes to the site, and you want the website to be immediately available, select the Start Website immediately check box.
Click OK.
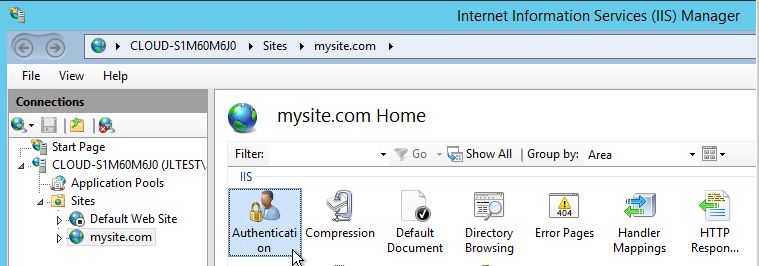
 Add Website FormIn Features View of IIS Manager, double-click Authentication.
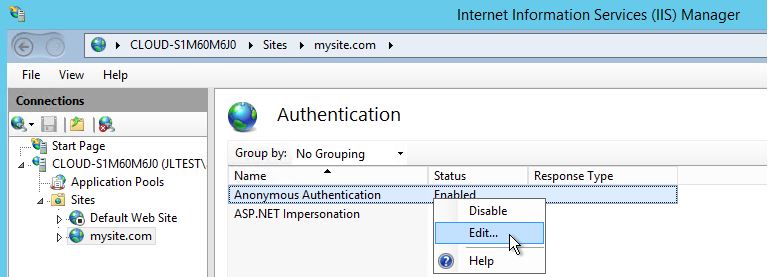
 Website Authentication
Select Anonymous Authentication/right-click and select Edit to set the security principal (user credentials) under which anonymous users will connect to the site.
 Edit Anonymous Authentication
In the Edit Anonymous Authentication Credentials dialog box, select one of the following options:
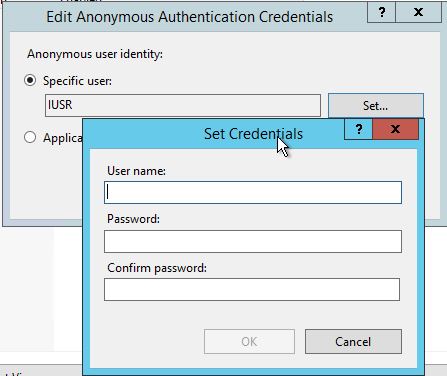
If you want to configure a specific user account that IIS uses to access your site or application, select Specific user. Then click Set to open the Set Credentials dialog box and enter a user name and password for the identity. Then click OK.
If you want IIS processes to run by using the account specified on the property page for the application pool, select Application pool identity. By default, this identity is the IUSR account.
(Recommended: Change the default IUSR account to your username. If you leave it set to IUSR, you grant anonymous users all the internal network access associated with that account)
Click OK to close the Edit Anonymous Authentication Credentials dialog box.
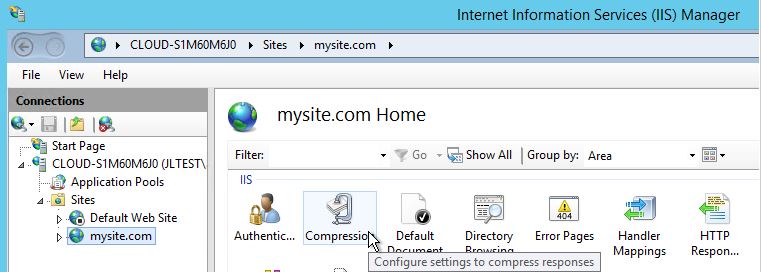
 Credentials FormIn Features View of IIS Manager, double-click Default Document.
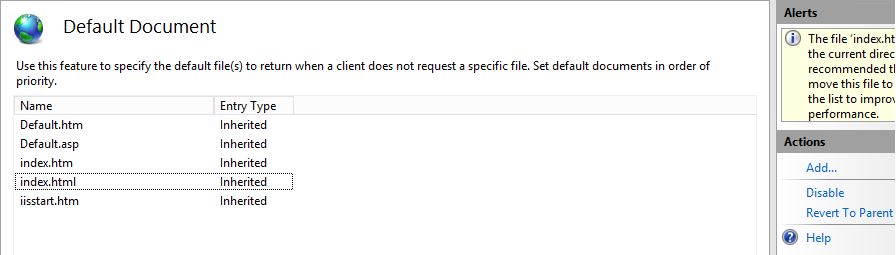
 Default DocumentIn the Actions pane, click Add.
In the Name box, enter the file name you want to add to the list of default documents and then click OK. This filename is added to the top of the default document list.
Optionally, select a default document in the list, and in the Actions pane, click Move Up or Move Down to change the file’s precedence.
Optionally, select a default document in the list, and in the Actions pane, click Remove to remove any file names that you do not want to use as default documents.
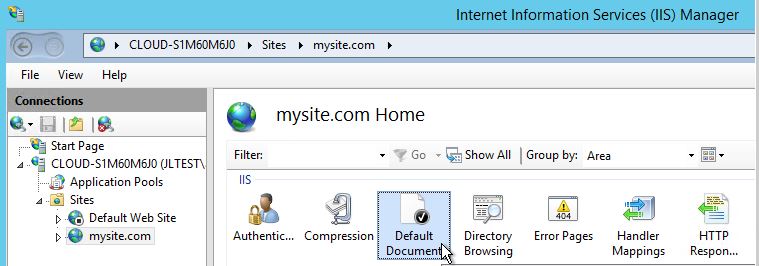
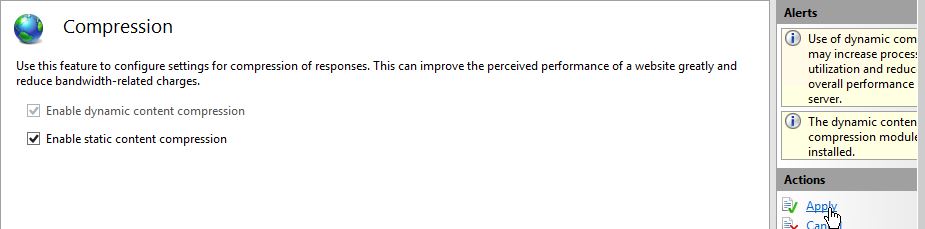
 Default DocumentIn Features View of IIS Manager, double-click Compression.
 Configure compressionSelect Enable static content compression to configure IIS to compress static content/ Then click Apply
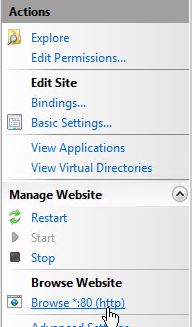
 Static Content CompressionYou can now test your site by doing the following: Click on your site / in the Action pane select Browse *:80 (http)
 View your website
Congratulations! You have just Built a Static Site on IIS Windows Server 2012. Thank you for following along in this How-To, and check back with us for new updates soon.
Learn more about our HIPAA compliant web hosting, HIPAA cloud hosting solutions, and see our HIPAA compliance guide.
* This post is for informational purposes only and does not constitute professional, legal, financial, or technical advice. Each situation is unique and may require guidance from a qualified professional.
Readers should conduct their own due diligence before making any decisions.