Introduction
There are times when you may have a need for a Cloud Server with an operating system, virtual appliance, application, partition scheme, filesystems, packages, etc. that are not offered by one of the standard operating systems or One-click applications offered by Atlantic.Net. To answer this need, Atlantic.Net offers the ability for you to create a Cloud Server using the ISO image of your choice in addition to our standard operating systems and one-click applications.
Some highlights offered when creating a Cloud Server from an ISO
- All non-Windows Operating Systems or Application ISOs are currently supported (Windows support coming soon).
- Freedom and flexibility to choose any Cloud plan or Cloud location for your custom Cloud Server.
- Complete control to choose your operating system, virtual application, partition scheme, filesystems, packages, etc. for your Cloud Server.
- Great solution for customers that need customized solutions, specific compliance and regulatory requirements, and/or have specialized applications.
What you will learn in this guide
Creating a Cloud Server from an ISO
Accessing the Cloud Server Console to perform the install of the Cloud Server
Detaching an ISO from the Cloud Server
Creating a Cloud Server from an ISO
Menu Navigation – click on Server in the https://cloud.atlantic.net control panel
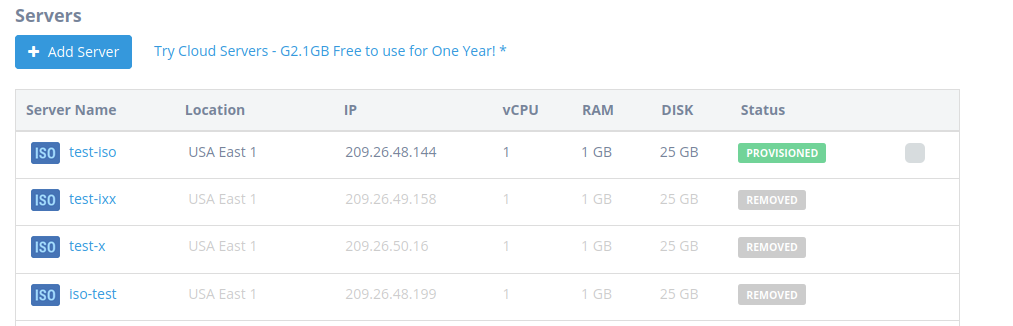
Visit the Add Server Page – click on the Add Server button
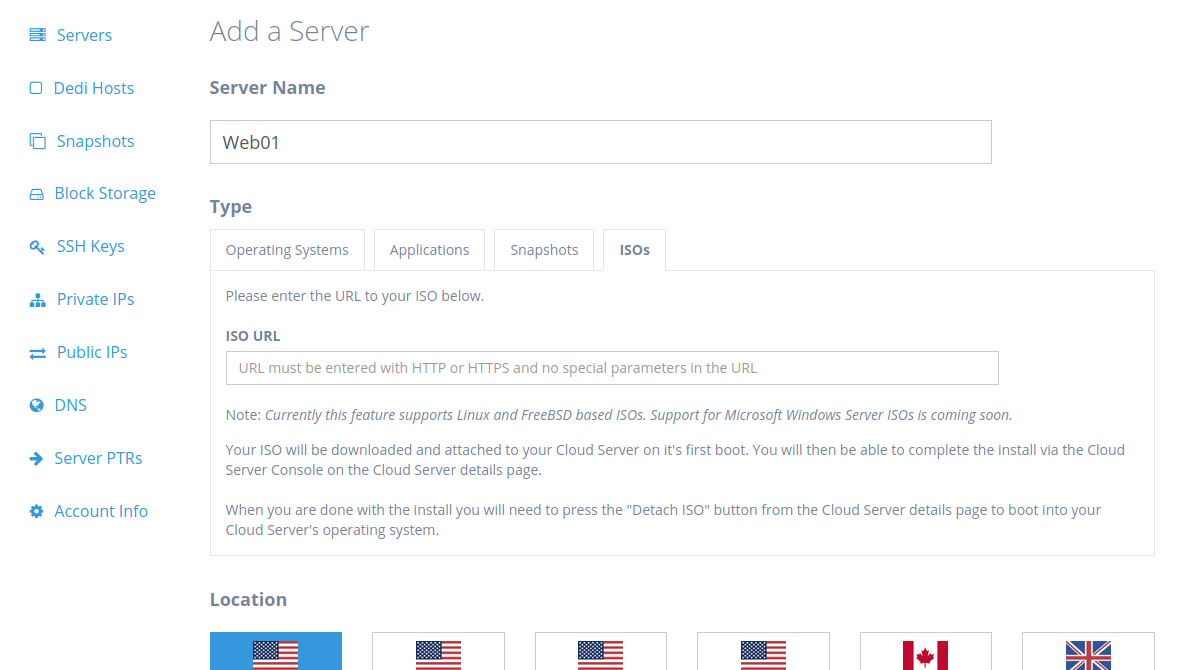
Create your Cloud Sever using an ISO
- Click on the ISOs tab in the Type section
- Enter the URL to your ISO (example: https://releases.ubuntu.com/20.04.1/ubuntu-20.04.1-live-server-amd64.iso)
- Proceed with selecting the rest of your desired Cloud Server options and press the Create Server button
Accessing the Cloud Server Console to perform the install of the Cloud Server
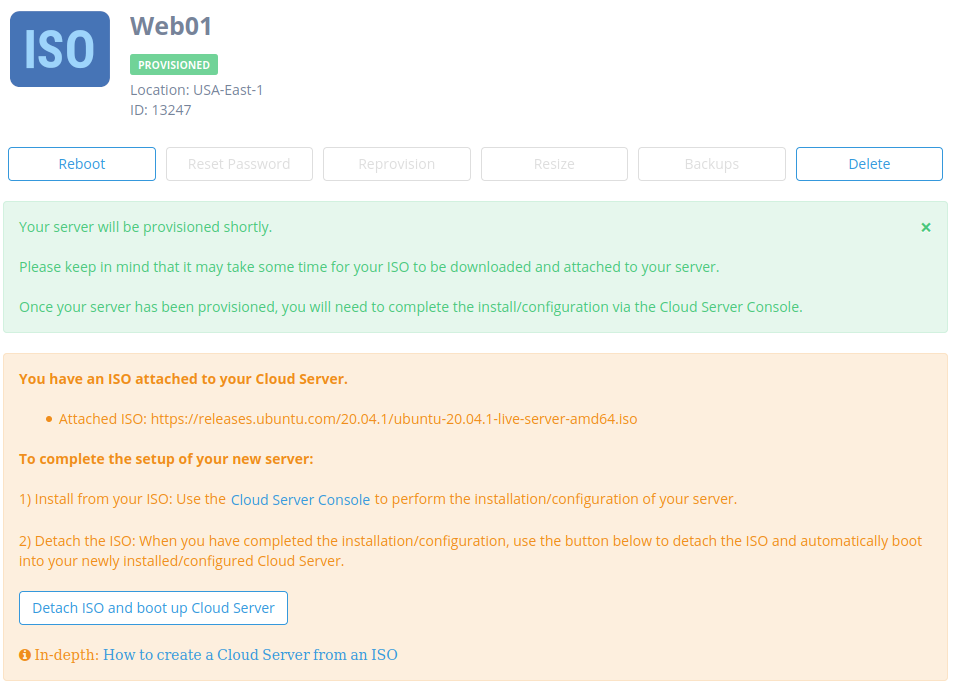
On the Server Details page, you will see instructions to complete the install/configuration of your Cloud Server using the Cloud Server Console.
You will also see information regarding the ISO that is attached to your Cloud Server.
Click on the Start Console button to launch the Cloud Server Console.
Note: While an ISO is attached to your Cloud Server the actions you can take through the control panel and API on that server are restricted to certain allowed actions. Additionally, you will only be able to boot from the ISO. When you are done with the installation/configuration of your Cloud Server you will need to detach the ISO to boot into your configured Cloud Server.

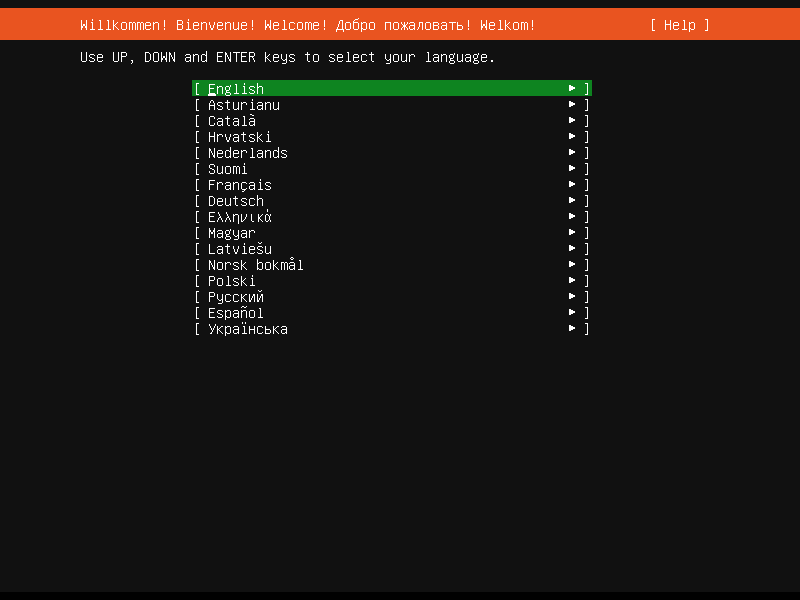
Once the page is done loading you should see the console of your Cloud Server and be able to begin install/setup of your operating system, virtual appliance, or application.
Note: It may take some time for your ISO to finish downloading and load for use. The time it takes will largely depend on the bandwidth of the site providing the ISO and the size of the ISO.
Detaching an ISO from the Cloud Server
Once you are done with the installation/setup of your operating system, virtual appliance, or application, you will need to detach the ISO from your Cloud Server to boot from your installed/configured Cloud Server.
Click on the Detach ISO and boot up Cloud Server option to detach the ISO from your Cloud server.
Once the ISO is done detaching from your Cloud Server it will be booted automatically from storage instead of the ISO.
You will also see that the ISO is not longer attached to your Cloud Server in the Control Panel and that you have additional actions available to you that were not available when the ISO was attached.
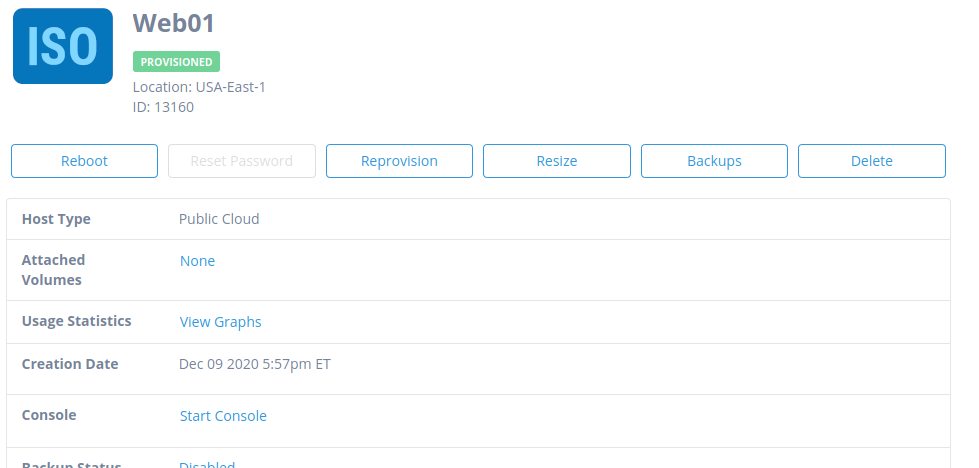
Your Cloud Server is now ready for normal use. Enjoy!
* This post is for informational purposes only and does not constitute professional, legal, financial, or technical advice. Each situation is unique and may require guidance from a qualified professional.
Readers should conduct their own due diligence before making any decisions.