Parse Server is a free and open-source Backend-as-a-Service platform developed by Facebook. It is written in Node.js and can be used for any application running Node.js. Parse Server comes with a simple and easy-to-use web interface that can be used for data manipulation, to view analytics, and to schedule and send push notifications.
In this tutorial, we will show you how to install Parse Server on Ubuntu 20.04.
Step 1 – Install MongoDB
By default, MongoDB is available in the Ubuntu 20.04 default repository. You can install it by running the following command:
apt-get install mongodb-server -y
Once the MongoDB is installed, you can verify the status of MongoDB with the following command:
systemctl status mongodb
You should see the following output:
● mongodb.service - An object/document-oriented database
     Loaded: loaded (/lib/systemd/system/mongodb.service; enabled; vendor preset: enabled)
     Active: active (running) since Thu 2020-08-06 07:32:44 UTC; 30s ago
       Docs: man:mongod(1)
   Main PID: 3222 (mongod)
      Tasks: 23 (limit: 4691)
     Memory: 42.0M
     CGroup: /system.slice/mongodb.service
             └─3222 /usr/bin/mongod --unixSocketPrefix=/run/mongodb --config /etc/mongodb.conf
Aug 06 07:32:44 ubuntu2004 systemd[1]: Started An object/document-oriented database.
Step 2 – Install Node.js
First, install the necessary dependencies using the following command.
apt-get install -y ca-certificates curl gnupg
Next, download the Node.js GPG key.
mkdir -p /etc/apt/keyrings
curl -fsSL https://deb.nodesource.com/gpgkey/nodesource-repo.gpg.key | gpg --dearmor -o /etc/apt/keyrings/nodesource.gpg
Next, add the NodeSource repo to the APT source list.
echo "deb [signed-by=/etc/apt/keyrings/nodesource.gpg] https://deb.nodesource.com/node_18.x nodistro main" | tee /etc/apt/sources.list.d/nodesource.list
Then, update the repository index and install the Ndoe.js with the following command.
apt update
apt-get install -y nodejs
Next, verify the Node.js version using the following command.
node -v
Output.
v18.19.0
Step 3 – Install Parse Server
You can install the parse-server module using the Yarn package manager as shown below:
yarn global add parse-server
Once installed, you will need to create a parse server configuration file and define the attributes of the parse server. You can create it with the following command:
nano config.json
Add the following lines:
{
  "appName": "My Parse Server",
  "databaseURI": "mongodb://localhost:27017/parsedb",
  "appId": "KSDJFKASJFI3S8DSJFDH",
  "masterKey": "LASDK823JKHR87SDFJSDHF8DFHASFDF",
  "serverURL": "https://localhost:1337/parse",
  "publicServerURL": "https://0.0.0.0:1337/parse",
  "port": 1337
}
Save and close the file then start the parse server using the following command:
nohup parse-server config.json &
At this point, the parse server is started and listening on port 1337. You can verify it with the following command:
ss -ant | grep 1337
You should get the following output:
LISTEN     0       511            0.0.0.0:1337            0.0.0.0:*
TIME-WAIT  0       0            127.0.0.1:1337          127.0.0.1:40568
Step 4 – Configure Parse Server Dashboard
Parse server comes with a powerful dashboard that allows you to access the Parse server through a web browser. You can install the parse dashboard with the following command:
yarn global add parse-dashboard
After installing the Parse dashboard, create a configuration file for the Parse dashboard with the following command:
nano parse-darshboard-config.json
Add the following lines:
{
  "apps": [
    {
      "serverURL": "http://your-server-ip:1337/parse",
      "appId": "KSDJFKASJFI3S8DSJFDH",
      "masterKey": "LASDK823JKHR87SDFJSDHF8DFHASFDF",
      "allowInsecureHTTP": "true",
      "appName": "MyApp1"
    }
  ],
 "users": [
    {
      "user":"admin",
      "pass":"yourpassword"
    }
  ],
  "iconsFolder": "icons"
}
Save and close the file, then start the Parse dashboard with the following command:
nohup parse-dashboard --dev --config parse-darshboard-config.json &
At this point, the Parse dashboard is started and listening on port 4040. You can verify it with the following command:
ss -ant | grep 4040
You should get the following output:
LISTEN 0 511 0.0.0.0:4040 0.0.0.0:*
Step 5 – Verify Parse Server
At this point, the Parse server is installed and configured. Now, perform some tests to make sure it’s running.
First, add some values to the Parse server with the following command:
curl -X POST -H "X-Parse-Application-Id: KSDJFKASJFI3S8DSJFDH" -H "Content-Type: application/json" -d '{"score":1337,"InventoryName":"Desktops","cheatMode":false}' http://localhost:1337/parse/classes/Inventory
You should get the following output:
{"objectId":"BCq9j8fPfM","createdAt":"2020-08-06T07:48:14.530Z"}
Now, fetch the value from the Parse server using the following command:
curl -X GET -H "X-Parse-Application-Id: KSDJFKASJFI3S8DSJFDH" http://localhost:1337/parse/classes/Inventory/BCq9j8fPfM
You should get the following output:
{"objectId":"BCq9j8fPfM","score":1337,"InventoryName":"Desktops","cheatMode":false,"createdAt":"2020-08-06T07:48:14.530Z","updatedAt":"2020-08-06T07:48:14.530Z"}
Step 6 – Access Parse Server Dashboard
You can also access the parse server dashboard by visiting the URL http://your-server-ip:4040 in your web browser. You should see the following screen:
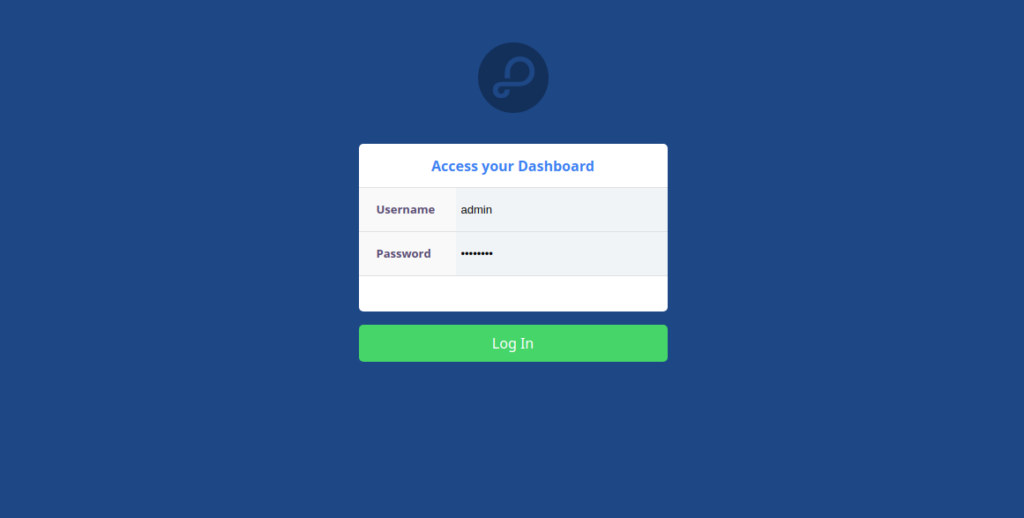
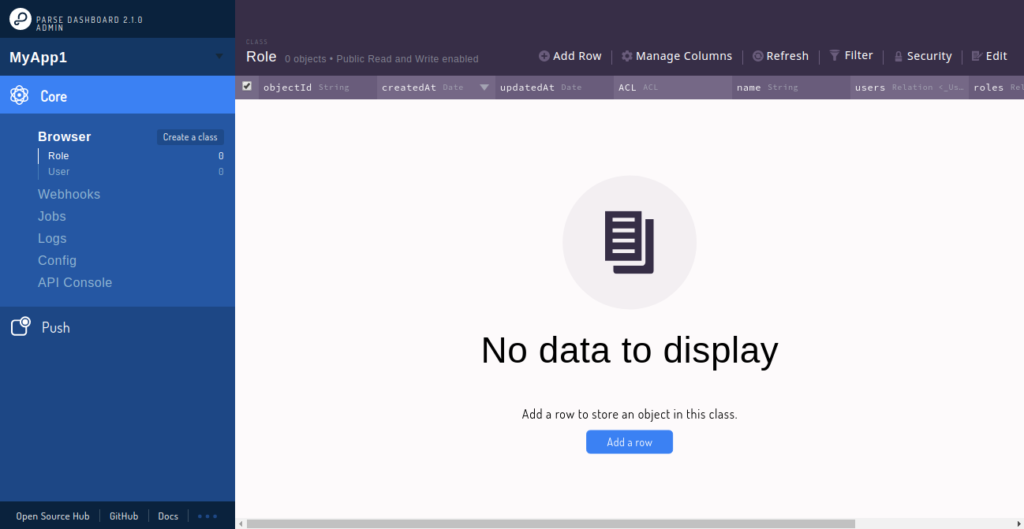
Provide your admin username and password which you have defined in the Parse dashboard configuration file and click on the Log in button. You should see the Parse server dashboard in the following screen:
Conclusion
In this guide, you learned how to install Parse Server and Parse Dashboard in Ubuntu 20.04 server. You can now build your mobile application’s backend with Parse Server on a VPS Hosting account from Atlantic.Net!
* This post is for informational purposes only and does not constitute professional, legal, financial, or technical advice. Each situation is unique and may require guidance from a qualified professional.
Readers should conduct their own due diligence before making any decisions.