CTparental is an open-source parental control software for controlling computer usage and Internet browsing. This simple, powerful tool is one of the best at filtering website access. It is made from components like dnsmasq, iptables, and inguardian privoxy, making CTparental a fully-fledged parental control solution. It supports several web browsers, including Firefox, Midori, Chromium, and more.
This post will explain how to install CTparental on Ubuntu 20.04 VPS.
Step 1 – Install CTparental
By default, the CTparental package is not included in the Ubuntu default repository, so you must download the CTparental .deb file from the Gitlab website. You can download it with the following command:
apt-get update -y
wget -c https://gitlab.com/marsat/CTparental/uploads/bff8a619a7993256c4249ba8c881673f/ctparental_ubuntu20.04_lighttpd_4.44.18-1.0_all.deb
Once the file is downloaded, install the downloaded file with the following command:
dpkg -i ctparental_ubuntu20.04_lighttpd_4.44.18-1.0_all.deb
Next, run the following command to resolve the dependency error:
apt-get install -f
During the installation, you will be asked to provide a CTparental admin username as shown below:
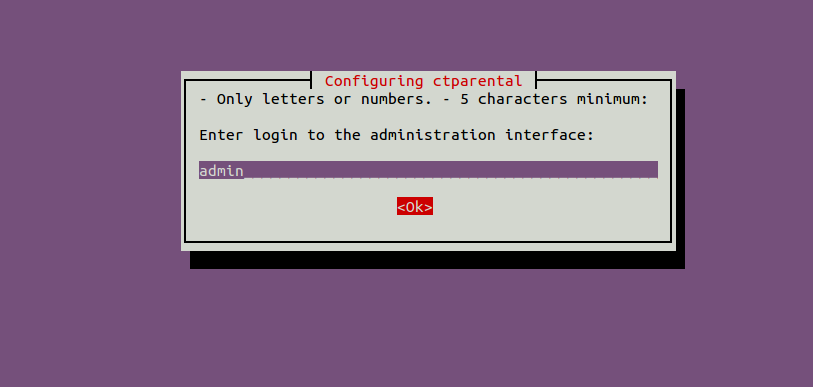
Provide your admin username and hit Enter. You will be asked to provide the password as shown below:
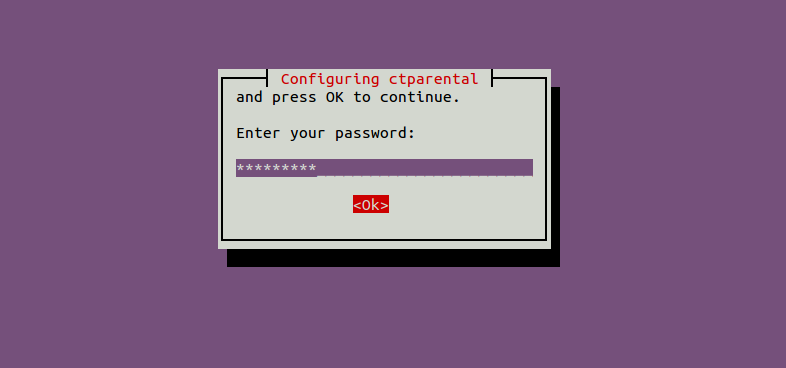
Provide your secure password and hit Enter to finish the installation.
CTparental all configuration files are located at /etc/CTparental directory. You can see them with the following command:
ls /etc/CTparental/
You should see the following output:
blacklist-enabled         CThourscompteur  dip-blackliste.conf   GCToff.conf           ipv6filter-available  nftables-timerweb
blacklists.tar.gz.md5sum  CThours.conf     dip-rehabiliter.conf  ip-blackliste.conf    ipv6filter-enable     resolv.conf.sav
bl-categories-available   CTparental.conf  dist.conf             ipv4filter-available  ipv6-rehabiliter      sshd
categories-enabled.conf   CTsafe.conf      dnsfilter-available   ipv4filter-enable     nftables.conf         whitelist-enabled
categoriesmd5sum          ctsync.conf      domaine-rehabiliter   ipv4-rehabiliter      nftables-save.nft     wl-categories-available
Step 2 – Configure CTparental
By default, CTparental is configured to listen on 127.0.0.11. You will need to configure it to listen to your public IP so you can access the CT parental web UI from the remote machine.
You can configure it with the following command:
sed -i 's/127.0.0.11/your-server-ip/g' /etc/lighttpd/conf-enabled/90-CTparental.conf
The above command will replace the IP 127.0.0.11 with your-server-ip.
Now, restart the Lighttpd service to apply the changes:
systemctl restart lighttpd
Step 3 – Access CTparental web UI
Before accessing the CTparental web interface, you must edit the /etc/hosts file of the Linux system from where you want to access the CTparental.
nano /etc/hosts
Add the following lines:
your-server-ip admin.ct.local
Save and close the file, then open your web browser and access the CTparental web UI using the URL https://admin.ct.local. You will be redirected to the CTparental login page:
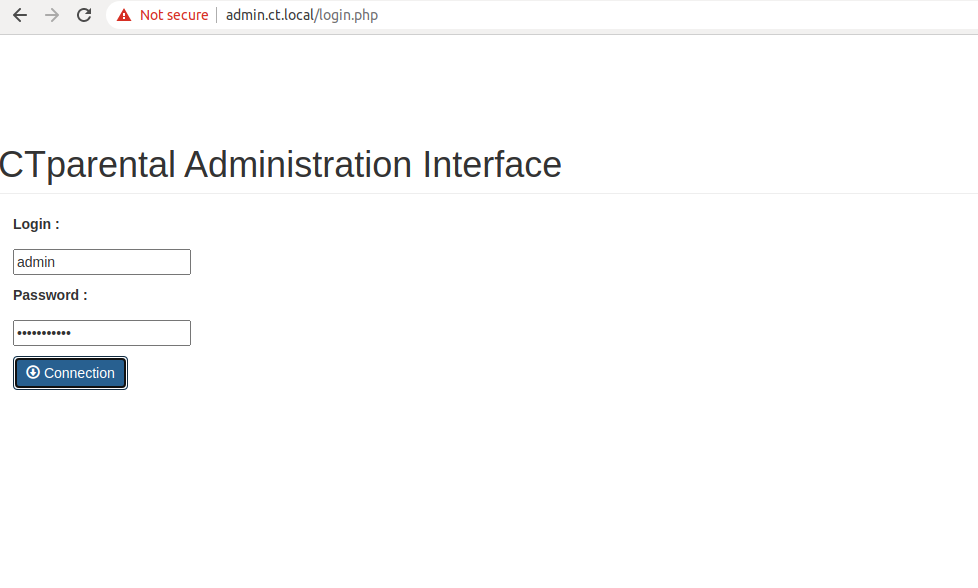
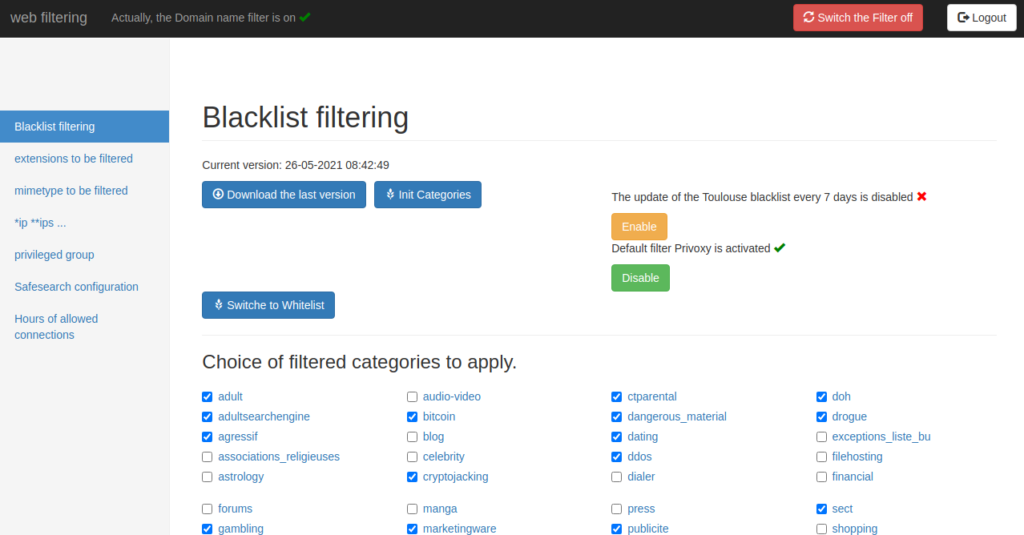
Provide your username and password, and click on the Connection button. You should see the CTparental dashboard on the following page:
Conclusion
The above guide taught you how to install and configure CTparental on an Ubuntu 20.04 VPS. You can now control computer usage and internet browsing from the CTparental dashboard on your VPS from Atlantic.Net.
* This post is for informational purposes only and does not constitute professional, legal, financial, or technical advice. Each situation is unique and may require guidance from a qualified professional.
Readers should conduct their own due diligence before making any decisions.