PrestaShop is an e-commerce solution that allows you to create your own online shop easily. It is written in PHP and uses MySQL/MariaDB to store its content. PrestaShop provides a simple and efficient platform to sell and manage your product online. It offers very useful features including inventory management, invoicing, shipping, product catalogs, multiple payment gateway support, and many more.
In this post, we will show you how to install PrestaShop with Apache on Ubuntu 20.04 VPS.
Step 1 – Install Apache, MariaDB, and PHP
First, you will need to install the Apache webserver, MariaDB database, PHP, and other packages to your system. You can install all of them with the following command:
apt-get update -y
apt-get install apache2 mariadb-server php7.4 libapache2-mod-php7.4 php7.4-gd php7.4-mbstring php7.4-mysql php7.4-curl php-xml php-cli php7.4-intl php7.4-zip unzip -y
After installing all the packages, edit the php.ini file:
nano /etc/php/7.4/apache2/php.ini
Change the following settings per your requirements:
memory_limit = 512M
post_max_size = 32M
upload_max_filesize = 32M
date.timezone = Asia/Kolkata
Save and close the file, then restart the Apache service to apply the changes:
systemctl restart apache2
Step 2 – Create a PrestaShop Database
Next, you will need to create a database for PrestaShop to store their content.
First, connect to MySQL with the following command:
mysql
Once connected, create a database and user with the following command:
CREATE DATABASE prestadb;
GRANT ALL PRIVILEGES ON prestadb.* TO 'prestauser'@'localhost' IDENTIFIED BY 'password';
Next, flush the privileges to apply the changes:
FLUSH PRIVILEGES;
Next, exit from the MySQL with the following command:
EXIT;
Step 3 – Download PrestaShop
First, go to the PrestaShop Git Hub repository page and download the latest version of PrestaShop with the following command:
wget https://github.com/PrestaShop/PrestaShop/releases/download/1.7.7.4/prestashop_1.7.7.4.zip
Once the download is completed, unzip the downloaded file to the Apache root directory:
unzip prestashop_1.7.7.4.zip -d /var/www/html/prestashop
Next, set proper permissions to the PrestaShop directory:
chown -R www-data:www-data /var/www/html/prestashop/
chmod -R 755 /var/www/html/prestashop
Once you are done, you can proceed to the next step.
Step 4 – Configure Apache for PrestaShop
Next, you will need to create an Apache virtual host configuration file to host PrestaShop. You can create it with the following command:
nano /etc/apache2/sites-available/prestashop.conf
Add the following lines:
<VirtualHost *:80>
   ServerAdmin admin@example.com
   DocumentRoot /var/www/html/prestashop
   ServerName presta.example.com

   <Directory /var/www/html/prestashop>
        Options FollowSymlinks
        AllowOverride All
        Require all granted
   </Directory>
ErrorLog ${APACHE_LOG_DIR}/example_error.log
CustomLog ${APACHE_LOG_DIR}/example_access.log combined
</VirtualHost>
Save and close the file, then enable the PrestaShop virtual host with the following command:
a2ensite prestashop
Next, enable the Apache rewrite module and restart the Apache service to apply the changes:
a2enmod rewrite
systemctl restart apache2
Now, your Apache web server is configured to serve PrestaShop. You can now proceed to access PrestaShop.
Step 5 – Access PrestaShop Web UI
Now, open your web browser and type the URL http://presta.example.com. You should see the following page:
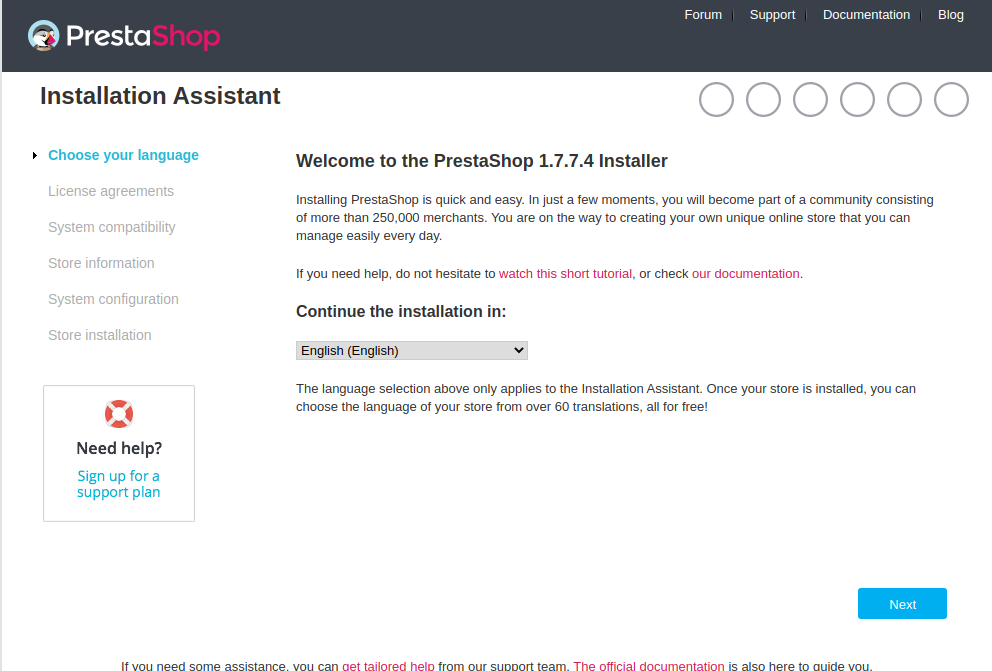
Choose your language and click on Next. You should see the following page:
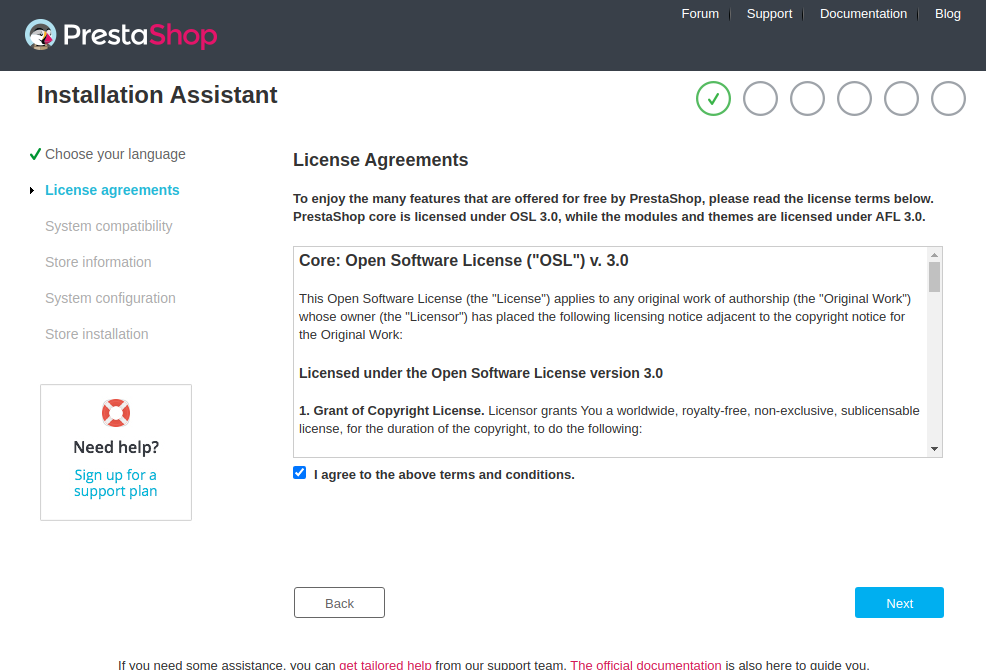
Accept the license and click on the Next. You should see the following page:
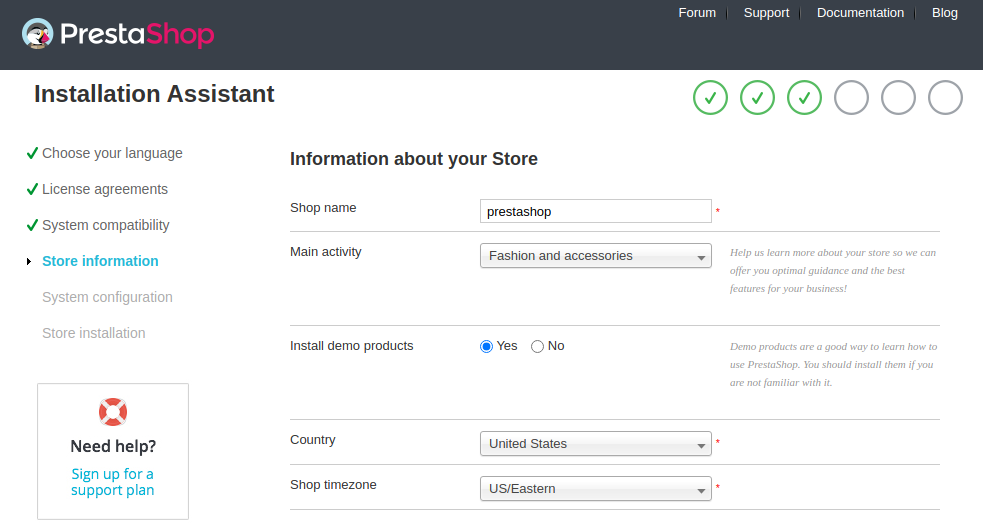
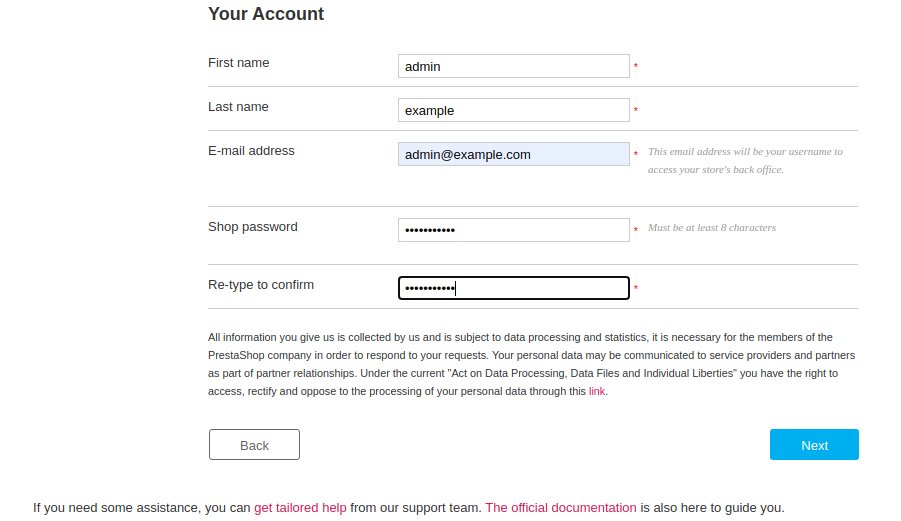
Provide your site information and click on the Next. You should see the following page:
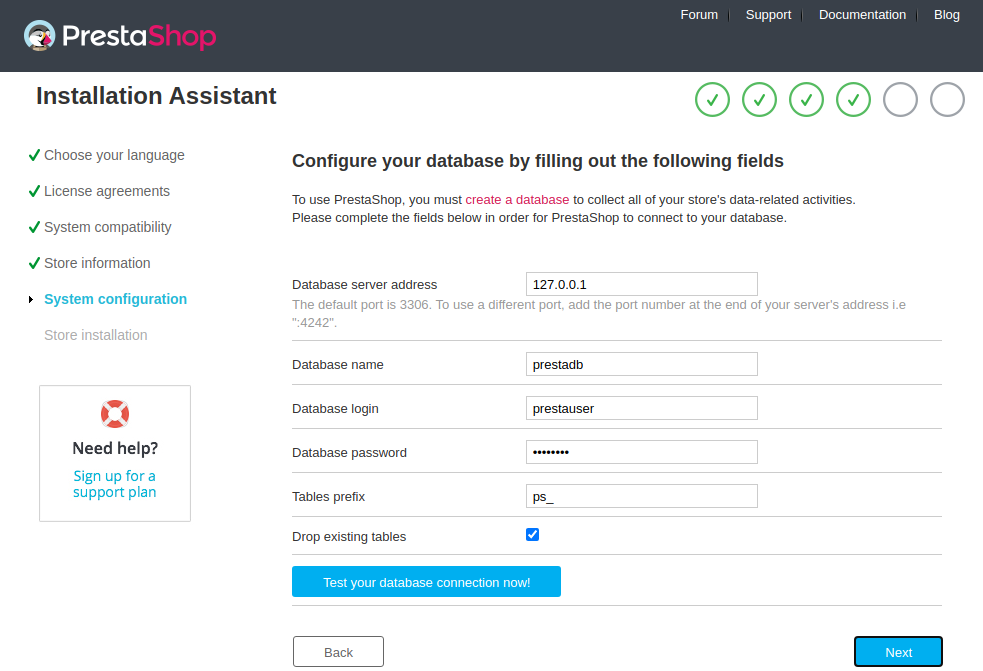
Provide your database information and click on the Next. You should see the following page:
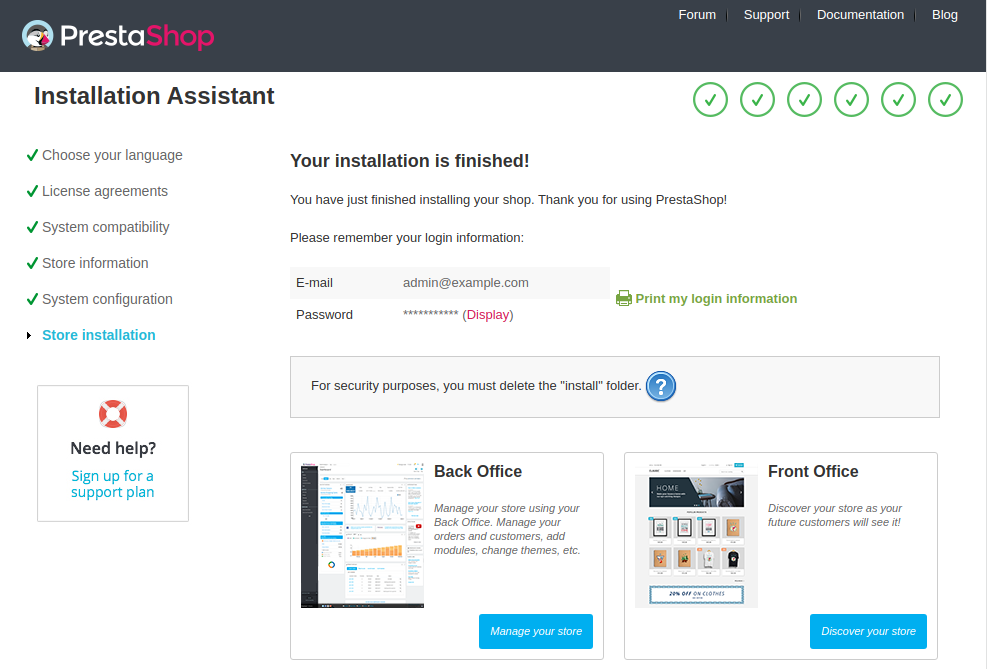
Click on the “Manage your store“. You will be redirected to the following page:

Before connecting to the PrestaShop admin interface, delete the install folder with the following command:
rm -rf /var/www/html/prestashop/install
Next, click on the PrestaShop admin URL. You will be redirected to the PrestaShop admin login page:
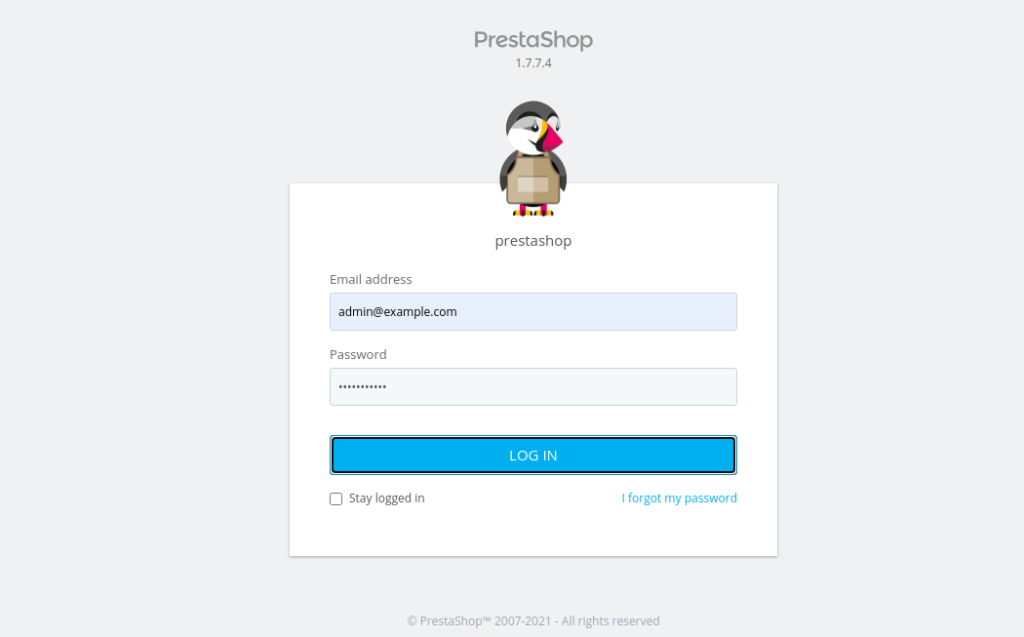
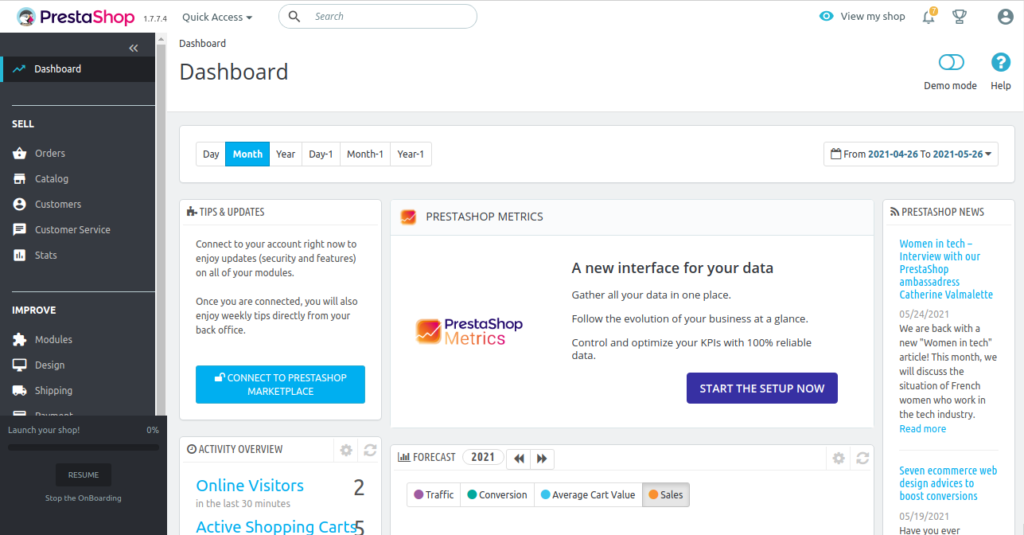
Provide your admin username and password and click on LOG IN. You will be redirected to the PrestaShop dashboard:
Conclusion
That’s it for now. You can now explore the PrestaShop dashboard, add your products, and start selling them online – install PrestaShop on VPS hosting from Atlantic.Net and get started with your online store!
* This post is for informational purposes only and does not constitute professional, legal, financial, or technical advice. Each situation is unique and may require guidance from a qualified professional.
Readers should conduct their own due diligence before making any decisions.