Jellyfin is an open-source media server software designed to organize, manage, and stream media files across various devices within a network. It enables users to centralize their media collections, including movies, TV shows, music, and photos, and access them remotely from anywhere with an internet connection.
In this tutorial, we will explain how to install the Jellyfin media server on Ubuntu 22.04.
Step 1 – Install Jellyfin
By default, the Jellyfin package is not included in the Ubuntu default repo, so you will need to add the Jellyfin official repository to APT.
First, install all the required dependencies using the following command.
apt update -y
apt install apt-transport-https ca-certificates gnupg2 curl git -y
Next, create a directory for keyrings and download the Jellyfin GPG key inside that directory.
mkdir -p /etc/apt/keyrings
curl -fsSL https://repo.jellyfin.org/ubuntu/jellyfin_team.gpg.key | gpg --dearmor -o /etc/apt/trusted.gpg.d/jellyfin.gpg
Next, add the Jellyfin repository to the APT file.
echo "deb [arch=$( dpkg --print-architecture )] https://repo.jellyfin.org/$( awk -F'=' '/^ID=/{ print $NF }' /etc/os-release ) $( awk -F'=' '/^VERSION_CODENAME=/{ print $NF }' /etc/os-release ) main" | tee /etc/apt/sources.list.d/jellyfin.list
Then, update the repository index and install Jellyfin using the following command.
apt update
apt install jellyfin
Once Jellyfin is installed, you can check its status using the following command.
systemctl status jellyfin
You will see the following output.
● jellyfin.service - Jellyfin Media Server
     Loaded: loaded (/lib/systemd/system/jellyfin.service; enabled; vendor preset: enabled)
    Drop-In: /etc/systemd/system/jellyfin.service.d
             └─jellyfin.service.conf
     Active: active (running) since Mon 2024-03-04 03:38:47 UTC; 16s ago
   Main PID: 45223 (jellyfin)
      Tasks: 20 (limit: 4579)
     Memory: 89.6M
        CPU: 6.525s
     CGroup: /system.slice/jellyfin.service
             └─45223 /usr/bin/jellyfin --webdir=/usr/share/jellyfin/web --restartpath=/usr/lib/jellyfin/restart.sh --ffmpeg=/usr/lib/jellyfin-ffmpeg/ffmpeg
You can see all ports of Jellyfin using the following command.
ss -tulpn | grep jellyfin
Output.
udp   UNCONN 0      0                             0.0.0.0:1900       0.0.0.0:*    users:(("jellyfin",pid=45223,fd=316))
udp   UNCONN 0      0                           127.0.0.1:36964      0.0.0.0:*    users:(("jellyfin",pid=45223,fd=318))
udp   UNCONN 0      0                             0.0.0.0:7359       0.0.0.0:*    users:(("jellyfin",pid=45223,fd=331))
udp   UNCONN 0      0                             0.0.0.0:36634      0.0.0.0:*    users:(("jellyfin",pid=45223,fd=317))
tcp   LISTEN 0      512                           0.0.0.0:8096       0.0.0.0:*    users:(("jellyfin",pid=45223,fd=310))
Step 2 – Configure Apache for Jellyfin
In this section, we will install and configure the Apache server as a reverse proxy for Jellyfin.
First, install the Apache web server using the following command.
apt install apache2 -y
Next, enable all required modules with the following command.
a2enmod proxy proxy_http ssl proxy_wstunnel remoteip http2 headers
Next, create an Apache virtual host configuration file.
nano /etc/apache2/sites-available/jellyfin.conf
Add the following configuration.
<VirtualHost *:80>
 ServerName jellyfin.example.com

 ErrorLog /var/log/apache2/jellyfin.example.com-error.log
 CustomLog /var/log/apache2/jellyfin.example.com-access.log combined
 DocumentRoot /var/www/html/jellyfin/public_html

 ProxyPreserveHost On

 # Tell Jellyfin to forward that requests came from TLS connections
 RequestHeader set X-Forwarded-Proto "https"
 RequestHeader set X-Forwarded-Port "443"

 ProxyPass "/socket" "ws://your-server-ip:8096/socket"
 ProxyPassReverse "/socket" "ws://your-server-ip:8096/socket"

 ProxyPass "/" "http://your-server-ip:8096/"
 ProxyPassReverse "/" "http://your-server-ip:8096/"


 ErrorLog /var/log/apache2/jellyfin.example.com-error.log
 CustomLog /var/log/apache2/jellyfin.example.com-access.log combined
</VirtualHost>
Save and close the file, then activate the Jellyfin virtual host.
a2ensite jellyfin.conf
Next, verify the Apache configuration file.
apachectl configtest
Output.
Syntax OK
Finally, restart the Apache service to apply the changes.
systemctl restart apache2
You can check the Apache status using the following command.
systemctl status apache2
Output.
● apache2.service - The Apache HTTP Server
     Loaded: loaded (/lib/systemd/system/apache2.service; enabled; vendor preset: enabled)
     Active: active (running) since Mon 2024-03-04 03:40:53 UTC; 9s ago
       Docs: https://httpd.apache.org/docs/2.4/
    Process: 46441 ExecStart=/usr/sbin/apachectl start (code=exited, status=0/SUCCESS)
   Main PID: 46446 (apache2)
      Tasks: 105 (limit: 4579)
     Memory: 8.8M
        CPU: 60ms
     CGroup: /system.slice/apache2.service
             ├─46446 /usr/sbin/apache2 -k start
             ├─46447 /usr/sbin/apache2 -k start
             └─46448 /usr/sbin/apache2 -k start

Mar 04 03:40:53 ubuntu22 systemd[1]: Starting The Apache HTTP Server...
Step 3 – Access Jellyfin Web UI
Now, open your web browser and access the Jellyfin web interface using the URL http://jellyfin.example.com. You will see the Jellyfin welcome page.
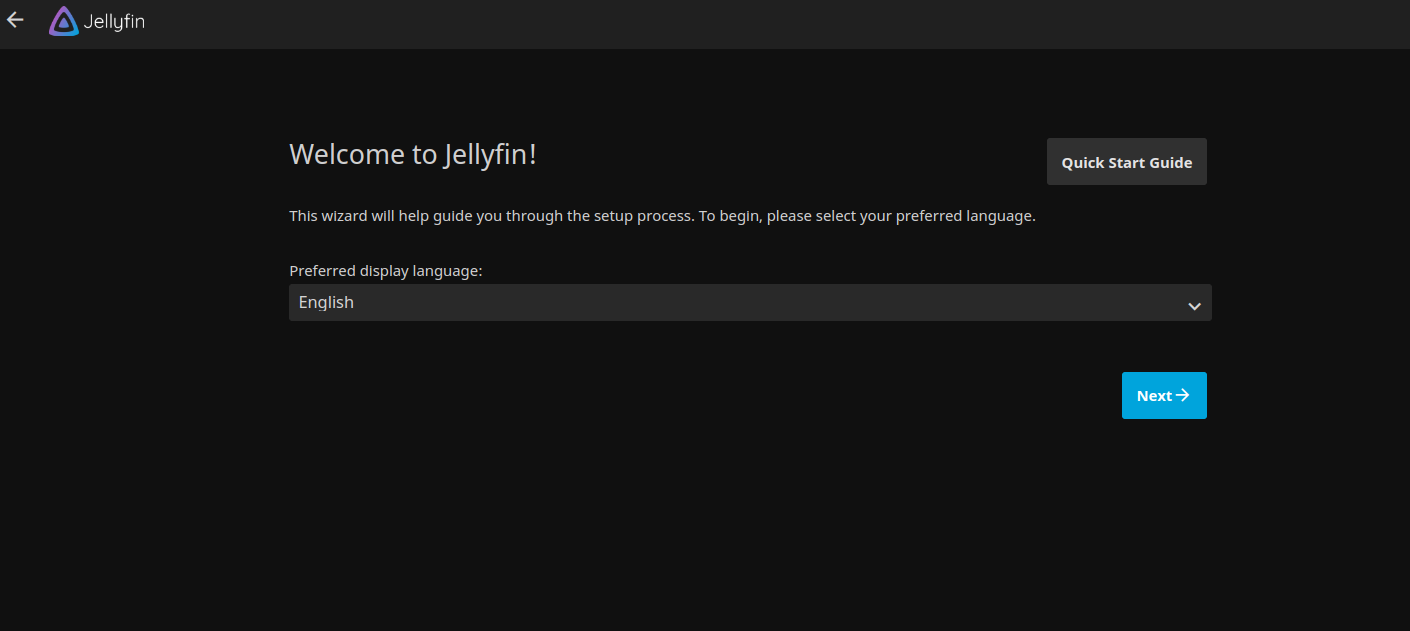
Select your language and click on Next. You will see the user account creation page.
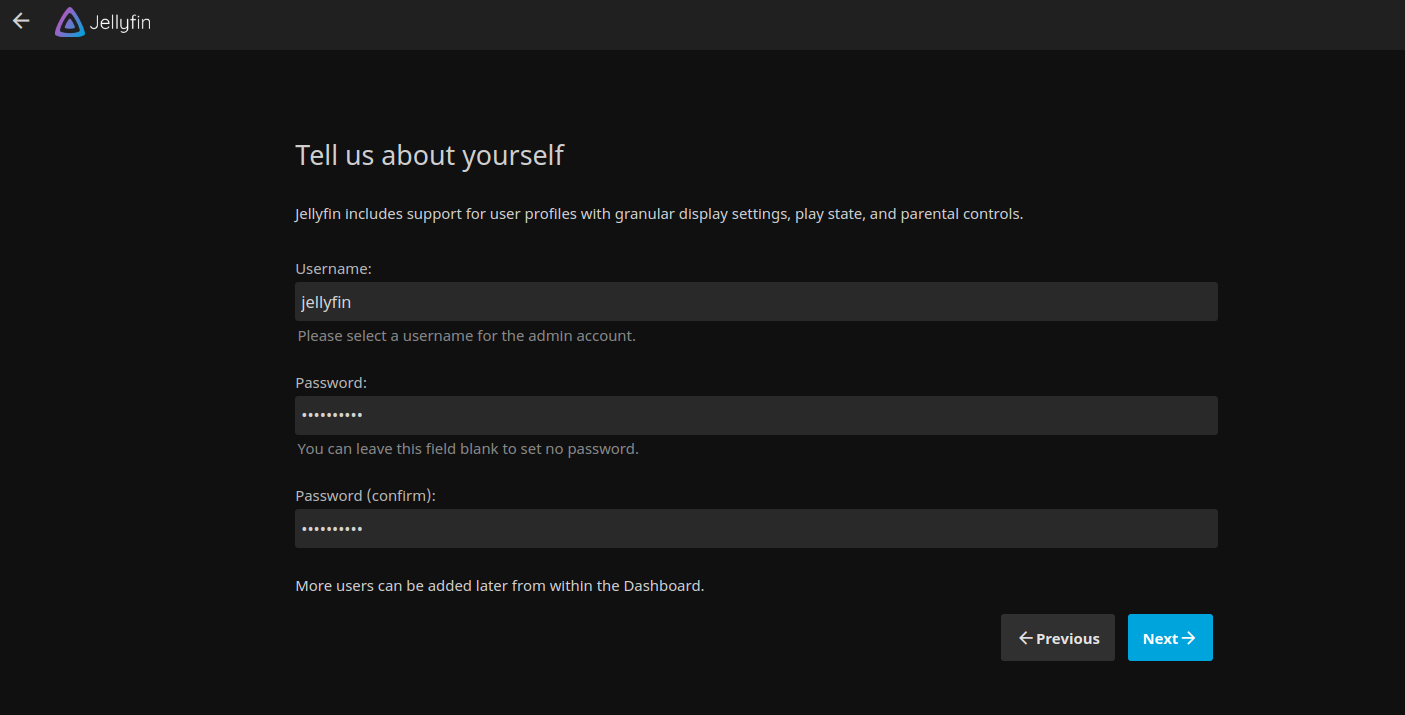
Define your admin username and password and click on Next. You will see the media library setup page.
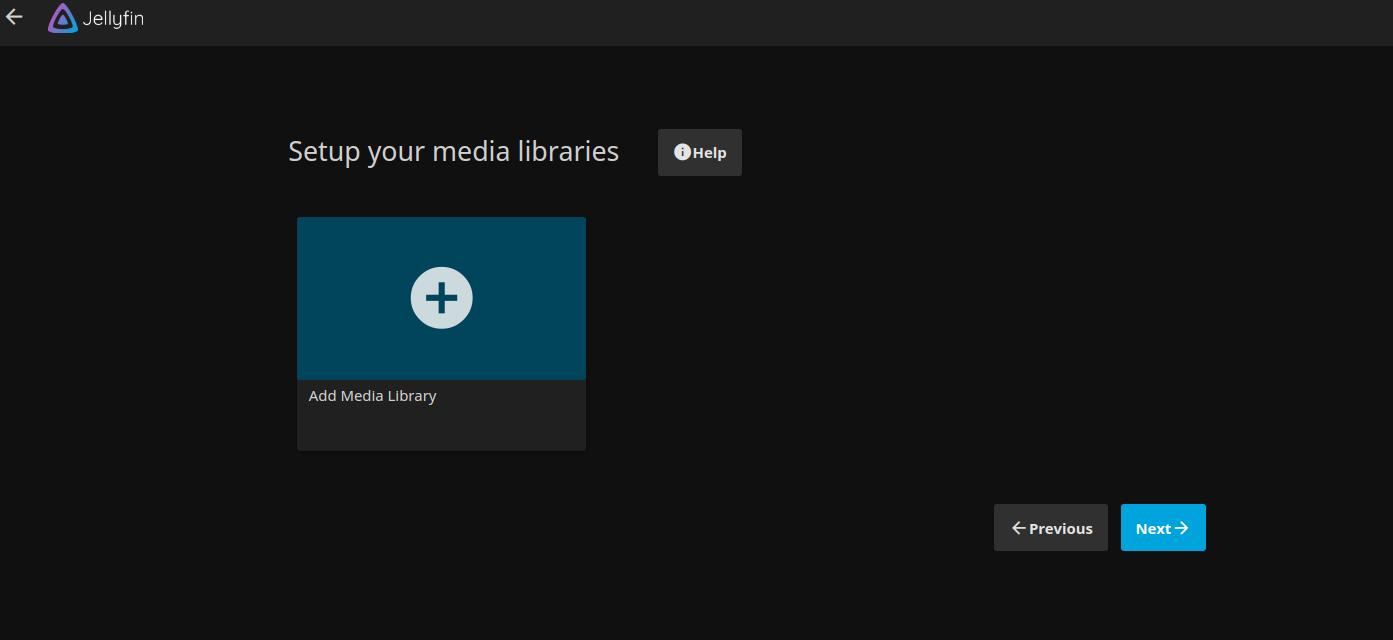
Add your media or click on Next. You will see the metadata language selection page.
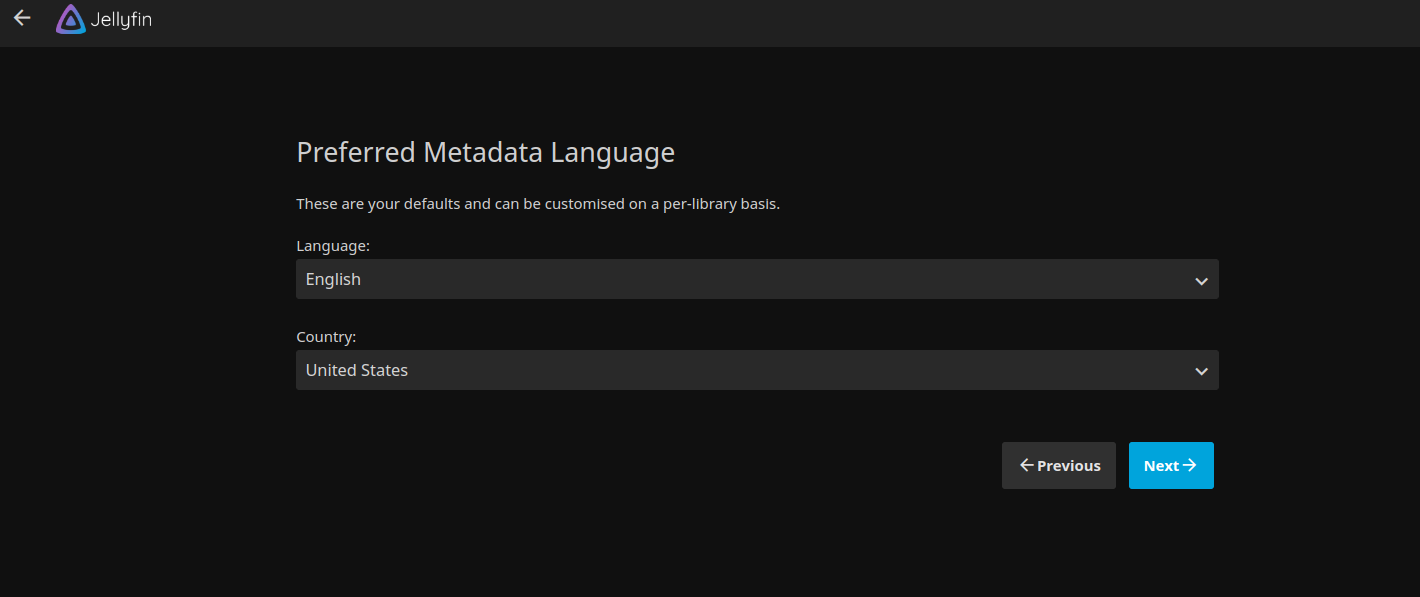
Select your language and country and click on Next. You will see the remote access configuration page.
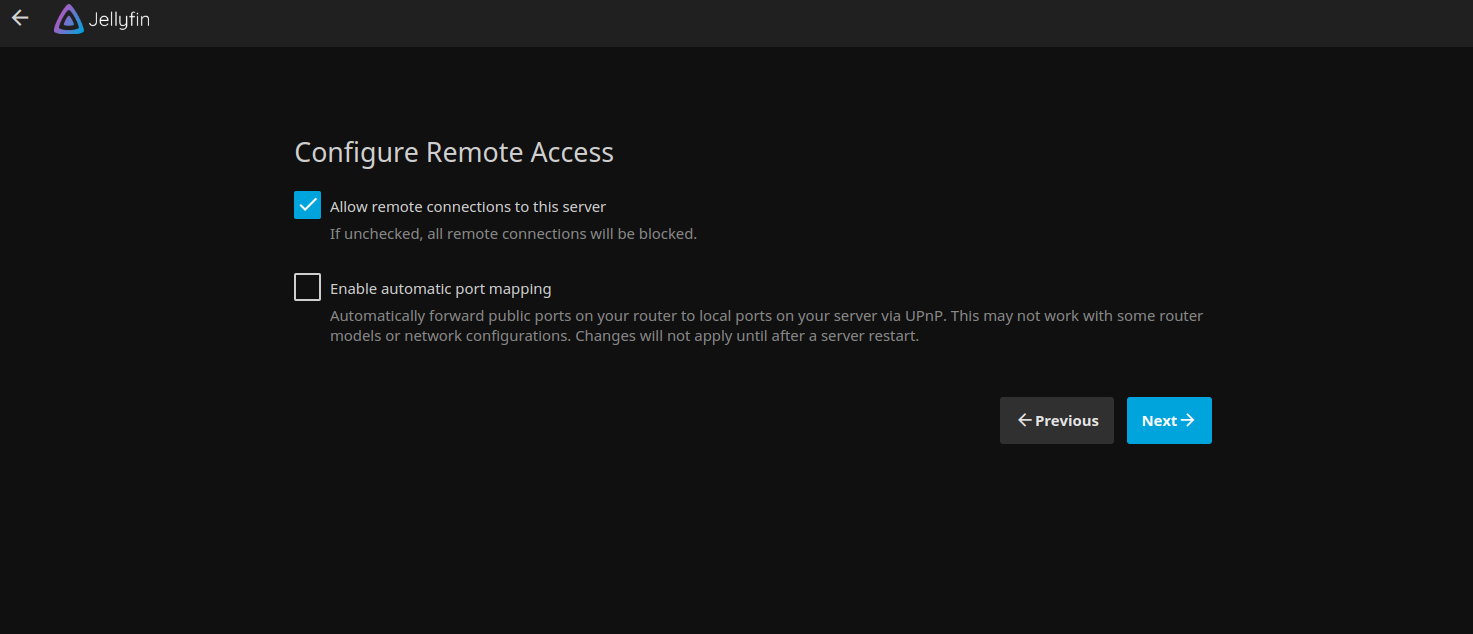
Click on Next. Once the setup is finished, you will see the following page.
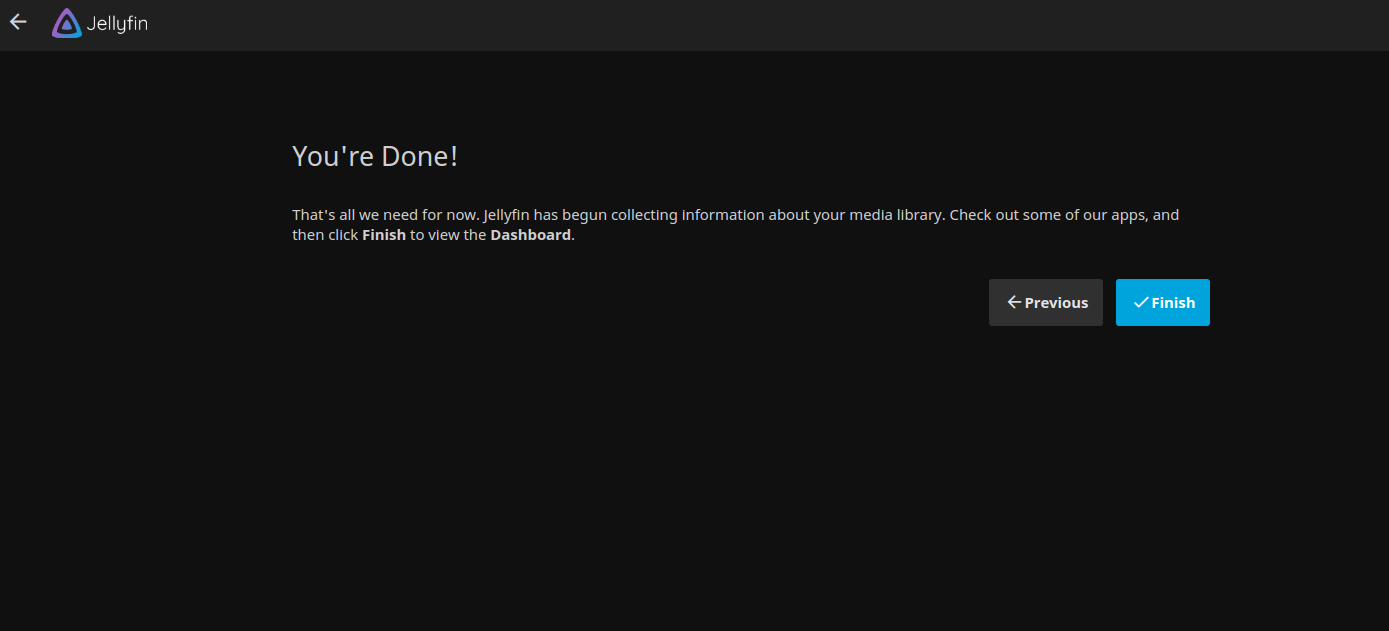
Click on Finish. You will see the Jellyfin login page.
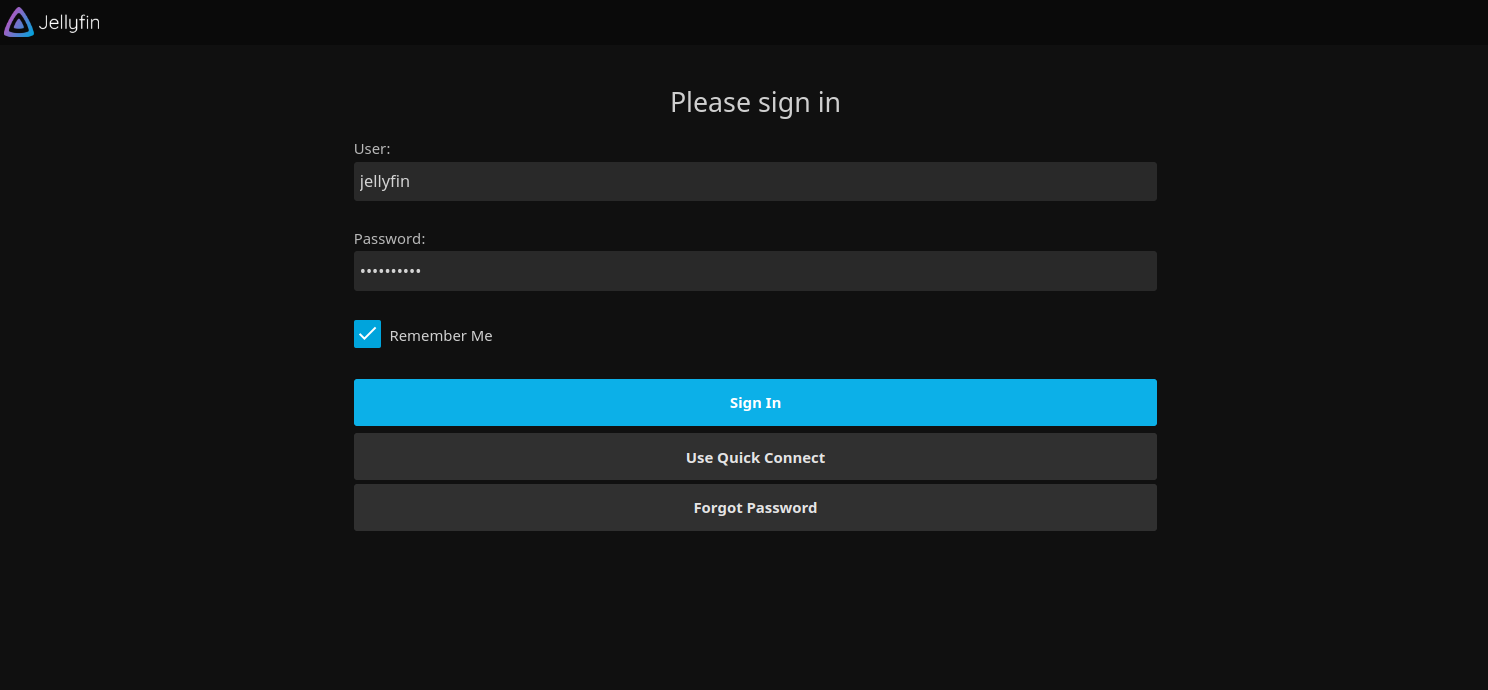
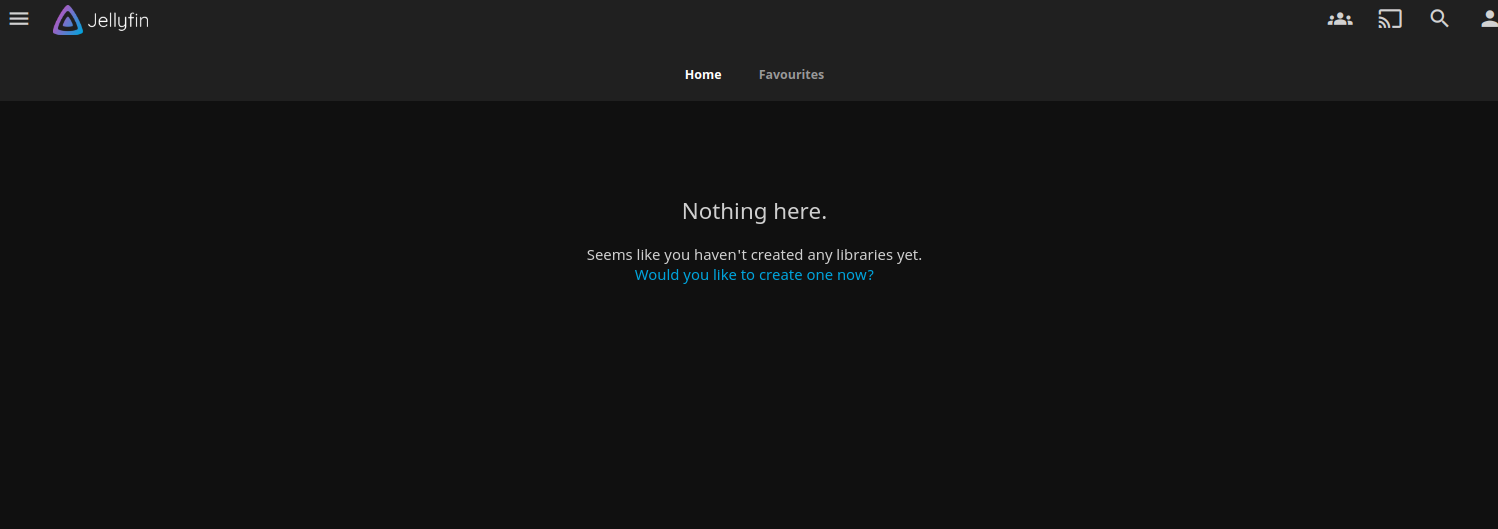
Provide your admin username and password and click on Sign in. You will see the Jellyfin dashboard on the following page.
Conclusion
Jellyfin allows users to take control of their media experience and enjoy seamless streaming of movies, TV shows, music, and photos across their network. With its intuitive interface, robust features, and commitment to user privacy and security, Jellyfin offers a compelling alternative to proprietary media server solutions. You can now set up your own media server using Jellyfin virtual private server from Atlantic.Net!
* This post is for informational purposes only and does not constitute professional, legal, financial, or technical advice. Each situation is unique and may require guidance from a qualified professional.
Readers should conduct their own due diligence before making any decisions.