Kanboard is a free and open-source project management system that visualizes the work and manages project goals. It provides a simple and user-friendly web interface that allows you to create and manage projects and tasks via a web browser. It helps beginner users to build and manage content from every device. It supports multiple authentication methods, including LDAP, Active Directory, and other OAuth2 providers.
In this post, we will show you how to install Kanboard project management software on Oracle Linux 8.
Step 1 – Install LEMP Server
First, install the Nginx and MariaDB servers by running the following command:
dnf install nginx mariadb-server -y
Next, you will need to install PHP version 7.4 or higher on your server. First, enable the PHP7.4 module with the following command:
dnf module enable php:7.4
Next, install PHP and other required PHP extensions using the following command:
dnf install php php-fpm php-mbstring php-cli php-json php-opcache php-zip php-xml php-gd php-ldap php-mysqli php-sqlite3 php-json php-dom -y
Once all the packages are installed, verify the PHP version with the following command:
php --version
You should see the following output:
PHP 7.4.19 (cli) (built: May  4 2021 11:06:37) ( NTS )
Copyright (c) The PHP Group
Zend Engine v3.4.0, Copyright (c) Zend Technologies
    with Zend OPcache v7.4.19, Copyright (c), by Zend Technologies
Next, edit the PHP-FPM configuration file and change the user from apache to nginx:
nano /etc/php-fpm.d/www.conf
Change the following lines:
user=nginx
group=nginx
Save and close the file, then start and enable Nginx, MariaDB and PHP-FPM services:
systemctl start nginx php-fpm mariadb
systemctl enable nginx php-fpm mariadb
Step 2 – Create a Database for Kanboard
Next, you will need to create a database and user for Kanboard.
First, log in to your MariaDB console with the following command:
mysql
Next, create a database and user with the following command:
CREATE DATABASE kanboard CHARACTER SET utf8mb4 COLLATE utf8mb4_unicode_ci;
GRANT ALL PRIVILEGES ON kanboard.* TO 'kanboard'@'localhost' IDENTIFIED BY 'password';
Next, flush the privileges and exit from the MariaDB console with the following command:
FLUSH PRIVILEGES;
EXIT;
Step 3 – Download Kanboard
Next, download the latest version of Kanboard from the GitHub repository.
wget https://github.com/kanboard/kanboard/archive/v1.2.22.tar.gz
After the successful download, extract the downloaded file:
tar -xvzf v1.2.22.tar.gz
Next, move the extracted directory to the Nginx web root:
mv kanboard-1.2.22 /var/www/html/kanboard
Next, navigate to the Kanboard directory and copy the default configuration file:
cd /var/www/html/kanboard
cp config.default.php config.php
Next, edit the config.php file and define your database settings:
nano config.php
Change the following lines:
// Database driver: sqlite, mysql or postgres (sqlite by default)
define('DB_DRIVER', 'mysql');

// Mysql/Postgres username
define('DB_USERNAME', 'kanboard');

// Mysql/Postgres password
define('DB_PASSWORD', 'password');

// Mysql/Postgres hostname
define('DB_HOSTNAME', 'localhost');

// Mysql/Postgres database name
define('DB_NAME', 'kanboard');
Save and close the file, then change the ownership and permissions of the Kanboard directory:
chown -R nginx:nginx /var/www/html/kanboard
chmod -R 775 /var/www/html/kanboard
Step 4 – Create an Nginx Virtual Host for Kanboard
Next, create an Nginx virtual host configuration file for Kanboard:
nano /etc/nginx/conf.d/kanboard.conf
Add the following configurations:
server {
        listen       80;
        server_name  kanban.example.com;
        index        index.php;
        root         /var/www/html/kanboard;
        client_max_body_size 32M;

        location / {
            try_files $uri $uri/ /index.php$is_args$args;
        }

        location ~ \.php$ {
            try_files $uri =404;
            fastcgi_split_path_info ^(.+\.php)(/.+)$;
            fastcgi_pass unix:/run/php-fpm/www.sock;
            fastcgi_param SCRIPT_FILENAME $document_root$fastcgi_script_name;
            fastcgi_index index.php;
            include fastcgi_params;
        }

        location ~* ^.+\.(log|sqlite)$ {
            return 404;
        }

        location ~ /\.ht {
            return 404;
        }

        location ~* ^.+\.(ico|jpg|gif|png|css|js|svg|eot|ttf|woff|woff2|otf)$ {
            log_not_found off;
            expires 7d;
            etag on;
        }

        gzip on;
        gzip_comp_level 3;
        gzip_disable "msie6";
        gzip_vary on;
        gzip_types
            text/javascript
            application/javascript
            application/json
            text/xml
            application/xml
            application/rss+xml
            text/css
            text/plain;
    }
Save and close the file, then edit the Nginx configuration file:
nano /etc/nginx/nginx.conf
Add the following line below http {:
server_names_hash_bucket_size 64;
Save and close the file, then verify the Nginx configuration using the following command:
nginx -t
You should see the following output:
nginx: the configuration file /etc/nginx/nginx.conf syntax is ok
nginx: configuration file /etc/nginx/nginx.conf test is successful
Finally, restart the Nginx service to apply the changes:
systemctl restart nginx
You can also check the Nginx status with the following command:
systemctl status nginx
You will get the following output:
● nginx.service - The nginx HTTP and reverse proxy server
   Loaded: loaded (/usr/lib/systemd/system/nginx.service; disabled; vendor preset: disabled)
  Drop-In: /usr/lib/systemd/system/nginx.service.d
           └─php-fpm.conf
   Active: active (running) since Tue 2022-08-23 01:45:03 EDT; 7min ago
 Main PID: 4001 (nginx)
    Tasks: 2 (limit: 11409)
   Memory: 4.6M
   CGroup: /system.slice/nginx.service
           ├─4001 nginx: master process /usr/sbin/nginx
           └─4002 nginx: worker process

Aug 23 01:45:03 oraclelinux8 systemd[1]: nginx.service: Succeeded.
Aug 23 01:45:03 oraclelinux8 systemd[1]: Stopped The nginx HTTP and reverse proxy server.
Aug 23 01:45:03 oraclelinux8 systemd[1]: Starting The nginx HTTP and reverse proxy server...
Aug 23 01:45:03 oraclelinux8 nginx[3997]: nginx: the configuration file /etc/nginx/nginx.conf syntax is ok
Aug 23 01:45:03 oraclelinux8 nginx[3997]: nginx: configuration file /etc/nginx/nginx.conf test is successful
Aug 23 01:45:03 oraclelinux8 systemd[1]: nginx.service: Failed to parse PID from file /run/nginx.pid: Invalid argument
Aug 23 01:45:03 oraclelinux8 systemd[1]: Started The nginx HTTP and reverse proxy server.
Step 5 – Access Kanboard Web Interface
At this point, Kanboard is installed and configured on your server. You can now access it using the URL http://kanboard.example.com. You will be redirected to the Kanboard login page:
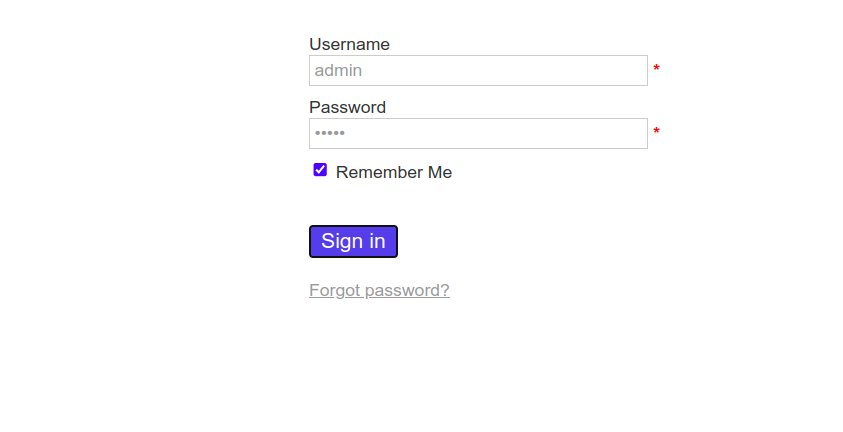
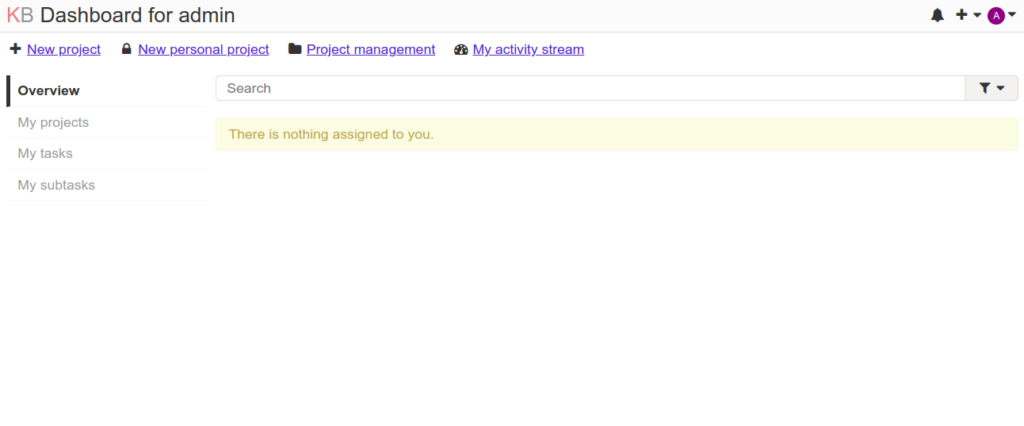
Provide default admin username and password as admin / admin then click on the Sign in button. You should see the Kanboard dashboard on the following page:
Conclusion
In this post, we explained how to install and configure Kanboard project management software on Oracle Linux 8. You can now implement Kanboard in your organization and start managing projects and tasks from the central location. Get started with Kanban on VPS Hosting from Atlantic.Net!