Landing CMS is a free, open-source, cross-platform content management system used for managing landing pages. It is a flat file-based CMS, so it does not require any database. You only need a web server and PHP to host the Landing CMS. If you are looking for a simple but powerful CMS for landing pages, then Landing CMS is the best choice for you.
In this post, we will show you how to install Landing CMS on CentOS 8 VPS.
Step 1 – Install Apache and PHP
Landing CMS is written in PHP and runs on a web server, so you will need to install Apache and PHP to your server. You can install both with the following command:
dnf update -y
dnf install httpd php php-cli php-gd php-json php-curl unzip -y
Once all the packages are installed, start the Apache service and enable it to start at system reboot:
systemctl start httpd
systemctl enable httpd
Step 2 – Download Landing CMS
First, you will need to download the latest version of Landing CMS from the Github repository. You can download it with the following command:
wget https://github.com/Elias-Black/Landing-CMS/archive/master.zip
Once the download is completed, unzip the downloaded file with the following command:
unzip master.zip
Next, move the extracted directory to the Apache web root with the following command:
mv Landing-CMS-master /var/www/html/landing
Next, set proper permissions and ownership with the following command:
chown -R apache:apache /var/www/html/landing
chmod -R 755 /var/www/html/landing
Step 3 – Configure Apache for Landing CMS
Next, you will need to create an apache virtual host configuration file for Landing CMS. You can create it with the following command:
nano /etc/httpd/conf.d/landing.conf
Add the following lines:
<virtualhost *:80>
	ServerAdmin admin@example.com
        ServerName landing.example.com
        DocumentRoot /var/www/html/landing
<directory /var/www/html/landing>
allowoverride all
allow from all
</directory>
TransferLog /var/log/httpd/landing_access.log
ErrorLog /var/log/httpd/landing_error.log
</virtualhost>
Save and close the file, then restart the Apache service to apply the changes:
systemctl restart httpd
At this point, the Apache web server is configured to host Landing CMS. You can now proceed to access Landing CMS.
Step 4 – Access Landing CMS
Now, open your web browser and access the Landing CMS web UI using the URL http://landing.example.com. You will be redirected to the following page:
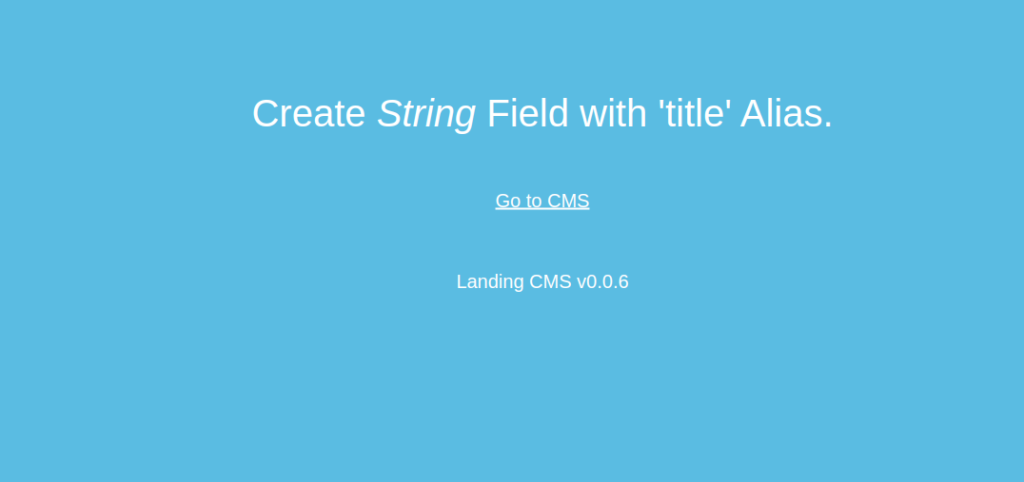
Click on the Go to CMS. You should see the following page:
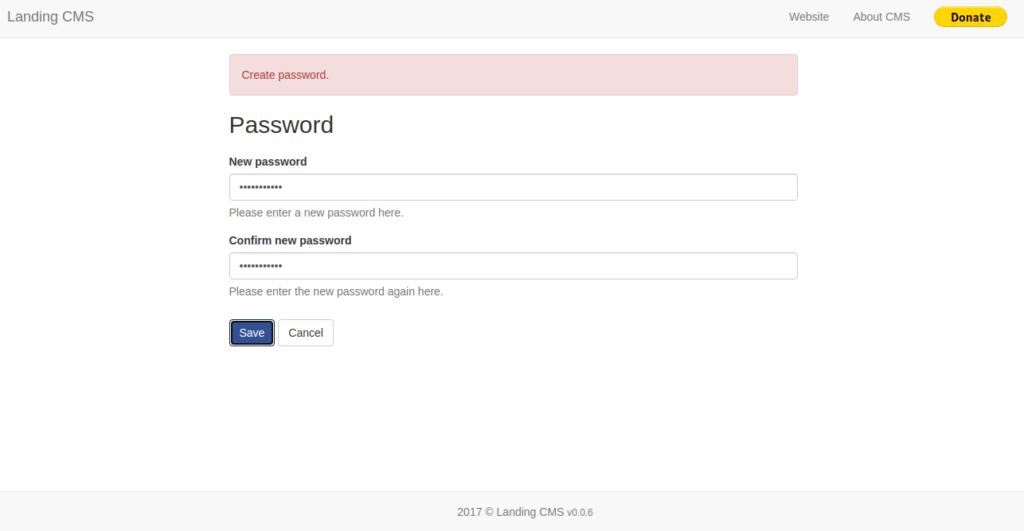
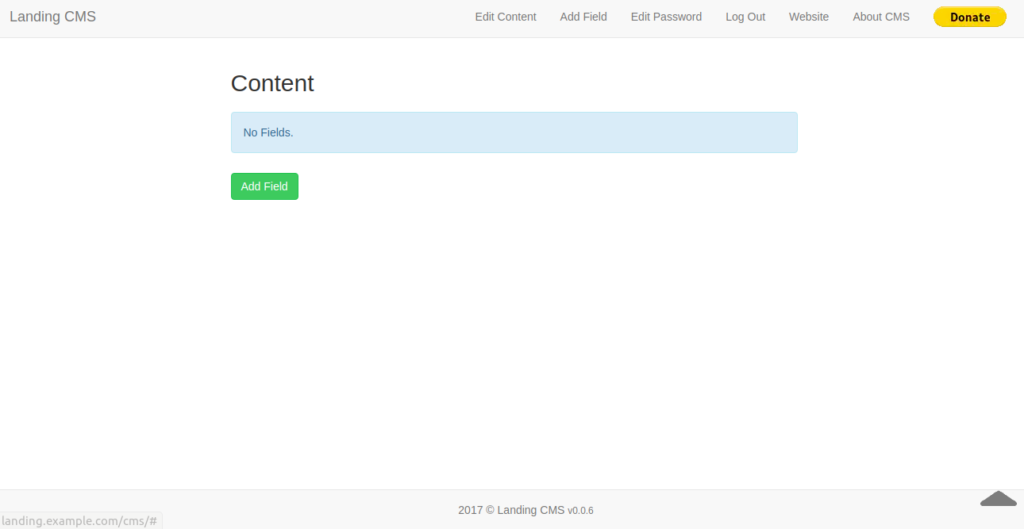
Now, set a password for Landing CMS and click on the Save button to apply the changes. You should see the Landing CMS dashboard on the following page:
Conclusion
That’s it for now. You can now use Landing CMS to create and manage landing pages for your CMS. Give it a try on VPS hosting from Atlantic.Net!
* This post is for informational purposes only and does not constitute professional, legal, financial, or technical advice. Each situation is unique and may require guidance from a qualified professional.
Readers should conduct their own due diligence before making any decisions.