Backdrop CMS is an open-source content management system written in PHP language. It is a fork of Drupal and suitable for small to medium-sized businesses and non-profits. Backdrop CMS allows you to build customized websites through collaboration and open-source software. It provides a beautiful and user-friendly web UI that helps non-technical users create and manage various content. Backdrop CMS offers powerful features, including advanced access control, a robust API, integrated add-on installation, and more.
This post will show you how to install Backdrop CMS on CentOS 8 VPS.[jumpbox]
Step 1 – Install LAMP Server
First, you will need to install the LAMP stack on your server. You can install it with other required packages by running the following command:
dnf update -y
dnf install httpd mariadb-server php php-cli php-gd php-mysqlnd php-json php-curl php-pdo php-mbstring php-dom php-xml unzip -y
Once all the packages are installed, start the Apache and MariaDB services and enable them to start at system reboot:
systemctl start httpd
systemctl enable httpd
systemctl start mariadb
systemctl enable mariadb
Step 3 – Configure MariaDB Database
Next, you must create a database and user for Backdrop CMS to store its content.
First, log in to MySQL with the following command:
mysql
Once login, create a database and user with the following command:
create database backdrop;
create user 'backdrop'@localhost identified by 'password';
Next, grant all permissions to the backdrop database:
grant all privileges on backdrop.* to 'backdrop' @localhost;
Next, flush the privileges to apply the changes and exit from the MySQL with the following command:
flush privileges;
exit;
At this point, the MariaDB database is ready for Backdrop CMS.
Step 4 – Download Backdrop CMS
First, visit the Backdrop CMS Git Hub page and download the latest version of Backdrop CMS with the following command:
wget https://github.com/backdrop/backdrop/archive/1.16.2.zip
Once the download is completed, unzip the downloaded file with the following command:
unzip 1.16.2.zip
Next, move the extracted directory to the Apache root directory:
mv backdrop-1.16.2 /var/www/html/backdrop
Next, set proper permissions and ownership to the backdrop directory:
chown -R apache:apache /var/www/html/backdrop
chmod -R 755 /var/www/html/backdrop
Step 5 – Configure Apache for Backdrop CMS
Next, you must configure the Apache virtual host file to host Backdrop CMS. You can create it with the following command:
nano /etc/httpd/conf.d/backdrop.conf
Add the following lines:
<virtualhost *:80>
	ServerAdmin admin@example.com
        ServerName backdrop.example.com
        DocumentRoot /var/www/html/backdrop
<directory /var/www/html/backdrop>
allowoverride all
allow from all
</directory>
TransferLog /var/log/httpd/backdrop_access.log
ErrorLog /var/log/httpd/backdrop_error.log
</virtualhost>
Save and close the file, then restart the Apache service to apply the changes:
systemctl restart httpd
Currently, the Apache web server is configured to serve backdrop CMS.
Step 6 – Access Backdrop CMS
Now, open your web browser and access the Backdrop CMS web UI using the URL http://backdrop.example.com. You will be redirected to the following page:
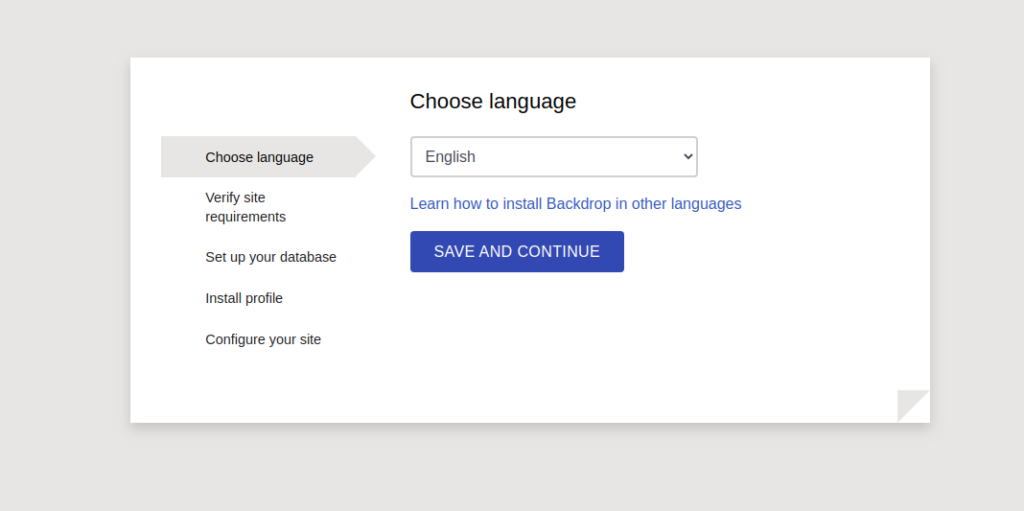
Select your language and click on the SAVE AND CONTINUE button. You should see the following page:

Provide your database details and click on the SAVE AND CONTINUE button. You should see the following page:
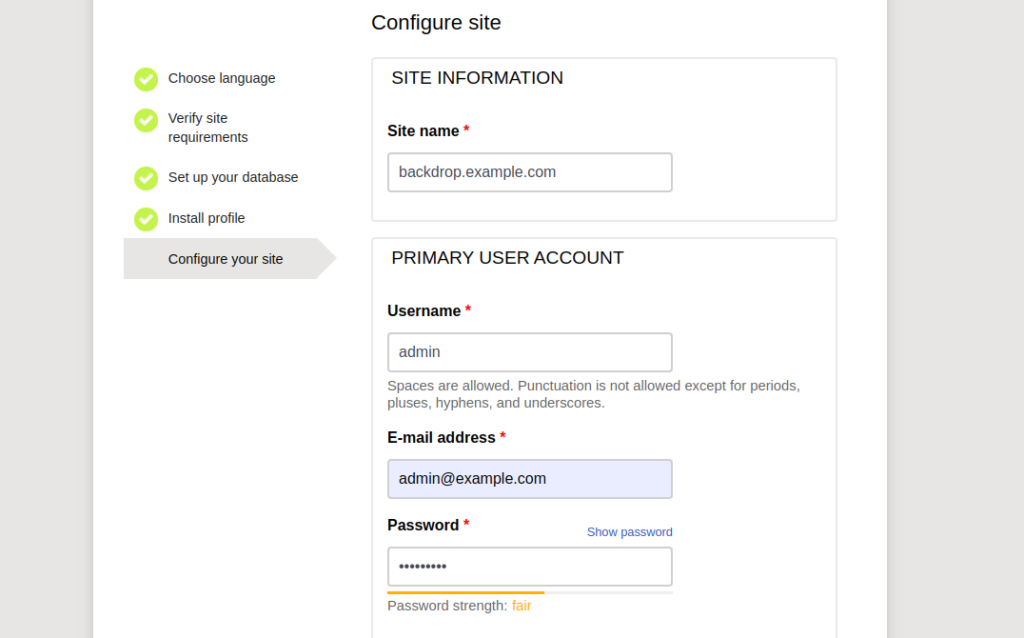
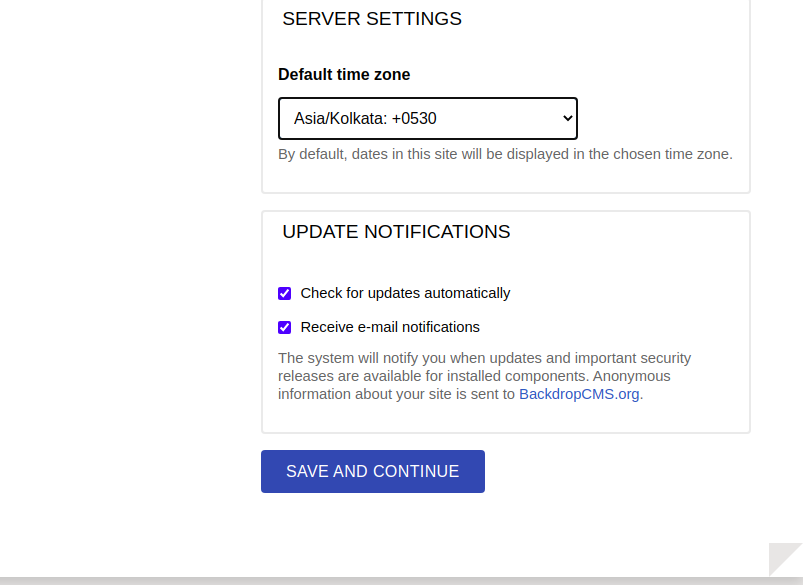
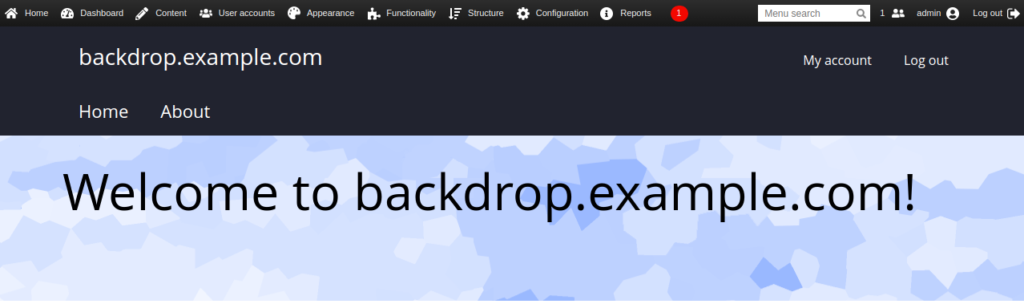
Provide your site information and click on the SAVE AND CONTINUE button. You will be redirected to the Backdrop CMS dashboard:
Conclusion
That’s it for now. You can now explore the Backdrop CMS and start creating your website through the Backdrop CMS dashboard on your VPS. For more information, visit the Backdrop CMS documentation page.
* This post is for informational purposes only and does not constitute professional, legal, financial, or technical advice. Each situation is unique and may require guidance from a qualified professional.
Readers should conduct their own due diligence before making any decisions.