Verified and Tested 06/22/15
Introduction
This tutorial shows you how to install Nginx on an Arch Linux Cloud Server. Nginx is known for its high performance and low memory usage, allowing fewer resources to be used while efficiently getting the job done.
Prerequisites
You need an Arch Linux server configured with a static IP address. If you do not have a server already, why not consider one of our SSD VPS Hosting solutions.
Server Preparation
Let’s make sure that your server is fully up-to-date to get started.
sudo pacman -Syu
We can continue the process and install nginx on your server with the server up-to-date.
Install Nginx on Arch Linux
We begin by installing nginx with the following command:
sudo pacman -S nginx
Start the nginx service with the following command:
sudo systemctl start nginx.service
To edit the main Nginx configuration file for your website(s), open the nginx.conf file with your preferred text editor. This file is located in the following directory:
sudo nano /etc/nginx/nginx.conf
You can now verify that nginx is installed correctly by typing http:// and your IP address in your browser.
http:// YOUR.IP.ADD.RESS
To get your servers IP Address type the following command:
curl -s icanhazip.com
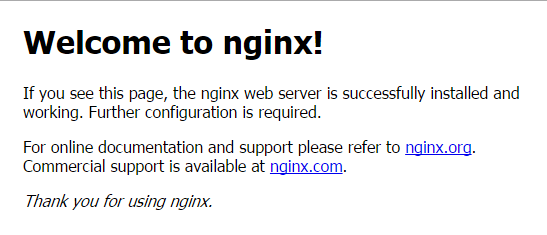
This is the default page after Nginx has been installed in an Arch Linux server.
What Next?
Congratulations! You have now installed and configured nginx. Thank you for following along, and feel free to check back with us for further updates.
Learn more about our VPS hosting services and VPS hosting price.
* This post is for informational purposes only and does not constitute professional, legal, financial, or technical advice. Each situation is unique and may require guidance from a qualified professional.
Readers should conduct their own due diligence before making any decisions.