There are two types of database systems: relational databases and NoSQL databases. Relational databases are used to store data and cannot process a large amount of time series data. NoSQL databases are especially useful for working with large sets of distributed data.
TimescaleDB is a free and open-source time-series database specially designed for scale, ease-of-use, and complex queries. TimescaleDB is an extension of PostgreSQL offering the best of both NoSQL and relational database systems. You can write millions of data points per second and store 100s of billions of rows and 10s of terabytes of data with TimescaleDB.
In this tutorial, we will explain how to install TimescaleDB on Ubuntu 18.04.
Step 1 – Install PostgreSQL
TimescaleDB is powered by PostgreSQL and used to analyze time-series data with a PostgreSQL query language, so you will need to install the PostgreSQL server 9.6 or later in your server.
You can install it by running the following command:
apt-get update -y
apt-get install postgresql-10 -y
After installing the PostgreSQL server, start the PostgreSQL service and enable it to start after system reboot with the following command:
systemctl start postgresql
systemctl enable postgresql
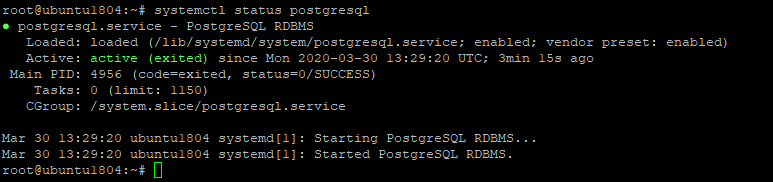
You can now verify the status of the PostgreSQL service with the following command:
systemctl status postgresql
You should see the following output:
By default, PostgreSQL is configured to login without a password, so it is recommended to set a password for the Postgres user.
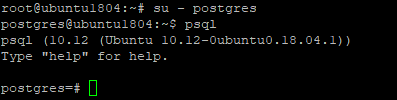
To do so, log in with PostgreSQL user with the following command:
su - postgres
Next, set a password for the Postgres user with the following command:
psql -c "alter user postgres with password 'new-password'"
Next, exit from the PostgreSQL shell with the following command:
exit
Once you are done, you can proceed to the next step.
Step 2 – Install and Configure TimescaleDB
By default, TimescaleDB is not available in the Ubuntu 18.04 default repository, so you will need to add the repository for TimescaleDB. You can add it with the following command:
add-apt-repository ppa:timescale/timescaledb-ppa -y
Once the repository has been added, update the repository with the following command:
apt-get update -y
Finally, install TimescaleDB by running the following command:
apt-get install timescaledb-postgresql-10 -y
Once installed, you will need to edit your postgresql.conf file and include the TimescaleDB library.
nano /etc/postgresql/10/main/postgresql.conf
Add the following line at the end of the file:
shared_preload_libraries = 'timescaledb'
Save and close the file when you are finished. Then, restart the PostgreSQL service to apply the changes:
systemctl restart postgresql
Step 3 – Verify TimescaleDB Installation
At this point, TimescaleDB is installed and configured. It’s time to test the TimescaleDB database.
To do so, log in to PostgreSQL shell with the following command:
su - postgres
postgres@ubuntu1804:~$ psql
Next, create a new database named testdb with the following command:
postgres=# CREATE DATABASE timedb;
Next, connect to your database with the following command:
postgres=# \c timedb
Output:
You are now connected to database “timedb” as user “postgres”.
Finally, enable the TimescaleDB extension with the following command:
timedb=# CREATE EXTENSION IF NOT EXISTS timescaledb CASCADE;
You should get the following output:
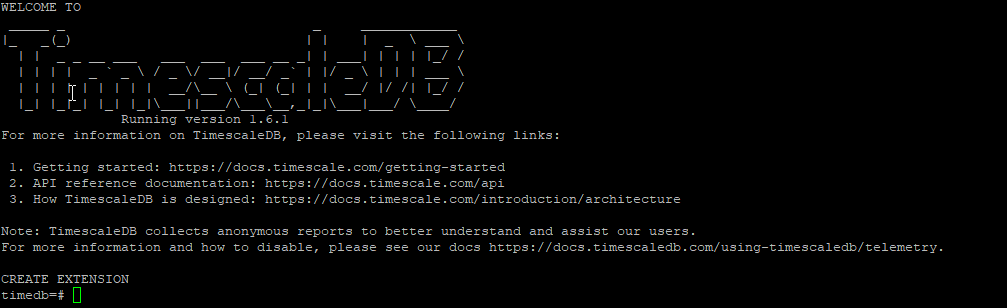
The above output clearly indicates that the TimescaleDB is enabled with PostgreSQL.
Next, exit from the PostgreSQL shell with the following command:
\q
exit
Conclusion
Congratulations! You have successfully installed TimescaleDB on Ubuntu 18.04 server. You can now take advantage the key benefits TimescaleDB offers over traditional relational database systems. For more information, refer to the official documentation at TimescaleDB Doc. Get started with TimescaleDB today on Atlantic.Net VPS Hosting!
* This post is for informational purposes only and does not constitute professional, legal, financial, or technical advice. Each situation is unique and may require guidance from a qualified professional.
Readers should conduct their own due diligence before making any decisions.