Introduction
This tutorial will show you how to install Vesta Control Panel on Ubuntu 14.04. Vesta Control Panel is a free open source control panel that is an excellent alternative to cPanel. After the installation completes, you will have Web, DNS, Database, Mail, and FTP Server. Vesta installs Nginx on the front-end and Apache on the back-end, which essentially gives the best of both worlds.
Installing Vesta Control Panel
Download the Vesta Control panel install script with the following command:
curl -O http://vestacp.com/pub/vst-install.sh
Once downloaded, we can start the script by running the following command:
bash vst-install.sh
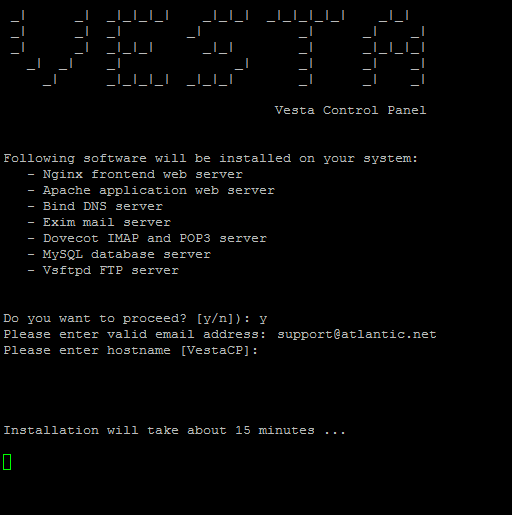
Your terminal should look similar to the one below.
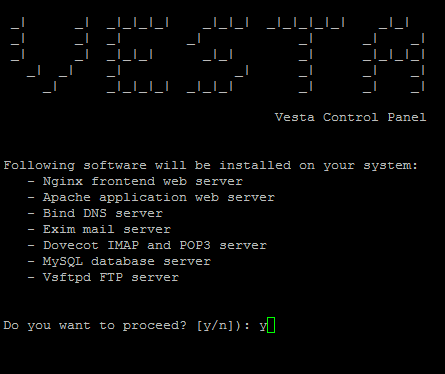
Type Y and then enter to proceed to the next step.
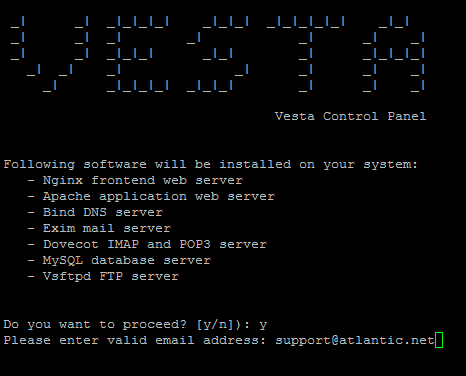
Enter your email address and hit enter.
Note: It is important to enter the correct email address as your server will send important information to it.
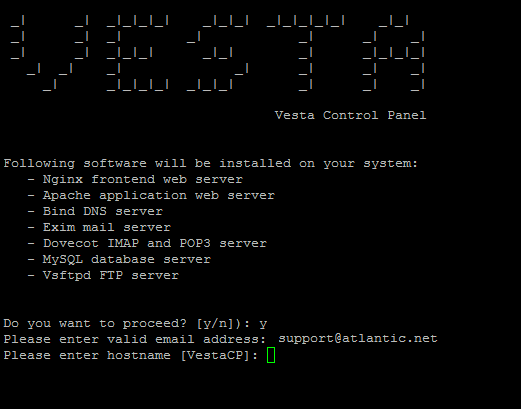
At this step, you can set your hostname or keep your current hostname by hitting enter. After hitting enter, the install will begin. Vesta says it can take up to 15 minutes; however, most of the time, it is much less.
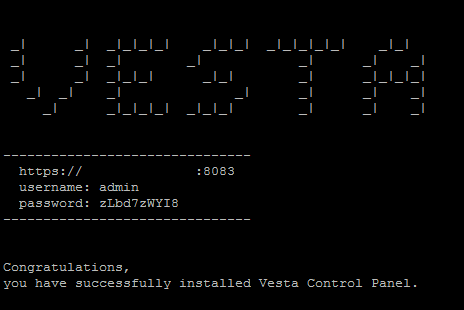
Once the installation is complete, you should get an email similar to the one below. It will have the Vesta control panel link, username, and password.
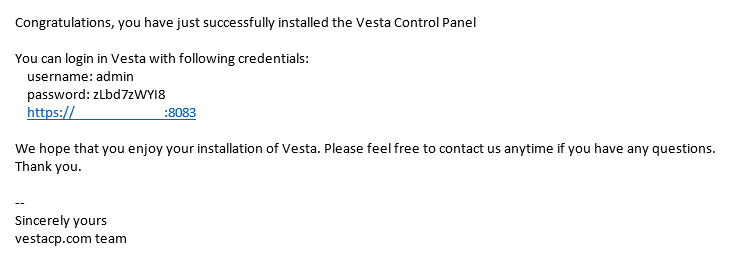
Likewise, you should get an email like the email below, with the same information as above.
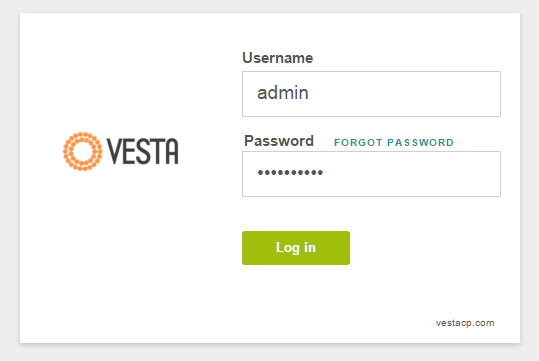
We can now log in to the Vesta control panel by using one of the links from the terminal or email.
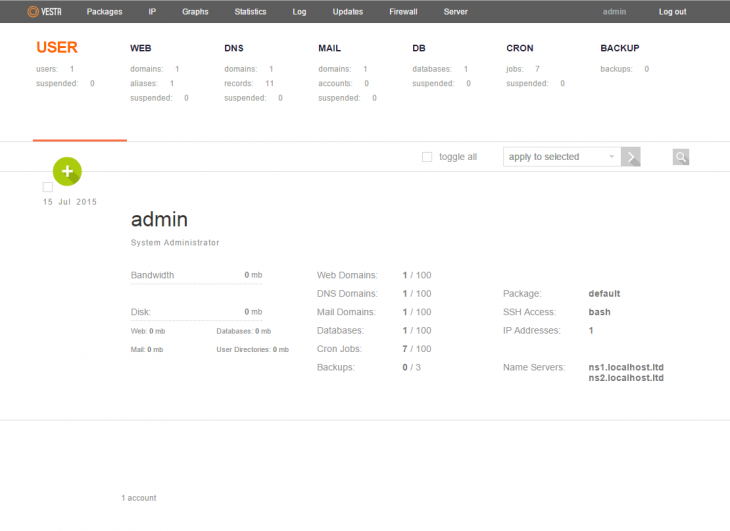
Once you log in, you will get a screen similar to the one below.
What Next?
Congratulations on installing the Vesta Control panel on Ubuntu 14.04. Please feel free to check back for further updates or follow our guide on making a website on Vesta here.
Learn more about our VPS hosting services and VPS hosting price.