Table of Contents
- Introduction
- Prerequisites
- Install WordPress on an Nginx LEMP Stack Using Ubuntu 14.04
- Installing Nginx on Ubuntu 14.04
- Installing MySQL on Ubuntu 14.04
- Installing PHP on Ubuntu 14.04
- Setting up the MySQL database for WordPress on Ubuntu 14.04
- Get the Latest WordPress Install on Ubuntu 14.04
- Configure WordPress on Ubuntu 14.04
- Finish Up Through The WordPress Web Installation
- Atlantic.Net
Verified and Tested 07/3/15
Introduction
This how-to will show you how to install Nginx, MySQL, PHP and WordPress on an Ubuntu 14.04 cloud server. LEMP is a web service stack that consists of a Linux operating system, Nginx (pronounced “engine-x”) as the web server, MySQL for database management, and PHP as the programming language. WordPress is a content management system that is free and open source.

WordPress Illustration by Walker Cahall
Prerequisites
A server with Ubuntu 14.04 installed.
Install WordPress on an Nginx LEMP Stack Using Ubuntu 14.04
First we want to make sure that your server is up to date by running the commands:
sudo apt-get update
sudo apt-get upgrade
Note: Depending on your installation you may need to remove apache2. You can do that by running the commands:
sudo apt-get remove apache2*Followed by:
sudo apt-get autoremove
Installing Nginx on Ubuntu 14.04
To install Nginx, use the command:
sudo apt-get install nginx
When it asks, “Do you want to continue?”, hit Enter.
Start the Nginx service with the following command:
sudo service nginx start
We can now test Nginx by going to your hostname or IP address in your browser’s address bar. If you do not know your server’s IP address, you can run the following command:
ifconfig
You should get a result similar to the image below.
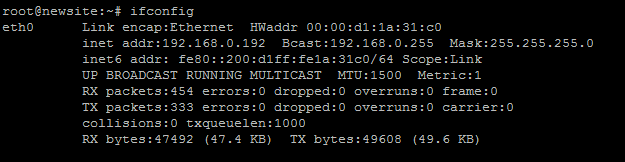
An example of ifconfig showing the IP address of 192.168.0.192
In our example, 192.168.0.192 is the IP address. So in our browser we would go to http://192.168.0.192.
You should see a web page that looks like the image below.
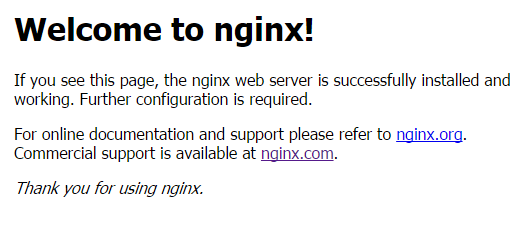
This example is the default Nginx web page on Ubuntu 14.04
Now that Nginx is installed, we can move on to installing MySQL.
Installing MySQL on Ubuntu 14.04
Install MySQL with the command:
sudo apt-get install mysql-server
When it asks, “Do you want to continue?”, hit Enter.
Shortly after, a screen similar to the image below will appear. You need enter a password for your MySQL root user. It should be a strong password.
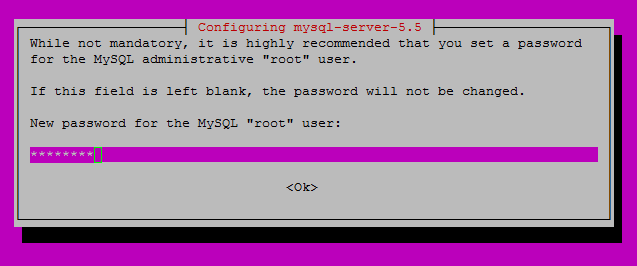
Insert your secure password for your new MySQL root password
Hit Enter to continue. Once you have hit Enter, a new screen will appear prompting you to re-enter the password you just picked.
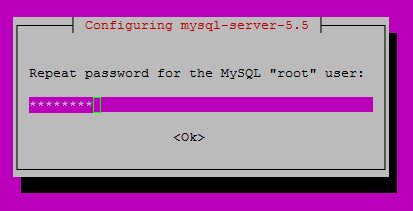
Retype your MySQL password
Now that MySQL is installed, we need to do the MySQL secure installation by running the command:
sudo mysql_secure_installation
Enter your MySQL root password. When it asks, “Change the root password?”, type “N” followed by Enter. The rest of the questions are up to you. For standard installations, you can hit Enter for the defaults.
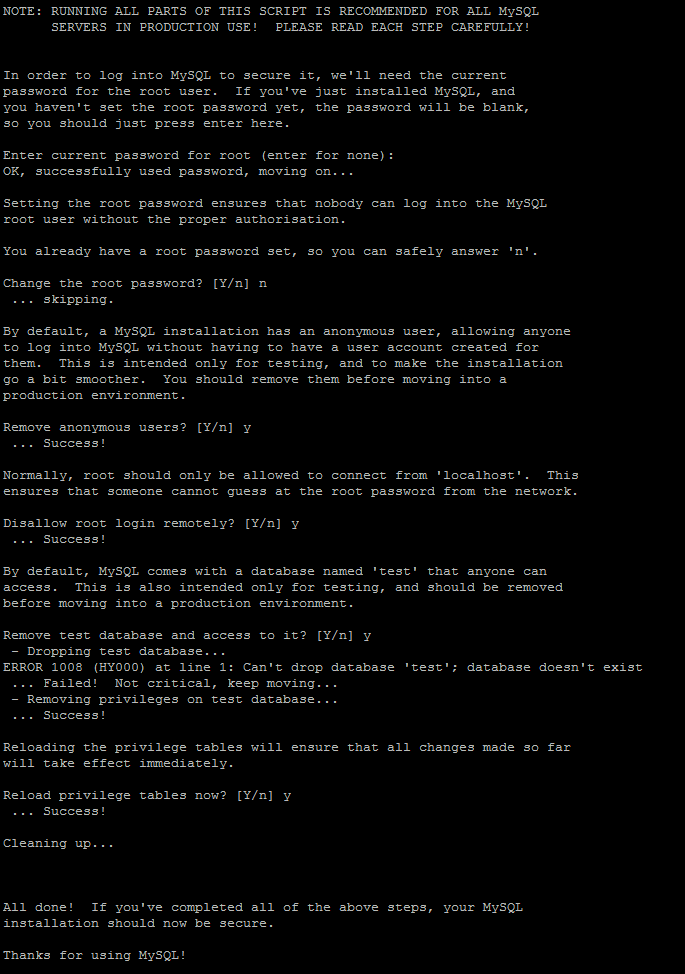
An example of the MySQL secure installation
Now that MySQL is installed, we can install PHP.
Installing PHP on Ubuntu 14.04
Install PHP with the following command:
sudo apt-get install php5 php5-fpm php5-mysql
When it asks, “Do you want to continue?”, hit Enter.
For Nginx to work with PHP correctly, we need to edit the Nginx configuration file. In this how-to, we are going to use a simple Nginx configuration.
First, we need to move the original configuration file to a new filename. Run the command:
sudo mv /etc/nginx/sites-available/default /etc/nginx/sites-available/default.old
Using a text editor of your choice, we are going to make a file called default in /etc/nginx/sites-available. For nano use the command:
sudo nano /etc/nginx/sites-available/default
Copy the following into your text editor:
server {
        listen       80;
        server_name  your_site_name.com;
        root /usr/share/nginx/html;
        index index.php index.html;

        location / {
                try_files $uri $uri/ =404;
        }

        error_page 404 /404.html;
        error_page 500 502 503 504 /50x.html;

        location = /50x.html {
                root /var/www/html;
        }

        location ~ \.php$ {
                try_files $uri =404;
                fastcgi_pass unix:/var/run/php5-fpm.sock;
                fastcgi_index index.php;
                fastcgi_param SCRIPT_FILENAME $document_root$fastcgi_script_name;
                include fastcgi_params;
        }
}
In nano, to exit and save, hit Ctrl+x, type “y”, and then Enter.
Since we made changes to the configuration file, we need to restart Nginx, by running the command:
sudo service nginx restart
We are now going to create a simple PHP page to test.
Using a text editor of your choice, we are going create a file called info.php in /usr/share/nginx/html/.
sudo nano /usr/share/nginx/html/info.php
Copy the following into your text editor.
<?php
phpinfo();
?>
In your browser, you can go to http://Your-Hostname/info.php or http://Your-IP-Address/info.php. As above, in this example, we would use http://192.168.0.192/info.php.
You should see a web page similar to the one below.
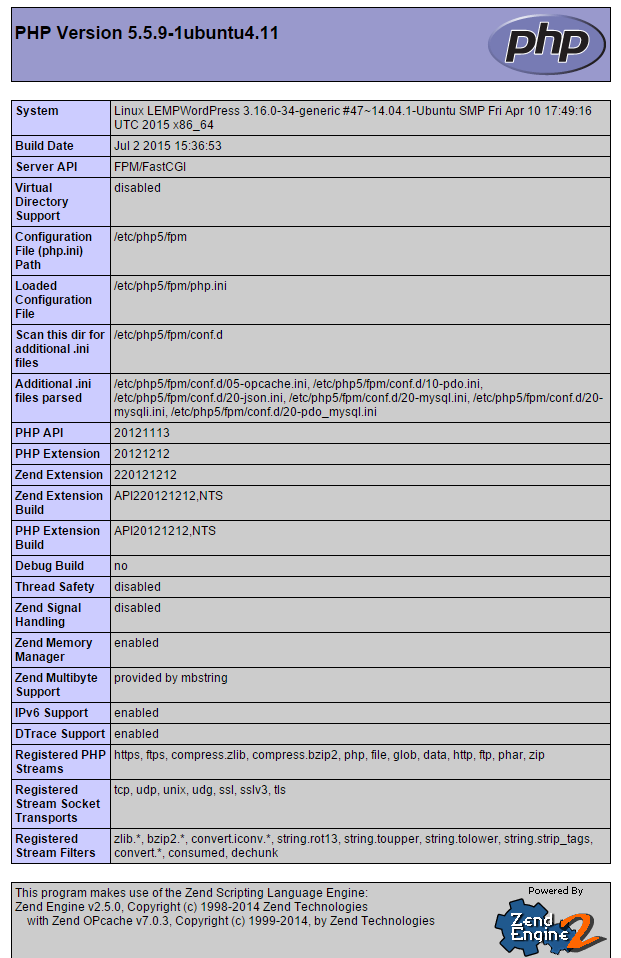
An example of the info.php web page
Once you are done testing, it is a good idea to remove the info.php file since it may give a potential attacker information that can be used to craft a particular attack against your server. To do that run the command:
sudo rm /usr/share/nginx/html/info.php
Also, we can remove the default index.html file with the following command:
sudo rm /usr/share/nginx/html/index/html
Now that LEMP is installed, we can install WordPress
Setting up the MySQL database for WordPress on Ubuntu 14.04
We are going to start off by setting up the MySQL database by running the following commands:
sudo mysql -u root -p
When prompted, enter your MySQL root password that you set up when installing MySQL.
In MySQL, enter the following commands:
create database wordpress character set utf8 collate utf8_bin;
Make sure you set a secure password where it says [insert-password-here]:
grant all privileges on wordpress.* to wordpressuser@localhost identified by "[insert-password-here]";
flush privileges;
exit
Get the Latest WordPress Install on Ubuntu 14.04
Now that the database is created, we can download the latest version of WordPress with the following command:
sudo wget http://wordpress.org/latest.tar.gz
The latest package will download to the directory that you are currently in, with the file name latest.tar.gz. We need to decompress the file by running:
sudo tar -xzvf latest.tar.gz
Configure WordPress on Ubuntu 14.04
Next, we need to copy wp-config-sample.php to wp-config.php, which is where WordPress gets its base configuration. To do that, run:
sudo cp wordpress/wp-config-sample.php wordpress/wp-config.php
In your favorite text editor, edit wordpress/wp-config.php.
sudo nano wordpress/wp-config.php
For a basic setup, we need to have the following.
define(‘DB_NAME’, ‘wordpress’);

define(‘DB_USER’, ‘wordpressuser’);

define(‘DB_PASSWORD’, ‘[insert-password-here]’);
It should look like this when completed:
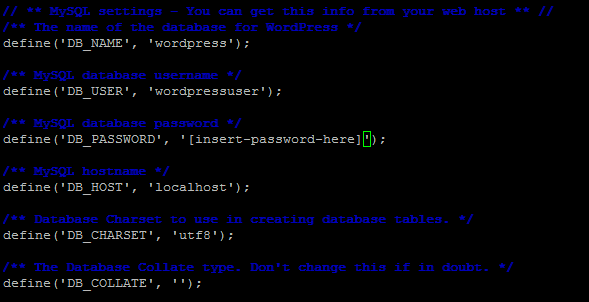
What wp-config.php should look like once you have edited it
Next, we need to move the WordPress folder to your web directory.
sudo cp -r wordpress/* /usr/share/nginx/html
Note: Your web directory may be different based on your configuration.
Finish Up Through The WordPress Web Installation
Now, we can go to the WordPress web installation by entering your hostname or IP address in your browser’s address bar.
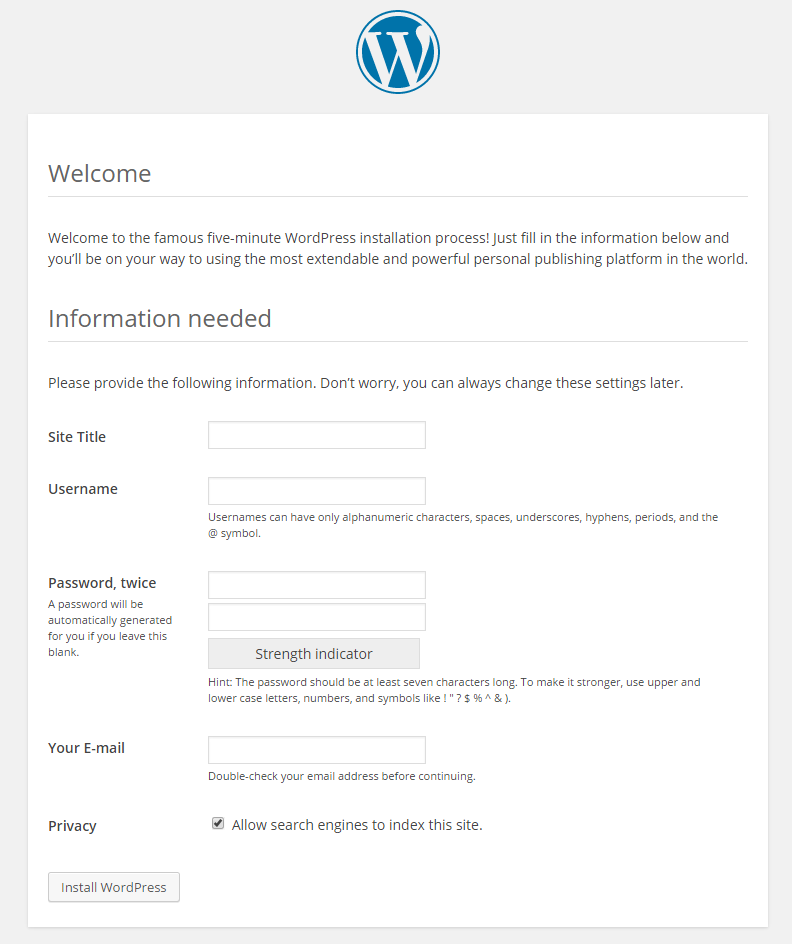
An example of the WordPress web installation
From here, all that is needed to do is to follow along with the WordPress install and give the information required.
Congratulations! You have just installed WordPress on an Nginx LEMP stack using Ubuntu 14.04. Check back for more updates. For more information on WordPress, you may want to check out the WordPress Codex.
Atlantic.Net
Atlantic.Net offers VPS hosting as well as managed hosting services which include a layer of business-essential managed services to your hosting packages. Contact us today for more information.
* This post is for informational purposes only and does not constitute professional, legal, financial, or technical advice. Each situation is unique and may require guidance from a qualified professional.
Readers should conduct their own due diligence before making any decisions.