WordPress is the most popular content management system used to host static and dynamic websites on the Internet. It is open-source, written in PHP and using MariaDB/MySQL as a database backend. It is designed for small businesses, personal blogs, and e-commerce. WordPress is being adopted by more users every day and is a great choice for getting a website up and running quickly.
In this post, we will explain how to install WordPress using a LAMP stack on Rocky Linux 8.
Step 1 – Install LAMP Stack
Before starting, the LAMP stack must be installed in your system. First, install Apache and MariaDB using the following command:
dnf install httpd mariadb-server -y
After installing both packages, you will need to install PHP and other PHP extensions to your system.
First, reset the default PHP 7.2 with the following command:
dnf module reset php
Next, enable the PHP 7.4 version using the following command:
dnf module enable php:7.4
Next, install PHP 7.4 with other extensions using the following command:
dnf install php php-cli php-json php-gd php-mbstring php-pdo php-xml php-mysqlnd php-pecl-zip curl -y
Once all the packages are installed, you can proceed to set up the MariaDB database.
Step 2 – Create a Database for WordPress
WordPress uses a database to store the contents. You will need to make sure that mariaDB is started:
service mariadb start

service mariadb enable
Next, you will need to create a database and user for WordPress:
First, connect to the MariaDB with the following command:
mysql
Once you are connected, create a database and user with the following command:
CREATE DATABASE wordpressdb;
CREATE USER `wordpressuser`@`localhost` IDENTIFIED BY 'securepassword';
Next, grant all the privileges to the WordPress database using the following command:
GRANT ALL ON wordpressdb.* TO `wordpressuser`@`localhost`;
Next, flush the privileges and exit from MariaDB with the following command:
FLUSH PRIVILEGES;
EXIT;
Step 3 – Download WordPress
Next, navigate to the Apache default root directory and download the latest version of WordPress with the following command:
cd /var/www/html
curl https://wordpress.org/latest.tar.gz --output wordpress.tar.gz
Once the download is completed, extract the downloaded file with the following command:
tar xf wordpress.tar.gz
Next, set proper ownership of the WordPress directory with the following command:
chown -R apache:apache /var/www/html/wordpress
Step 4 – Configure Apache to Host WordPress
Next, you will need to create an Apache virtual host file to host the WordPress. You can create it with the following command:
nano /etc/httpd/conf.d/wordpress.conf
Add the following lines:
<VirtualHost *:80>
ServerAdmin root@localhost
ServerName wordpress.example.com
DocumentRoot /var/www/html/wordpress
<Directory "/var/www/html/wordpress">
Options Indexes FollowSymLinks
AllowOverride all
Require all granted
</Directory>
ErrorLog /var/log/httpd/wordpress_error.log
CustomLog /var/log/httpd/wordpress_access.log common
</VirtualHost>
Save and close the file, then restart the Apache service to apply the configuration changes:
systemctl restart httpd
Step 5 – Access WordPress Installer
Now, open your web browser and access the WordPress installer using the URL http://wordpress.example.com. You should see the following screen:
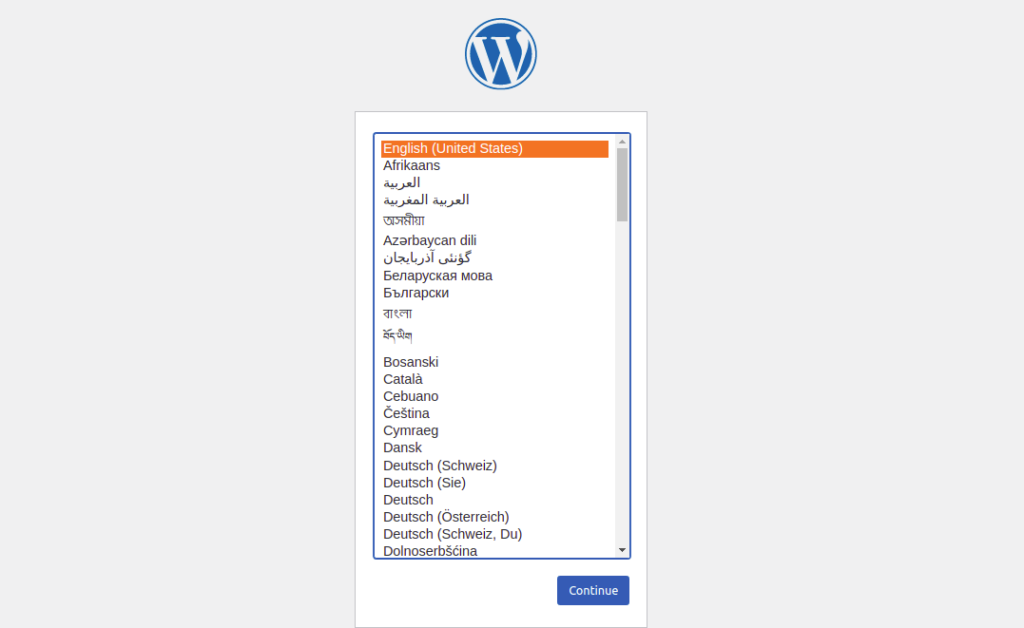
Select your language and click on the Next button. You will be redirected to the following screen:
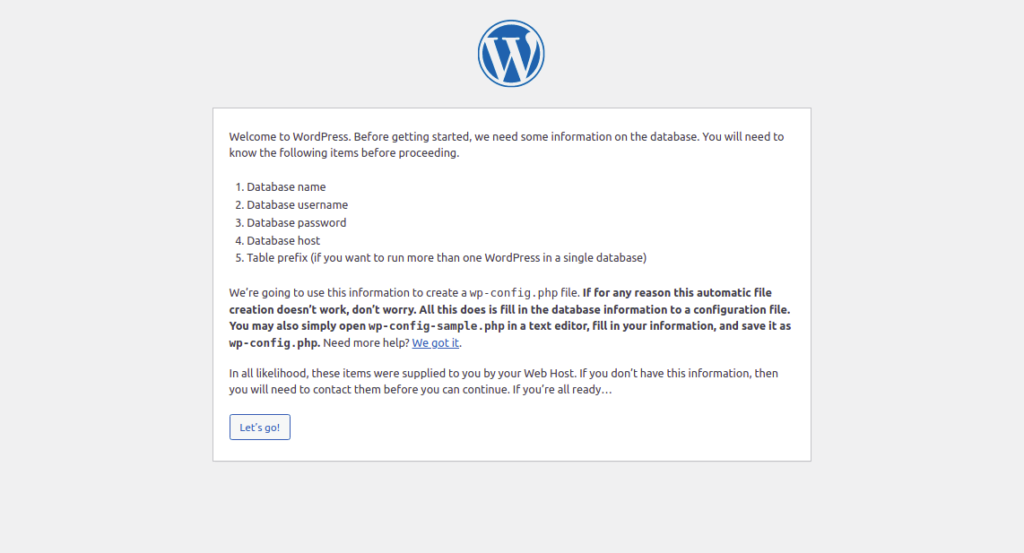
Click on the Let’s go! button. You should see the database configuration page:
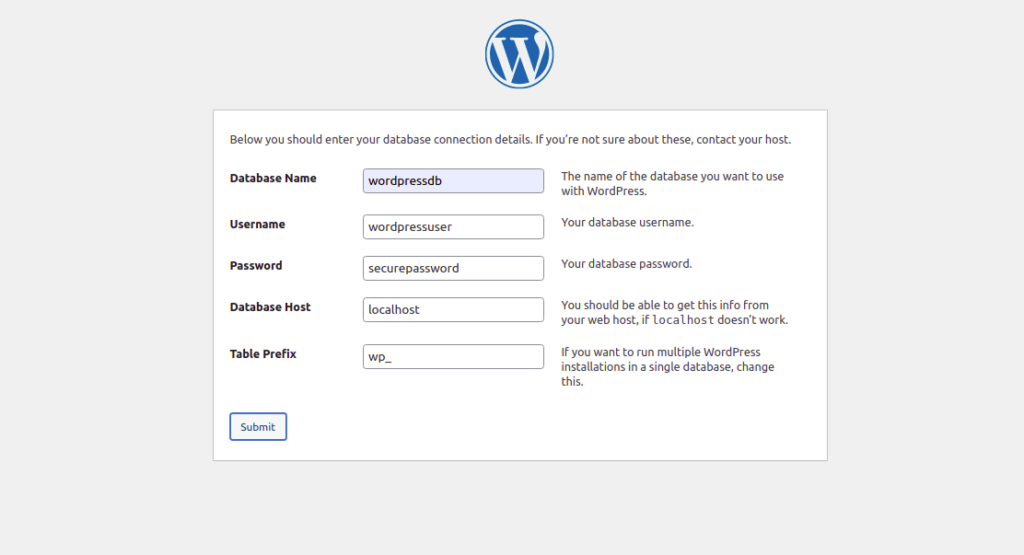
Provide your database credentials and click on the Submit button. You should see the following screen:
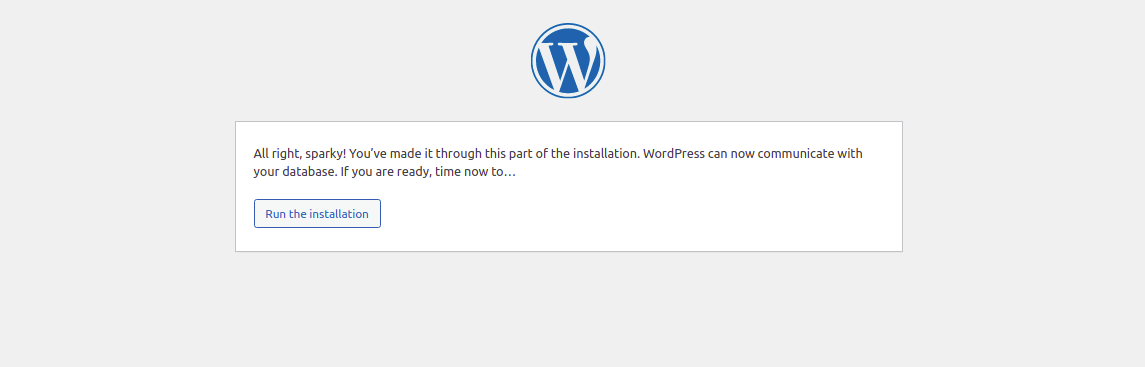
Click on the Run the installation button. You should see the WordPress site configuration screen:

Provide your site information and click on the Install WordPress button. You should see the following screen:
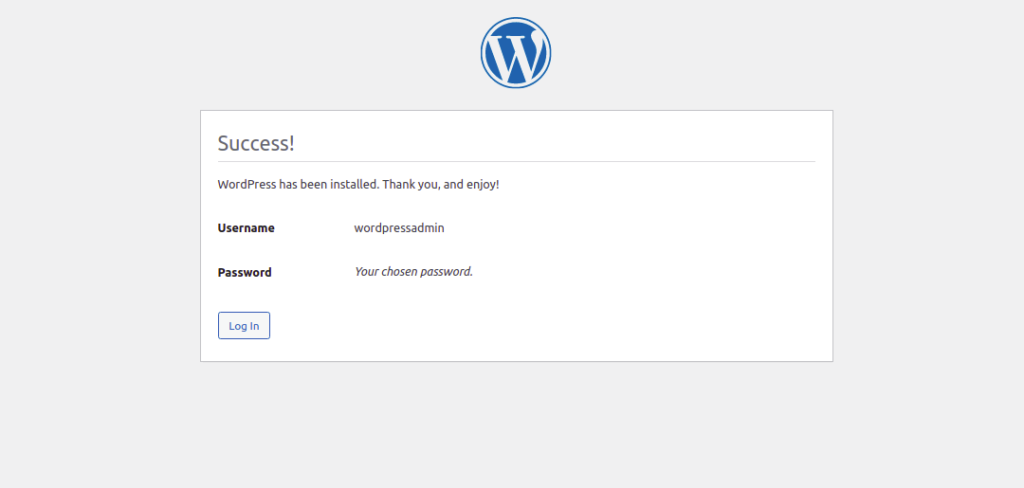
Click on the Log in button. You should see the following screen:
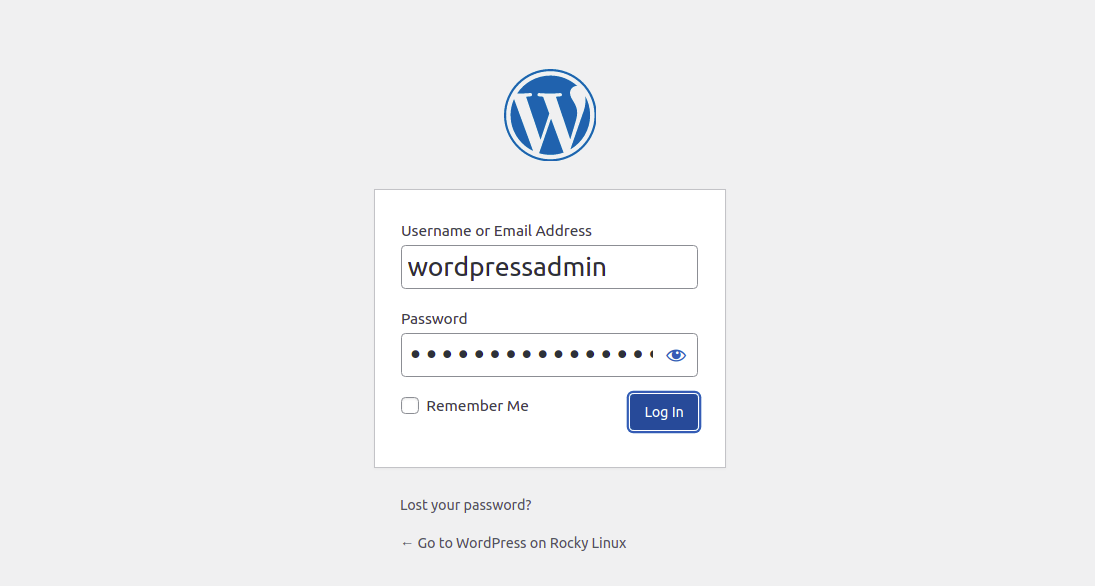
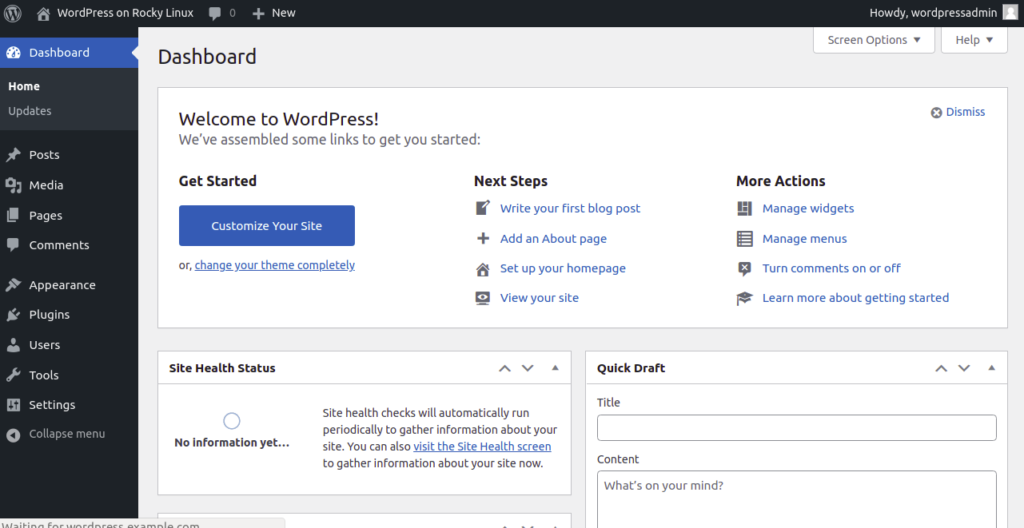
Provide your admin username and password and click on the Log In button. You should see the WordPress dashboard on the following screen:
Conclusion
In the above guide, we explained how to install WordPress with LAMP on Rocky Linux 8. You can now install necessary plugins and themes and start creating your first website from the WordPress dashboard; install WordPress today on your VPS hosting account from Atlantic.Net.