LEMP is an open-source software stack and is and ideally suited to hosting web applications on the internet. LEMP is an acronym for Linux, Nginx, MariaDB/MySQL, and PHP. Generally, LEMP stacks are used to host high-traffic and highly scalable websites on the internet. A LEMP stack is a group of open-source Linux-based software including Nginx web server, MariaDB database server, and PHP.
In this post, we will explain how to install a LEMP stack on Rocky Linux 8.
Step 1 – Install Nginx Web Server on Rocky Linux 8
The first step you will need to do is to install the Nginx web server package on your system. You can install it using the following command:
dnf install nginx -y
This will install the Nginx package along with other required dependencies to your system. Next, start the Nginx service and enable it to start at system reboot:
systemctl start nginx
systemctl enable nginx
You can now verify the status of the Nginx service using the following command:
systemctl status nginx
You should see the following output:
● nginx.service - The nginx HTTP and reverse proxy server
   Loaded: loaded (/usr/lib/systemd/system/nginx.service; disabled; vendor preset: disabled)
  Drop-In: /usr/lib/systemd/system/nginx.service.d
           └─php-fpm.conf
   Active: active (running) since Wed 2021-08-04 09:04:23 UTC; 13s ago
  Process: 33911 ExecStart=/usr/sbin/nginx (code=exited, status=0/SUCCESS)
  Process: 33910 ExecStartPre=/usr/sbin/nginx -t (code=exited, status=0/SUCCESS)
  Process: 33908 ExecStartPre=/usr/bin/rm -f /run/nginx.pid (code=exited, status=0/SUCCESS)
 Main PID: 33913 (nginx)
    Tasks: 2 (limit: 11411)
   Memory: 3.7M
   CGroup: /system.slice/nginx.service
           ├─33913 nginx: master process /usr/sbin/nginx
           └─33914 nginx: worker process

Aug 04 09:04:22 RockyLinux8 systemd[1]: Starting The nginx HTTP and reverse proxy server...
Aug 04 09:04:23 RockyLinux8 nginx[33910]: nginx: the configuration file /etc/nginx/nginx.conf syntax is ok
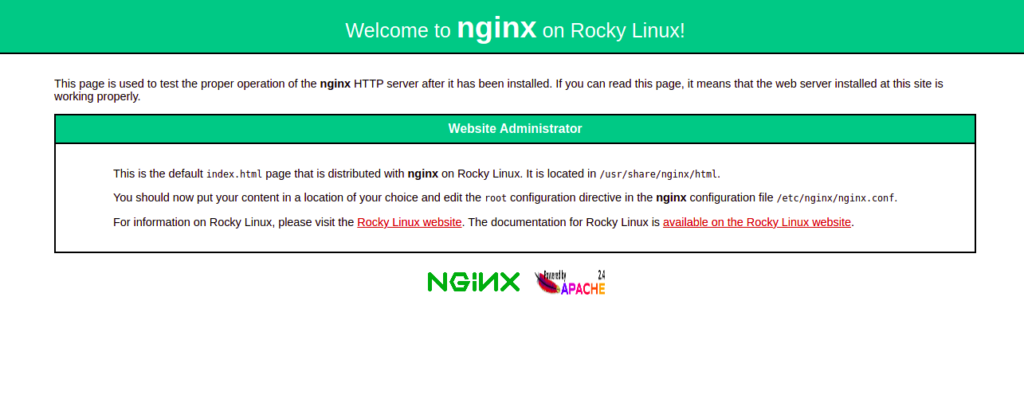
You can also verify the Nginx installation through the web browser. Open your web browser and type the URL http://your-server-ip. You should see the Nginx test page on the following screen:
Step 2 – Install MariaDB Database Server on Rocky Linux 8
Next, you will need to install the MariaDB or MySQL database server on your system. I would recommend installing the MariaDB server due to its numerous enhancements, like high-performance storage engines and backward compatibility with MySQL.
Run the following command to install the MariaDB server:
dnf install mariadb-server -y
After installing MariaDB, start the MariaDB service and enable it to start at system reboot:
systemctl start mariadb
systemctl enable mariadb
Run the following command to verify that the MariaDB daemon is running:
systemctl status mariadb
Next, I would recommend running the mysql_secure_installation script to secure the MariaDB installation.
You can run it using the following command:
mysql_secure_installation
You will then be asked whether to set a MariaDB root password, remove anonymous users, disallow root login, and remove the test database as shown below:
Enter current password for root (enter for none):
Set root password? [Y/n] Y
New password:
Re-enter new password:
Remove anonymous users? [Y/n] Y
Disallow root login remotely? [Y/n] Y
Remove test database and access to it? [Y/n] Y
Reload privilege tables now? [Y/n] Y
Step 3 – Install PHP on Rocky Linux 8
Next, you will need to install PHP on your system. By default, Rocky Linux AppStream repo provides multiple versions of PHP.
You can check all available PHP versions using the following command:
dnf module list php
You should see the following output:
Last metadata expiration check: 0:03:46 ago on Wednesday 04 August 2021 06:48:28 AM UTC.
Rocky Linux 8 - AppStream
Name                      Stream                      Profiles                                       Summary
php                       7.2 [d]                     common [d], devel, minimal                     PHP scripting language
php                       7.3                         common [d], devel, minimal                     PHP scripting language
php                       7.4                         common [d], devel, minimal                     PHP scripting language
The default PHP version is set to PHP 7.2. If you want to install the latest PHP 7.4, you will need to reset the default PHP steams.
Run the following command to reset the default PHP:
dnf module reset php
Next, enable the PHP 7.4 version using the following command:
dnf module enable php:7.4
Next, install PHP 7.4 with other extensions using the following command:
dnf install php php-fpm php-cli php-curl php-zip php-mysqli -y
Once PHP is installed, verify the installed version of PHP with the following command:
php -v
You should see the following command:
PHP 7.4.6 (cli) (built: May 12 2020 08:09:15) ( NTS )
Copyright (c) The PHP Group
Zend Engine v3.4.0, Copyright (c) Zend Technologies
    with Zend OPcache v7.4.6, Copyright (c), by Zend Technologies
By default, PHP-FPM runs as the apache user, so you will need to edit the PHP-FPM configuration file and set it to run as the nginx user.
nano /etc/php-fpm.d/www.conf
Change the following lines:
user = nginx
Group = nginx
Save and close the file when you are finished.
Another way to test the PHP version is to create an info.php file in the Nginx web root directory and access it through the web browser.
First, create an info.php file:
nano /usr/share/nginx/html/info.php
Add the following lines:
<?php
phpinfo();
?>
Save and close the file, then restart the Nginx and PHP-FPM service to apply the changes:
systemctl restart nginx php-fpm
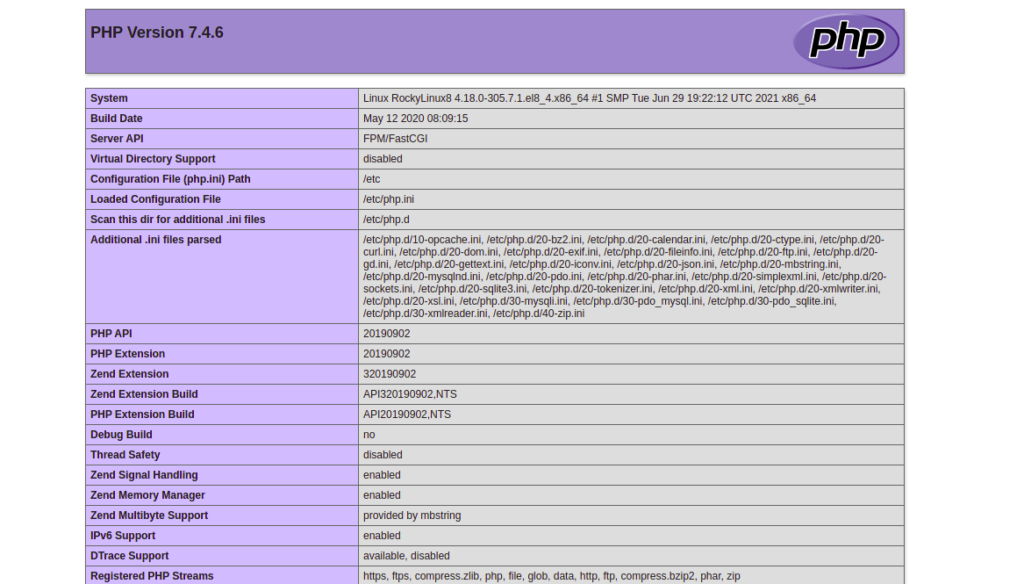
Now, open your web browser and access the info.php page using the URL http://your-server-ip/info.php. You should see the PHP version on the following screen:
Conclusion
In the above guide, we learned how to install the LEMP stack on Rocky Linux 8. You can now start installing the LEMP stack on Rocky Linux 8 and host your first website; get started on VPS hosting from Atlantic.Net!