LAMP is free, open-source, and one of the most popular development stacks used by developers and hosting companies to host web applications on the internet. LAMP stands for Linux, Apache, MariaDB, and PHP. A LAMP stack is a group of open-source Linux-based web development software that includes Apache web server, MariaDB (or MySQL database server), and PHP.
In this post, we will explain how to install a LAMP stack on Rocky Linux 10.
Step 1 – Install Apache Web Server on Rocky Linux 10
By default, the Apache webserver is included in the Rocky Linux 10 default repo. You can install it by running the following command:
dnf install httpd -y
After the installation, run the following command to start the Apache service and enable it to start at system reboot.
systemctl start httpd
systemctl enable httpd
Next, verify the status of the Apache service using the following command:
systemctl status httpd
You should see the following output:
● httpd.service - The Apache HTTP Server
Loaded: loaded (/usr/lib/systemd/system/httpd.service; disabled; preset: disabled)
Drop-In: /etc/systemd/system/httpd.service.d
└─php-fpm.conf
Active: active (running) since Fri 2025-10-24 23:50:02 EDT; 6s ago
Invocation: 102f6c502c0948c88e9a72eb5bab1efe
Docs: man:httpd.service(8)
Main PID: 150020 (httpd)
Status: "Started, listening on: port 3000, port 80"
Tasks: 197 (limit: 24809)
Memory: 20.7M (peak: 25.4M)
CPU: 275ms
CGroup: /system.slice/httpd.service
├─150020 /usr/sbin/httpd -DFOREGROUND
├─150048 "Passenger watchdog"
├─150052 "Passenger core"
├─150070 /usr/sbin/httpd -DFOREGROUND
├─150071 /usr/sbin/httpd -DFOREGROUND
├─150072 /usr/sbin/httpd -DFOREGROUND
└─150076 /usr/sbin/httpd -DFOREGROUND
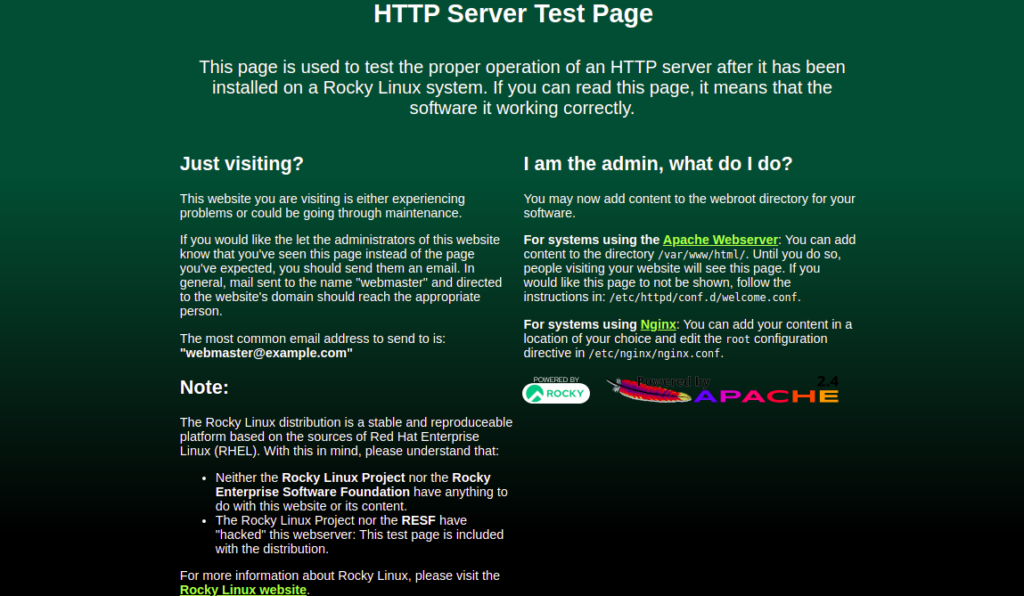
Next, open your web browser and verify the Apache test page using the URL http://your-server-ip. You should see the Apache test page on the following screen:
Step 2 – Install MariaDB Database Server on Rocky Linux 10
Next, you will need to install the MariaDB or MySQL database server in your system. I would recommend installing the MariaDB server due to its numerous enhancements, like high-performance storage engines and backward compatibility with MySQL.
Run the following command to install the MariaDB server:
dnf install mariadb-server -y
After installing MariaDB, start the MariaDB service and enable it to start at system reboot:
systemctl start mariadb
systemctl enable mariadb
Run the following command to verify that the MariaDB daemon is running:
systemctl status mariadb
Next, I would recommend running the mysql_secure_installation script to secure the MariaDB installation.
You can run it using the following command:
mysql_secure_installation
You will then be asked whether to set a MariaDB root password, remove anonymous users, disallow root login, and remove the test database, as shown below:
Enter current password for root (enter for none):
Set root password? [Y/n] Y
New password:
Re-enter new password:
Remove anonymous users? [Y/n] Y
Disallow root login remotely? [Y/n] Y
Remove test database and access to it? [Y/n] Y
Reload privilege tables now? [Y/n] Y
Step 3 – Install PHP on Rocky Linux 10
Next, you will need to install PHP (PHP Hypertext Preprocessor) in your system. By default, PHP is available in the Rocky Linux default repository.
You can install PHP with other extensions using the following command:
dnf install php php-cli php-curl php-zip php-mysqli -y
Once PHP is installed, verify the installed version of PHP with the following command:
php -v
You should see the following command:
PHP 8.3.19 (cli) (built: Mar 12 2025 13:10:27) (NTS gcc x86_64)
Copyright (c) The PHP Group
Zend Engine v4.3.19, Copyright (c) Zend Technologies
with Zend OPcache v8.3.19, Copyright (c), by Zend Technologies
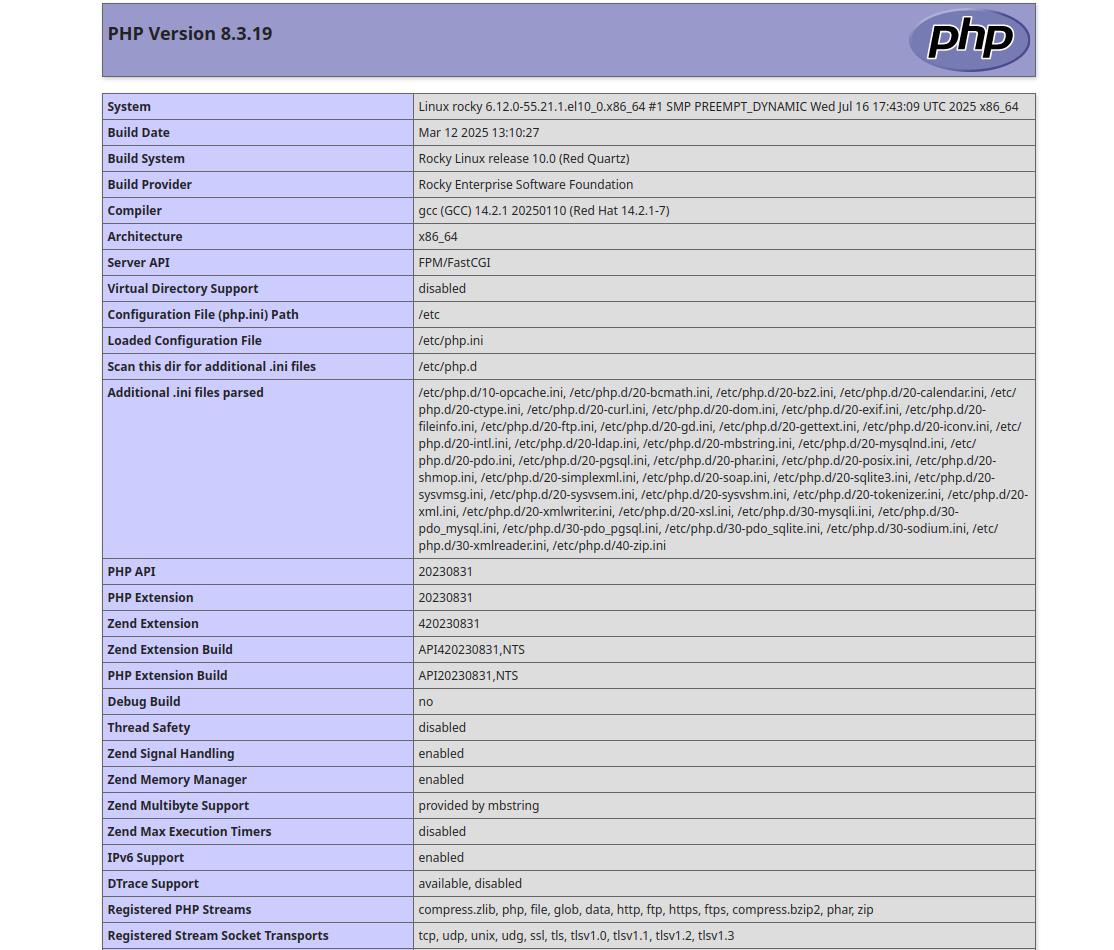
You can also test the PHP version through the web browser.
To do so, create an info.php file:
nano /var/www/html/info.php
Add the following lines:
<?php
phpinfo();
?>
Save and close the file, then restart the Apache service to apply the changes:
systemctl restart httpd
Now, open your web browser and access the info.php page using the URL http://your-server-ip/info.php. You should see the PHP version on the following screen:
Conclusion
In the above guide, you learned how to install the LAMP stack on Rocky Linux 10. You should now have enough understanding of LAMP to install it for yourself and start hosting your website on the Internet using the LAMP stack; try it on your Atlantic.Net virtual private server!
* This post is for informational purposes only and does not constitute professional, legal, financial, or technical advice. Each situation is unique and may require guidance from a qualified professional.
Readers should conduct their own due diligence before making any decisions.