Table of Contents
Verified and Tested 03/24/2015
Introduction
In this article, we will be going over joining a Windows Server 2012 to an Active Directory Domain. Before you can complete this process, keep in mind that the server must first communicate with the domain. This means that the server’s IP address configuration must reference the domain’s DNS server. Here we will demonstrate how to complete this process.
Joining A Windows Server 2012 To A Domain
To join the server to a domain, move your mouse to the lower-left corner of the screen and then right-click on the Start tile. Select the System Command from the Start tile’s menu. When the System dialog box appears, click the Change Settings link, shown below.
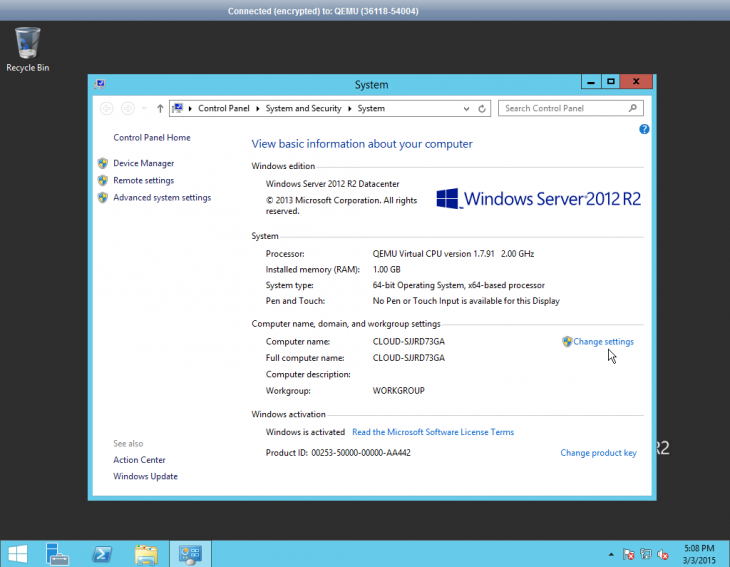 Screenshot of the “System” dialogue box in Windows Server 2012
The server should now display the System Properties sheet. Ensure that the Computer Name tab is selected, and then click the Change button. When Windows displays the Computer Name/Domain Changes dialog box shown below, enter your domain name and click OK. Windows will locate the domain and then prompt you for a set of administrative credentials. When the domain join completes, you will be prompted to restart the server.
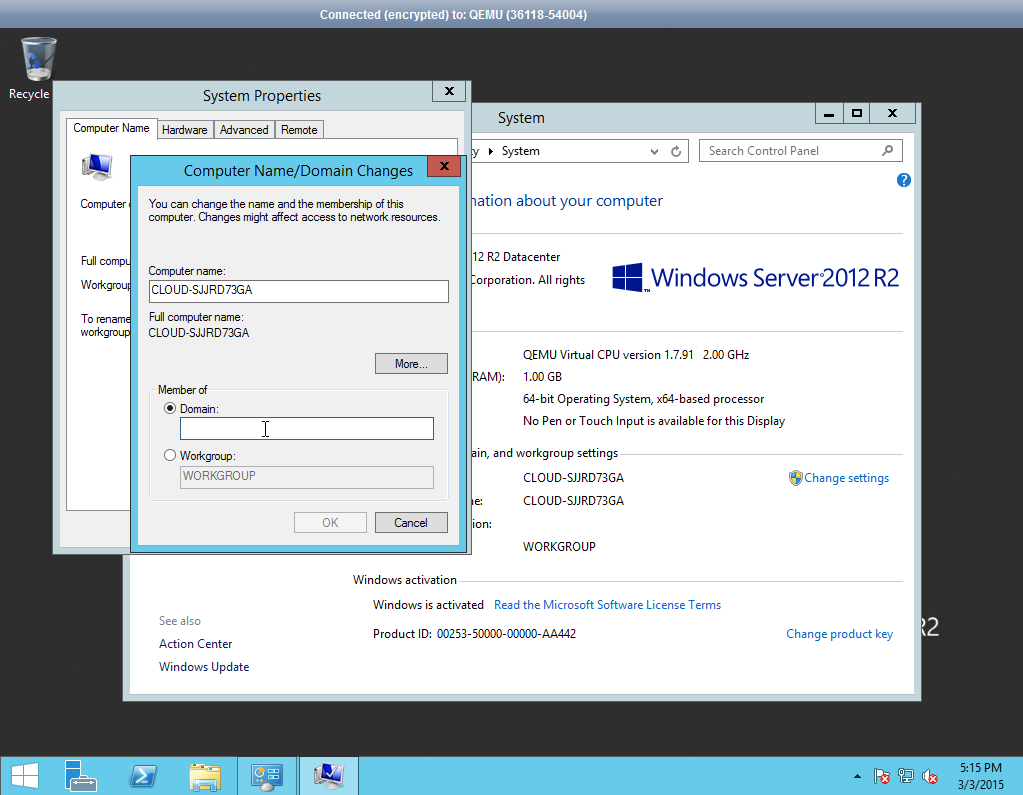 Screenshot of the “Computer Name/Domain changes” window in Windows Server 2012
Conclusion
Joining a domain to a Windows Server 2012 is relatively straightforward. With just a few clicks, you can assign an active domain to your Windows server without issue.
Learn more about our VPS hosting services and VPS hosting price.
* This post is for informational purposes only and does not constitute professional, legal, financial, or technical advice. Each situation is unique and may require guidance from a qualified professional.
Readers should conduct their own due diligence before making any decisions.