Table of Contents
Verified and Tested 04/02/21
Introduction
This article will go over how to set up a TeamSpeak (v3) server on a freshly provisioned CentOS 7 cloud server.
Prerequisites
-You will need to provision a CentOS 7 (32 bit or 64 bit) server.
-SFTP Client such as WinSCP.
Install TeamSpeak on CentOS 7
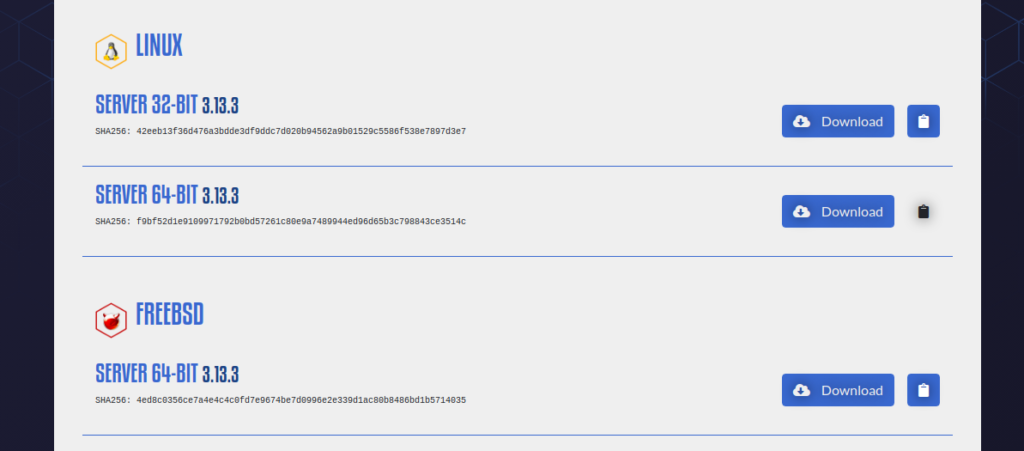
First, we will need to download the TeamSpeak Server files. You can find them here. Make sure to choose the correct architecture (x86 for 32-bit, amd64 for 64-bit):
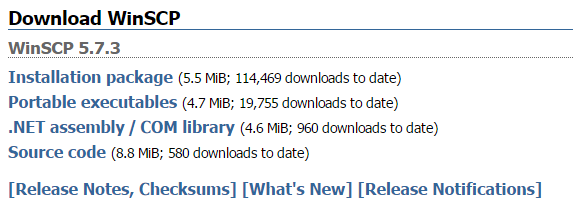
Next, we will download an SFTP client to transfer the TeamSpeak Server file to our cloud server. You can download WinSCP from HERE. You can choose either the installation package or the portable version.
Now to open up the required ports in the firewall. These are the default ports we will open:
UDP: 9987 – Default voice port.
TCP: 10011 – Default file transfer port.
TCP: 30033 – Default server-query port.
You can allow all those ports using the following command:
firewall-cmd --permanent --zone public --add-port 10011/tcp
firewall-cmd --permanent --zone public --add-port 30033/tcp
firewall-cmd --permanent --zone public --add-port 9987/udp
Once you are done, reload the firewall service to apply the changes:
firewall-cmd --reload
That’s it for the firewall configuration.
Time to create a separate user for the TeamSpeak server. Call this user whatever you wish, but for the sake of this how-to, I will be using “ts3srv”:
useradd ts3srv
passwd ts3srv
Now change to the home folder of the user we just created:
su ts3srv
cd
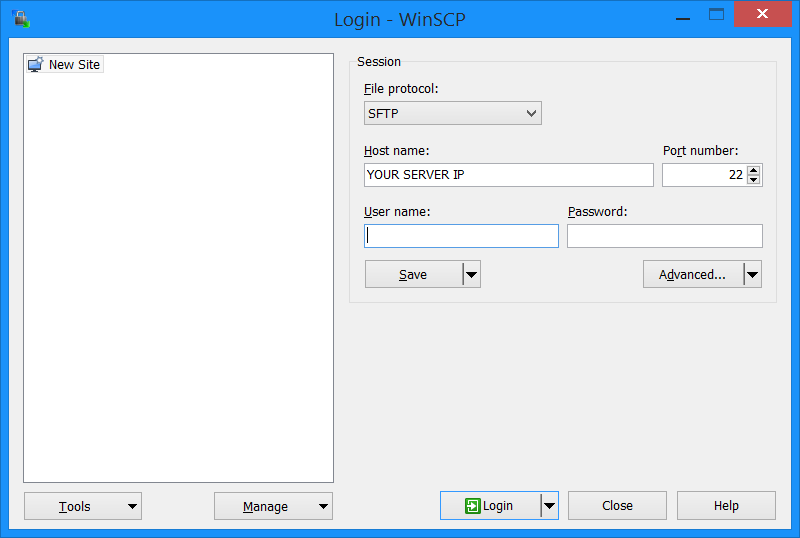
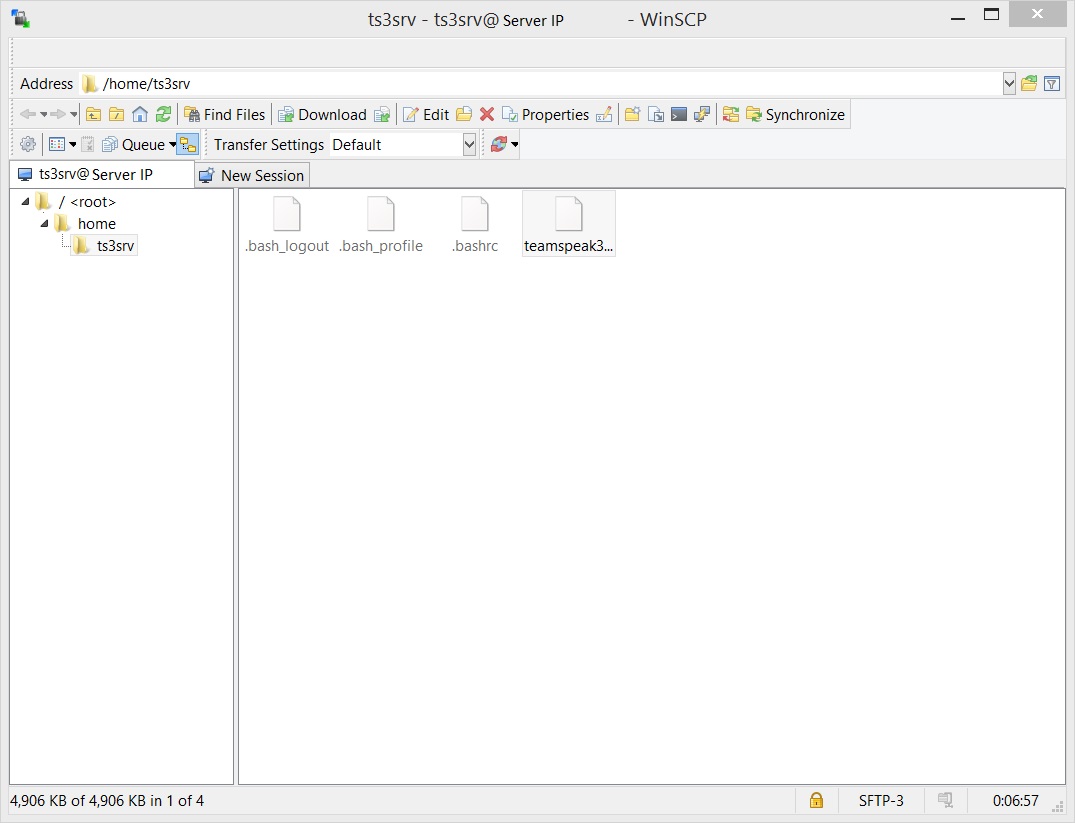
At this point, we will need to upload the TeamSpeak server package we downloaded earlier. Open WinSCP and type your server IP in the “Hostname” input box along with the ts3srv username and password you chose. Then click on “Login”:
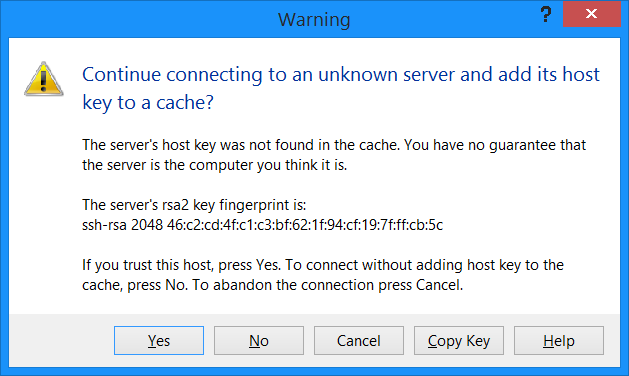
Note: The first time you connect to your server, you will receive a warning that the host is unknown. Don’t worry, click “Yes” to accept the host key.
Once you are connected, you will be dropped into the home directory of the ts3srv user we created. Just drag and drop the file we downloaded into the main window:
Time to install the package:
tar -xjf teamspeak3-server_linux_amd64-3.13.3.tar.bz2
cd teamspeak3-server_linux_amd64
Note: Your command may be slightly different depending on the version you downloaded or chose the 32-bit version.
Now, start the TeamSpeak server with the following command.
./ts3server_startscript.sh start license_accepted=1

WARNING: Make sure to copy down all information that is shown. It WILL NOT be shown again.
Once you copy down the Server Query Admin Account password and the ServerAdmin privilege key, you can hit CTRL + C to exit out. The server will remain running in the background.
Now open up your TeamSpeak client and join your server!
You will need the password and privilege key that you should have copied down in the previous step:
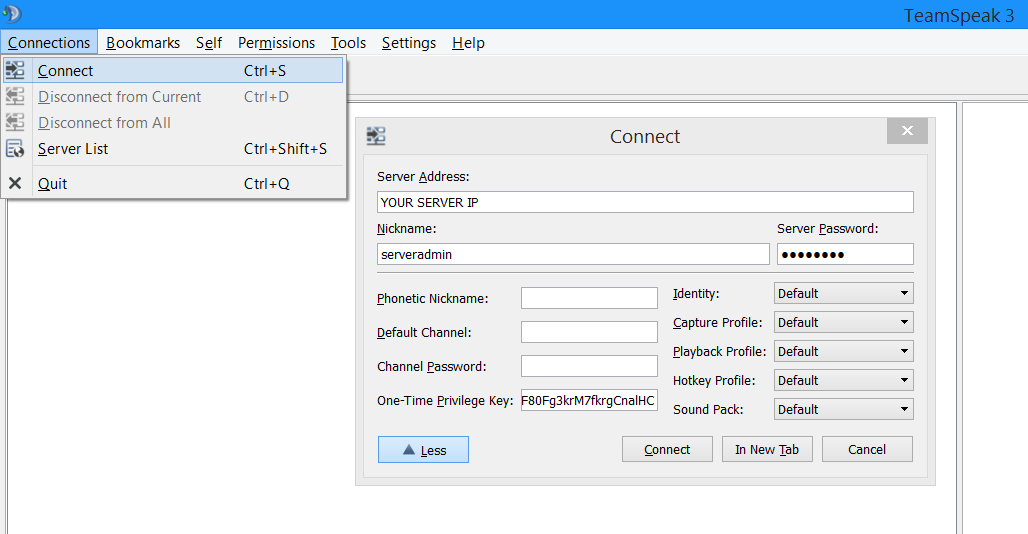
That’s it! Now go ahead and edit the default channel and start adding new channels. Once you are ready, give your clients the IP address of the server to connect.
Learn more about our VPS hosting services and VPS hosting price.