WordPress is a free, open-source, and widely used content management system. However, setting up a new web hosting environment with WordPress can be a time-consuming process. Docker simplifies the whole process with a few commands that reduce the time and effort needed for installation. Docker is an open-source containerization application built to develop, test, and run multiple applications on the same machine. It is very useful for developers to create a test environment without wasting server space and memory.
In this tutorial, we will show you how to install WordPress with Docker on Ubuntu. This procedure is compatible with Ubuntu 20.04 and Ubuntu 22.04.
[jumpbox]
Step 1 – Install Required Dependencies
First, you will need to install some dependencies in your server. You can install all of them by running the following command:
apt-get update -y
apt-get install mariadb-client apt-transport-https ca-certificates curl gnupg-agent software-properties-common -y
Once all the packages are installed, you can proceed to the next step.
Step 2 – Install Docker
By default, the latest version of Docker is not available in the Ubuntu 20.04 default repository, so it is a good idea to add the Docker official repository in your system.
First, download and add the GPG key with the following command:
curl -fsSL https://download.docker.com/linux/ubuntu/gpg | apt-key add -
Next, add the Docker repository with the following command:
add-apt-repository "deb [arch=amd64] https://download.docker.com/linux/ubuntu $(lsb_release -cs) stable"
Once the repository is added, you can install the Docker and Docker Compose using the following command:
apt-get install docker-ce docker-ce-cli containerd.io -y
After installing both packages, check the installed version of Docker with the following command:
docker --version
You should get the following output:
Docker version 19.03.12, build 48a66213fe
Step 3 – Create a MariaDB Container
First, you will need to download the MariaDB image from the Docker repository. You can download it with the following command:
docker pull mariadb
You should see the following output:
Using default tag: latest
latest: Pulling from library/mariadb
3ff22d22a855: Pull complete
e7cb79d19722: Pull complete
323d0d660b6a: Pull complete
b7f616834fd0: Pull complete
78ed0160f03e: Pull complete
a122e9306ac4: Pull complete
673e89352b19: Pull complete
caf1e694359b: Pull complete
04f5e4f6ead3: Pull complete
a41772aadb3d: Pull complete
c3811aa2fa0a: Pull complete
655ad574d3c7: Pull complete
90ae536d75f0: Pull complete
Digest: sha256:812d3a450addcfe416420c72311798f3f3109a11d9677716dc631c429221880c
Status: Downloaded newer image for mariadb:latest
docker.io/library/mariadb:latest
Next, create a directory structure for WordPress on your server:
mkdir ~/wordpress
mkdir -p ~/wordpress/database
mkdir -p ~/wordpress/html
Next, create a MariaDB container with name wordpressdb by running the following command:
docker run -e MYSQL_ROOT_PASSWORD=root-password -e MYSQL_USER=wpuser -e MYSQL_PASSWORD=password -e MYSQL_DATABASE=wpdb -v /root/wordpress/database:/var/lib/mysql --name wordpressdb -d mariadb
You should see an output similar to the following:
e8c780b34cdcb66db9278635b109debb1775d6a6b6785c4e74c8e0815e3ba5e3
In the above command, here are the variables defined:
- MYSQL_ROOT_PASSWORD: This option will configure MariaDB root password.
- MYSQL_USER: This will create a new wpuser for WordPress.
- MYSQL_PASSWORD: This will set the password for wpuser.
- MYSQL_DATABASE: This will create a new database named wpdb for WordPress.
- -v /root/wordpress/database:/varlib/mysql: This will link the database directory to the mysql directory.
Next, check the IP address of MariaDB container with the following command:
docker inspect -f '{{ .NetworkSettings.IPAddress }}' wordpressdb
You should see the MariaDB container IP address in the following output:
172.17.0.2
Now, connect to your MariaDB container using the database user and password:
mysql -u wpuser -h 172.17.0.2 -p
Enter password:
You should see the following output:
Welcome to the MariaDB monitor.  Commands end with ; or \g.
Your MariaDB connection id is 3
Server version: 10.5.4-MariaDB-1:10.5.4+maria~focal mariadb.org binary distribution
Copyright (c) 2000, 2018, Oracle, MariaDB Corporation Ab and others.
Type 'help;' or '\h' for help. Type '\c' to clear the current input statement.
Now, verify the database with the following command:
show databases;
You should see your wpdb database in the following output:
+--------------------+
| Database           |
+--------------------+
| information_schema |
| wpdb               |
+--------------------+
2 rows in set (0.001 sec)
Now, exit from the MariaDB shell with the following command:
EXIT;
Step 4 – Create a WordPress Container
First, download the WordPress image from the Docker repository using the following command:
docker pull wordpress:latest
You should see the following output:
latest: Pulling from library/wordpress
bf5952930446: Pull complete
a409b57eb464: Pull complete
3192e6c84ad0: Pull complete
43553740162b: Pull complete
d8b8bba42dea: Pull complete
eb10907c0110: Pull complete
10568906f34e: Pull complete
03fe17709781: Pull complete
98171b7166c8: Pull complete
3978c2fb05b8: Pull complete
71bf21524fa8: Pull complete
24fe81782f1c: Pull complete
7a2dfd067aa5: Pull complete
a04586f4f8fe: Pull complete
b8059b10e448: Pull complete
e5b4db4a14b4: Pull complete
48018c17c4e9: Pull complete
d09f106f9e16: Pull complete
2ce4312168ba: Pull complete
01f0fe2819ef: Pull complete
Digest: sha256:19c6a3a796b1db1e6ee8bd3e8d5d69510885fa62255ce8bd07ee34d3878d0312
Status: Downloaded newer image for wordpress:latest
docker.io/library/wordpress:latest
Next, create a new WordPress container named wpcontainer from the downloaded image using the following command:
docker run -e WORDPRESS_DB_USER=wpuser -e WORDPRESS_DB_PASSWORD=password -e WORDPRESS_DB_NAME=wpdb -p 8081:80 -v /root/wordpress/html:/var/www/html --link wordpressdb:mysql --name wpcontainer -d wordpress
This will create a new WordPress container and expose the port 80 on the container to port 8081 on the host machine.
You can now verify your WordPress container with the following command:
curl -I localhost:8081
You should get the following output:
HTTP/1.1 302 Found
Date: Fri, 07 Aug 2020 04:44:36 GMT
Server: Apache/2.4.38 (Debian)
X-Powered-By: PHP/7.4.9
Expires: Wed, 11 Jan 1984 05:00:00 GMT
Cache-Control: no-cache, must-revalidate, max-age=0
X-Redirect-By: WordPress
Location: http://localhost:8081/wp-admin/install.php
Content-Type: text/html; charset=UTF-8
Step 5 – Configure Nginx as a Reverse Proxy
Next, you will need to install and configure Nginx as a reverse proxy for the WordPress container so you can access your WordPress using port 80.
First, install the Nginx web server with the following command:
apt-get install nginx -y
Once installed, create a new Nginx virtual host configuration file:
nano /etc/nginx/sites-available/wordpress
Add the following lines:
server {
  listen 80;
  server_name wp.example.com;
  location / {
    proxy_pass http://localhost:8081;
    proxy_set_header Host $host;
    proxy_set_header X-Real-IP $remote_addr;
    proxy_set_header X-Forwarded-For $proxy_add_x_forwarded_for;
  }
}
Save and close the file, then activate the virtual host with the following command:
ln -s /etc/nginx/sites-available/wordpress /etc/nginx/sites-enabled/
Next, restart the Nginx service to apply the changes:
systemctl restart nginx
Step 6 – Access WordPress Interface
Now, open your web browser and type the URL http://wp.example.com. You will be redirected to the WordPress installation wizard:
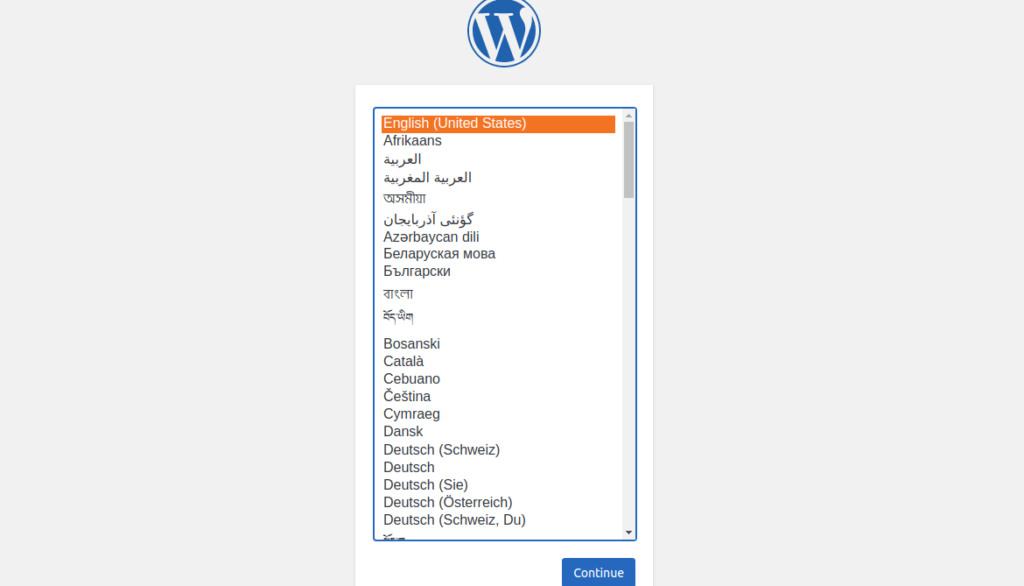
Select your language and click on the Continue button. You should see the following screen:

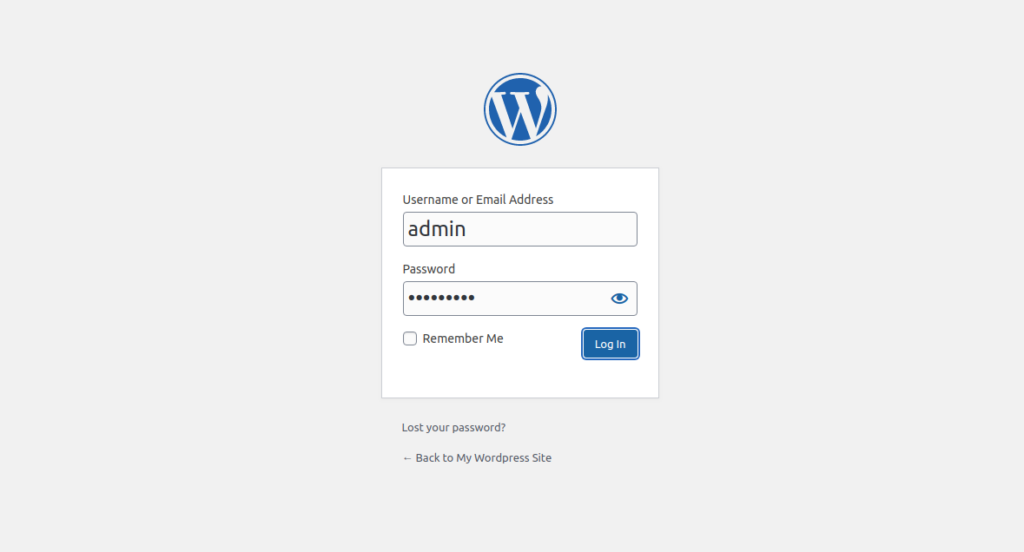
Provide your site name, admin username, email, and password and click on the Install WordPress button. Once the installation has been finished, you should see the following screen:
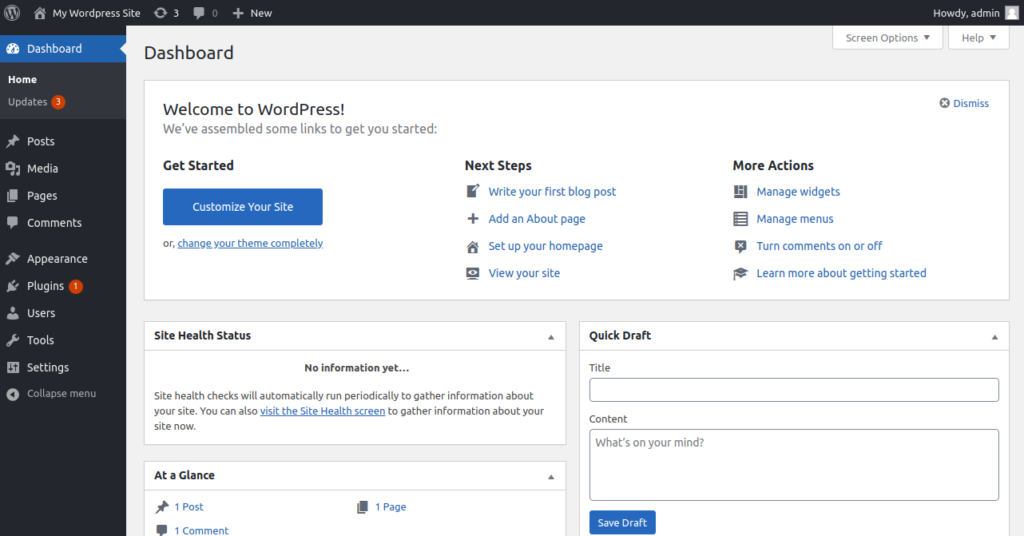
Provide your admin username and password and click on the Log In button. You should see the WordPress dashboard in the following screen:
Conclusion
In this guide, you learned how to install and configure WordPress in the Docker environment on Ubuntu 20.04. You can now set up WordPress in a test environment – get started today on VPS Hosting from Atlantic.Net!
* This post is for informational purposes only and does not constitute professional, legal, financial, or technical advice. Each situation is unique and may require guidance from a qualified professional.
Readers should conduct their own due diligence before making any decisions.