Table of Contents
- Install rsync
- Rsync Syntax
- 1. Copy a File Locally
- 2. Copy a Directory Locally
- 3. Copy Files and Directories from the Local to the Remote System
- 4. Copy Files and Directories from the Remote to the Local System
- 5. Display Synchronization Progress During Transfer
- 6. Limit Bandwidth During Transfer
- 7. Include and Exclude Files During Transfer
- Conclusion
rsync is a command-line utility for Unix-based operating systems that can be used to transfer and synchronize files and directories between multiple computers. It is an extraordinarily fast file copying tool that uses an algorithm to transfer only the portions of files that have changed.
rsync is written in C and is a replacement for scp, sftp, and cp commands.
rsync uses compression and decompression of data blocks, which will save your bandwidth compared to other file transfer protocols, like FTP. It also encrypts the data during the file transfer using SSH protocol.
In this tutorial, we will show you how to use rsync command to transfer files and directories in Linux.
Install rsync
rsync comes pre-installed in most Linux operating systems. If not installed, you can install it with the following command:
apt-get update -y
apt-get install rsync -y
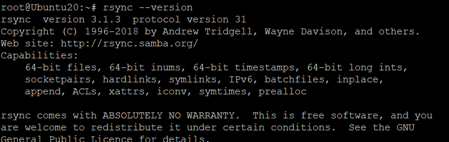
Once installed, you can verify the version of rsync using the following command:
rsync --version
You should see the following output:
Rsync Syntax
The basic syntax of rsync command is shown below:
rsync [OPTION] [SOURCE] [DESTINATION]
rsync comes with a lot of options. A brief explanation of each option is shown below:
-a: Used to sync directories recursively and preserve symbolic links, modification times, group, ownership, and permissions.
-r: Used to sync directories recursively but does not keep ownership for users and groups, permissions, timestamps, or symbolic links.
-z: Used to compress the data during the transfer.
-e: Used to specify SSH protocol for remote transfers.
-h: Used to print the numbers in the output in a human-readable format.
-b: Used to take a backup during synchronization.
1. Copy a File Locally
To copy a single file from one directory to another on the local system, use the following command:
rsync -v /etc/rsyslog.conf /mnt/
This will copy a file named rsyslog.conf located in /etc to the /mnt directory:

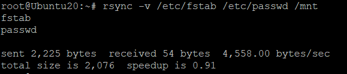
To copy multiple files from one directory to another on the local system, use the following command:
rsync -v /etc/fstab /etc/passwd /mnt
This will copy files fstab and passwd to the /mnt directory:
rsync -v /etc/fstab /etc/passwd /mnt
2. Copy a Directory Locally
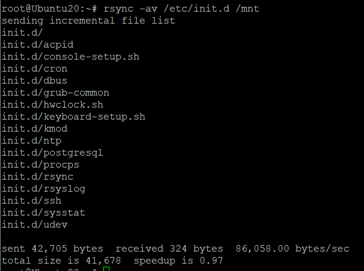
To copy a directory with all its contents to the other directory on the local system, use the following command:
rsync -av /etc/init.d /mnt
This will copy directory named init.d and all its contents to the /mnt directory:
3. Copy Files and Directories from the Local to the Remote System
With rsync, you can also copy or sync files and directories from the local to the remote system.
For example, to copy the directory /etc on the local system to the remote system (192.168.0.102) under the /mnt directory, run the following command:
rsync -zarvh /etc/init.d/ root@192.168.0.102:/mnt/
You will be asked to provide the root password of remote system:
4. Copy Files and Directories from the Remote to the Local System
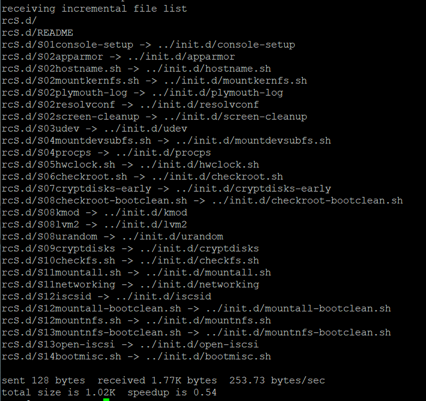
If you want to copy the directory /etc/rcS.d from the remote system (192.168.0.102) to the local system inside /opt directory, run the following command:
rsync -zarvh root@192.168.0.102:/etc/rcS.d /opt/
You should see the following output:
5. Display Synchronization Progress During Transfer
You can also display the file transfer progress using the option –progress. You can run the following command to display the progress bar:
rsync -avh --progress root@192.168.0.102:/etc/apache2 /opt/
6. Limit Bandwidth During Transfer
You can also set the bandwidth limit for data transfer using the option –bwlimit.
For example, set the bandwidth limit to 500 KB/s during file transfer using the following command:
rsync -avz --progress --bwlimit=500 /root/ubuntu-20.04-live-server-amd64.iso
root@192.168.0.102:/mnt/
7. Include and Exclude Files During Transfer
In some cases, you want to include or exclude only specific file types during the transfer. In this case, you can use –include and –exclude option.
rsync -avz --include '*.php' --exclude *.png /var/www/html/wordpress /opt/
This will copy only PHP files and exclude PNG files from /var/www/html/wordpress to /opt directory.
Conclusion
In the above guide, you learned how to use rsync command to transfer files from one system to another. You also learned how to use different options with rsync command. You can now easily use the rsync command to perform backup tasks; try using rsync on your VPS Hosting account from Atlantic.Net!
* This post is for informational purposes only and does not constitute professional, legal, financial, or technical advice. Each situation is unique and may require guidance from a qualified professional.
Readers should conduct their own due diligence before making any decisions.