Introduction
This how-to will show you a basic LAMP installation on a CentOS 7.2 Cloud Server. LAMP, on CentOS 7.2, is a software bundle consisting of four components: Linux, Apache, MariaDB, and PHP. LAMP is the backbone for various web-based software, such as WordPress and other web-hosting platforms. We will be using CentOS 7.2 for our Linux installation in this how-to. CentOS 7.2 implements systems, which will make this guide very different than the CentOS LAMP articles you may have seen in the past.
Additionally, the default database engine used by CentOS 7 is MariaDB and not MySQL. MariaDB is a forked version of MySQL, so most of the functionality that you may know from MySQL is built into MariaDB. We will be using Apache for our web server and PHP for our scripting language.
 LAMP Magic In Your Hands created by Walker Cahall
Prerequisites
A server with CentOS 7.2 installed is required, which will take care of the LAMP stack install Linux portion. If you do not have a CentOS 7.2 server, why not consider a CentOS SSD virtual private server from Atlantic.Net.
This how-to requires a user with root credentials. If you are using the root user, then you can omit the sudo in front of commands.
Install LAMP on CentOS 7.2
We need to take care of a few things before installing Apache.
First, we should make sure the system is updated by running the following command:
sudo yum update
If this command finds updates to install, you will be prompted with ‘Is this ok?’ Hit Y and then enter.
Next, we need to update our firewall to allow HTTP and HTTPS traffic.
Check to see if your firewall is running by running
sudo systemctl status firewalld
If the firewall is not running, run the following command:
sudo systemctl start firewalld
If you want the firewall to start when CentOS 7.2 boots up, run the following command:
sudo systemctl enable firewalld
To allow HTTP and HTTPS, run the following commands:
sudo firewall-cmd --permanent --add-service=http
sudo firewall-cmd --permanent --add-service=https
You need to run the following command so that the rules above take effect.
sudo firewall-cmd --reload
Now that we have taken care of those things, we can install Apache.
Installing Apache on CentOS 7.2
We will install Apache with yum, the default package manager for CentOS 7.2. Apache is a free, open-source web server.
Install Apache with the following command:
sudo yum install httpd
During the install, it will prompt, “Is this ok?” Hit Y and then enter.
We now need to start Apache by running the command:
sudo systemctl start httpd.service
We can now verify Apache is working by opening your browser and entering the URL http:// your-server's-address. You should get a “Testing 123” page similar to the image below.
Note: If you do not know your IP address, run the following command:
ip addr show eth0
An example of running the command: ip addr show eth0 and getting 192.168.100.10 for the IP address.In our example we would put
http:// 192.168.100.10into our browser’s address bar.
 An example of running the command: ip addr show eth0 and getting 192.168.100.10 for the IP address.In our example we would put
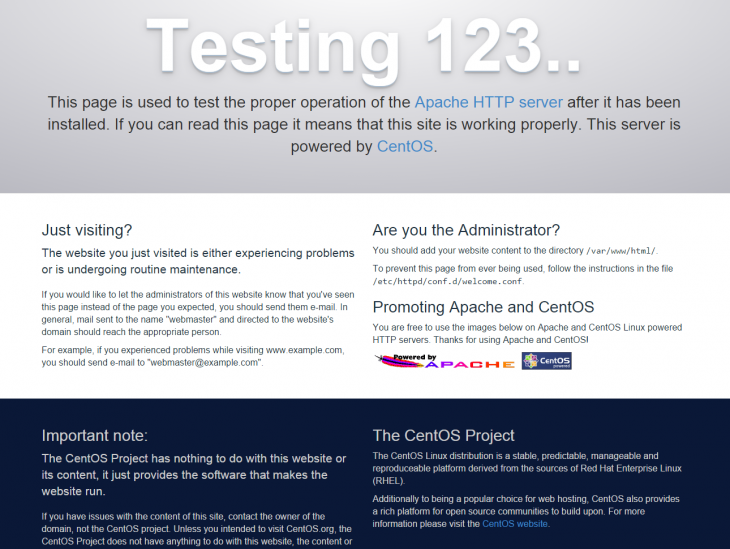 The default web page when installing Apache on CentOS 7
To have Apache enabled when your CentOS 7.2 systems startup, run the following command:
sudo systemctl enable httpd.service
Also, if you would like to check the status of Apache, you can run the following command:
sudo systemctl status httpd.service
If you would like to test your Apache configuration before restarting, use the following command:
sudo apachectl configtest
To restart Apache gracefully and avoid noticeable downtime, use the following command:
sudo apachectl graceful
If it becomes necessary, or if you aren’t worried about downtime, you can perform a hard restart of Apache using the following command:
systemctl restart httpd.service
To see the version of Apache that is installed, you can use the following command:
httpd -v
Now that Apache is installed, we can move on to installing MariaDB.
Installing MariaDB on CentOS 7.2
We will also be using yum to install MariaDB. MariaDB is a free and open-source relational database management system. MariaDB has been designed so that its version number is compatible with the same version number of MySQL but with added features (i.e., MariaDB 5.5 is compatible with MySQL 5.5).
Install MariaDB with the following command:
sudo yum install mariadb-server mariadb
During the install, it will prompt, “Is this ok?” Hit Y and then enter.
Start the MariaDB service with the following command:
sudo systemctl start mariadb
We now need to set up MariaDB with the following command:
sudo mysql_secure_installation
This setup process will prompt you to answer a series of questions. First, it will ask you to enter the current root password. Since we have just set it up, there should not be one, so hit enter.
In order to log into MariaDB to secure it, we'll need the current
password for the root user.  If you've just installed MariaDB, and
you haven't set the root password yet, the password will be blank,
so you should just press enter here.

Enter current password for root (enter for none):
OK, successfully used password, moving on...
Next, it will ask you if you want to set a new root password. Press Y and then Enter. It will then ask you to enter a password. Then re-enter it. We recommend you select a strong root DB password different from any user’s password, including the root user.
Setting the root password ensures that nobody can log into the MariaDB
root user without the proper authorisation.

Set root password? [Y/n] y
New password:
Re-enter new password:
Password updated successfully!
From there, you can typically just hit Y for each of the following questions, as below, unless you need something specific.
By default, a MariaDB installation has an anonymous user, allowing anyone
to log into MariaDB without having to have a user account created for
them.  This is intended only for testing, and to make the installation
go a bit smoother.  You should remove them before moving into a
production environment.

Remove anonymous users? [Y/n] y
 ... Success!

Normally, root should only be allowed to connect from 'localhost'.  This
ensures that someone cannot guess at the root password from the network.

Disallow root login remotely? [Y/n] y
 ... Success!

By default, MariaDB comes with a database named 'test' that anyone can
access.  This is also intended only for testing, and should be removed
before moving into a production environment.

Remove test database and access to it? [Y/n] y
 - Dropping test database...
 ... Success!
 - Removing privileges on test database...
 ... Success!

Reloading the privilege tables will ensure that all changes made so far
will take effect immediately.

Reload privilege tables now? [Y/n] y
 ... Success!

Cleaning up...

All done!  If you've completed all of the above steps, your MariaDB
installation should now be secure.

Thanks for using MariaDB!
To see if the MariaDB service is running, you can run the command:
sudo systemctl status mariadb
Now that MariaDB is set up, we will want it enabled on startup by issuing the following command:
sudo systemctl enable mariadb.service
To log into MariaDB, use the following command (note that it’s the same command you would use to log into a MySQL database):
mysql -u root -p
This same command will also display the version of MariaDB currently running once you’ve successfully logged in. Now that we’ve installed MariaDB, we can install PHP.
Installing PHP on CentOS 7.2
Once again, we will be installing PHP from yum. PHP is a free and open-source server-side scripting language.
Install PHP with the following command:
sudo yum install php php-mysql
During the install, it will prompt, “Is this ok?” Hit Y and then enter.
Create a test PHP file in the following directory. We use nano, but you may use your preferred text editor.
sudo nano /var/www/html/info.php
Insert the following code, then save and exit:
<?php
phpinfo();
?>
To save your work and close nano, hit Ctrl-X, confirm with “Y,” and then Enter.
Restart Apache, so all the changes take effect:
sudo systemctl restart httpd.service
We can now test that PHP is working by opening up your browser and going to http:// your-server's-address/info.php. You should get a page similar to the image below.
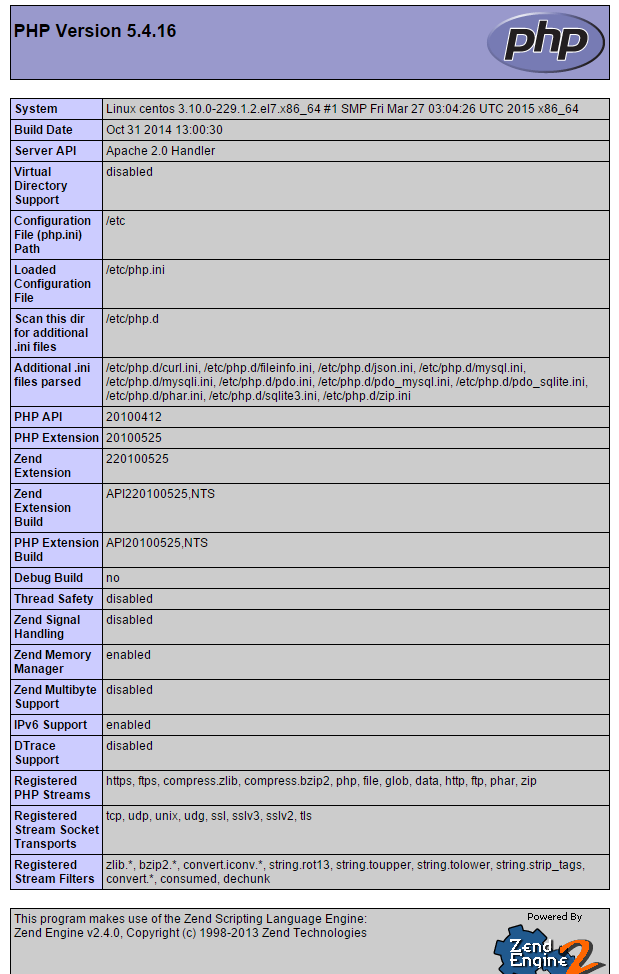 A default php.info web page that shows when PHP is installed on CentOS 7
To see the version of PHP that is installed, you can use the following command:
php -v
Once you have verified that PHP works as expected, it is a good idea to remove the info.php file since it contains information that could make your server vulnerable.
You can remove it by running the following command:
sudo rm /var/www/html/info.php
It will ask, “rm: remove regular file ‘/var/www/html/info.php’?” Hit Y and then enter.
You now have a basic LAMP stack on CentOS 7.2. You can now start placing your site in the /var/www/html/ directory.
Below, you will find some optional settings that you may want to add to your LAMP server.
Additional Modules for Apache and PHP (Optional)
You may want to install some additional modules for Apache and PHP. You can search for basic modules via yum.
For Apache:
yum search mod_
For PHP:
yum search php-
To install packages, you may want to add use yum install followed by the package name.
Note: If you would like more information on a particular package, you can use the command:
yum info package-name
For a complete list of Apache modules, go to httpd.apache.org.
For a full list of PHP modules, go to php.net.
Install phpMyAdmin (Optional)
To efficiently manage your databases, you may want to add phpMyAdmin to your LAMP stack. phpMyAdmin is a free and open-source tool written in PHP. It is a web GUI with which you can add, delete, or modify databases and tables, among other things.
To install phpMyAdmin easily on CentOS 7.2, we are going to install the Extra Packages for Enterprise Linux (EPEL) repo first by running the following command:
sudo yum install epel-release
During the install, it will prompt, “Is this ok?” Hit Y and then Enter.
Now we can install phpMyAdmin.
sudo yum install phpmyadmin
During the phpMyAdmin install, it will prompt “Is this ok?” for the install and then the EPEL key. Hit Y and then Enter for each question.
The phpMyAdmin installation process will make a configuration file in /etc/httpd/conf.d/ called phpMyAdmin.conf. By default, phpMyAdmin is configured only to accept connections from the server it is installed on. If you want to allow other IPs, you’ll need to open the phpMyAdmin.conf file with your preferred text editor.
sudo nano /etc/httpd/conf.d/phpMyAdmin.conf
In this example, we are using Apache 2.4, so we only need to change the configurations for 2.4. There will be two places that say “Require ip 127.0.0.1,” Below each one, we are going to put “Require ip {your-public-IP}” For this example, we’ll say we want to grant phpMyAdmin access to a workstation with an IP of 192.168.0.2. In this case, we would put “Require ip 192.168.0.2” below “Require ip 127.0.0.1” If you do not know your public IP, you can find it here.
The configuration file should be like the one below when completed.
   <IfModule mod_authz_core.c>
     # Apache 2.4
     <RequireAny>
        Require ip 127.0.0.1
        Require ip 192.168.0.2
        Require ip ::1
     </RequireAny>
   </IfModule>
   <IfModule !mod_authz_core.c>
     # Apache 2.2
     Order Deny,Allow
     Deny from All
     Allow from 127.0.0.1
     Allow from ::1
   </IfModule>
</Directory>

<Directory /usr/share/phpMyAdmin/setup/>
   <IfModule mod_authz_core.c>
     # Apache 2.4
     <RequireAny>
        Require ip 127.0.0.1
        Require ip 192.168.0.2
        Require ip ::1
     </RequireAny>
   </IfModule>
   <IfModule !mod_authz_core.c>
     # Apache 2.2
     Order Deny,Allow
     Deny from All
     Allow from 127.0.0.1
     Allow from ::1
   </IfModule>
</Directory>
In Nano, to save a close, hit Ctrl+X and then Y and then Enter.
Note: When adding allowed IPs to this file, be sure you only add the IPs for users who require access. The more access you allow, you more you may also increase your server’s exposure to exploit.
Now, we can restart Apache so that the changes take place:
sudo systemctl restart httpd.service
To get to the login page, you need to open your browser once again and go to http:// your-server's-address/phpMyAdmin/. You should get a page that looks like the image below.
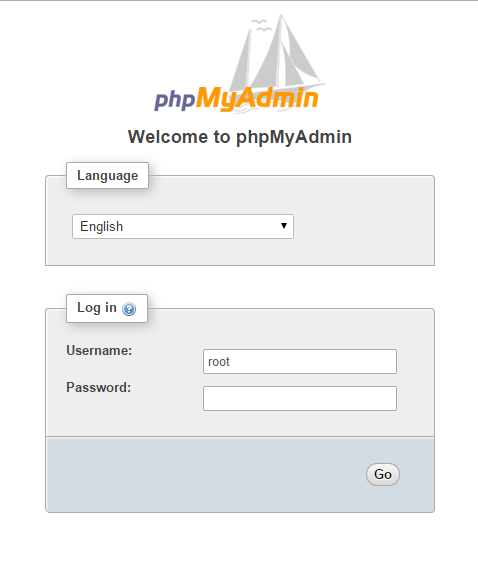 An example of the phpMyAdmin login page
You can sign in with the root MariaDB credentials you set up earlier. Once logged in, you should get a page similar to the one below.
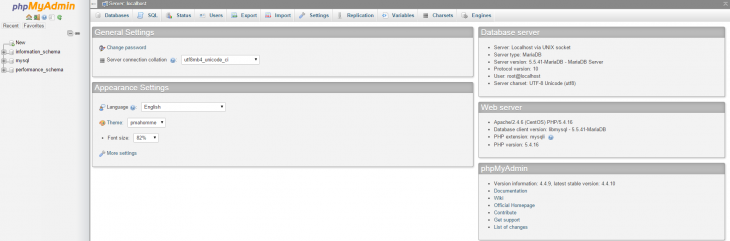 An example of the phpMyAdmin default page.
You can now manage your databases on your LAMP server using this interface.
Congratulations! You have just installed a LAMP stack on your CentOS 7.2 Cloud Server. Thank you for following along in this How-To, and check back with us for any new updates. You may want to follow the guides on changing the CentOS 7.2. hostname or spend some time learning the basic setup tasks of CentOS 7.2. For more information on our reliable VPS hosting solutions, contact us today for a consultation.
See our VPS hosting price.