Table of Contents
Verified 05-06-2015
Introduction
In this How-To, we will walk you through getting started with your Ubuntu 14.04 LTS with LAMP cloud server and verify everything is installed correctly.
LAMP is a software bundle that consists of four components. Linux (L) is the core platform the other components run. Apache (A) is used to host web services. MySQL (M) is used for database management. PHP (P) is used for the back-end coding language.
Prerequisites
A server with Ubuntu 14.04 LTS with LAMP. If you do not have a server already, visit our VPS hosting page.
Getting Started with Ubuntu 14.04 – LAMP
First, we want to sign in to our cloud control panel here.
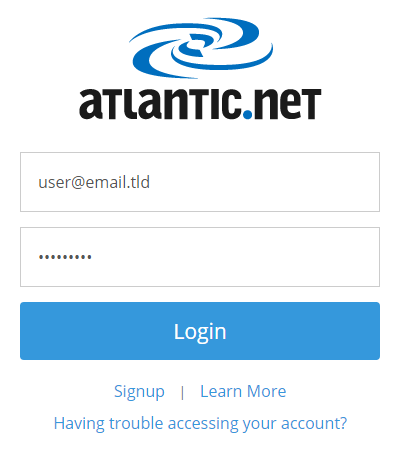 Cloud control panel login page
Once logged in, we will see our list of servers. To add an Ubuntu 14.04 LTS with LAMP already installed, we click on “Add Server.”
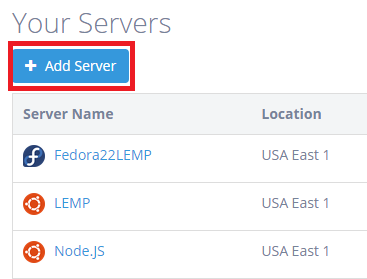 Adding a Server
You will be sent to a page to fill out the following:
-Server Name: Name the server whatever you’d like. It’s a cosmetic choice that does not impact server functionality. It’s there to help you manage your servers.
-Location: Select which Atlantic.Net Cloud Platform you want your server hosted on. For best overall best performance, select the location closest to you.
1) In this tutorial, we chose USA-East-1.
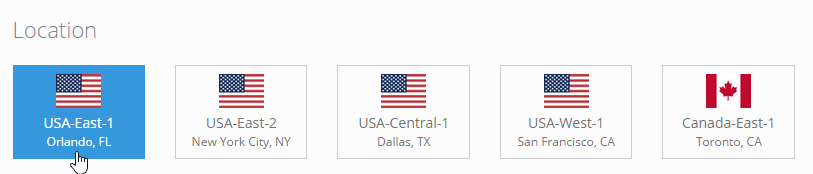 Choosing your Server location
-Operating System you would want to choose will be “Ubuntu 14.04 LTS Server 64-bit – LAMP.”
1) You would first click on “Applications.”
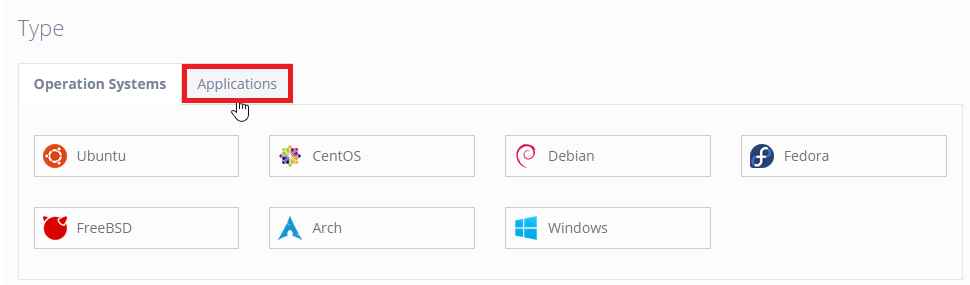 Choosing your OS Type
2) Then click on “LAMP.”
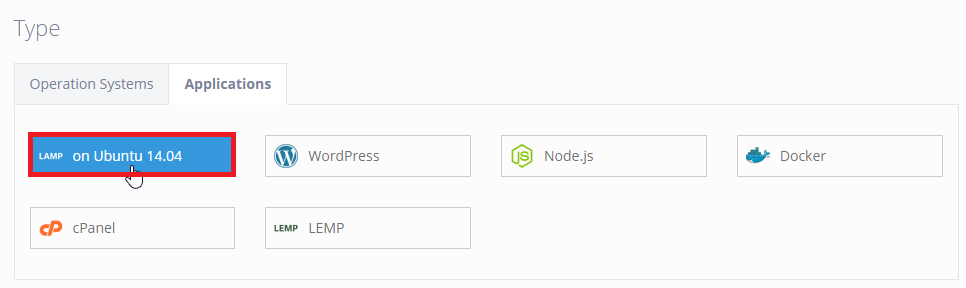 Choosing your OS type
-Plan the size of your choice. This will depend on what you will be using the server for. You can scale up the server at any time but cannot scale down. You can view more detail for each plan on our VPS hosting pricing page.
1) In this tutorial, we clicked on the “Small” plan size
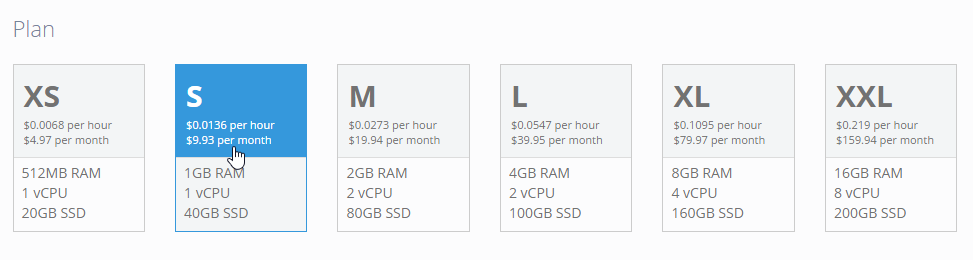 Choosing your Plan size
-If you would like to enable backups for your server, then you would check the box beside “Enable Backups.” Once enabled, you can restore your server to a previous date through the cloud control panel. You can enable/disable backups at any time as well. Daily backups cost 20% of your server’s monthly price (minimum $1).
After completing filling everything out, click on “Create Server.”
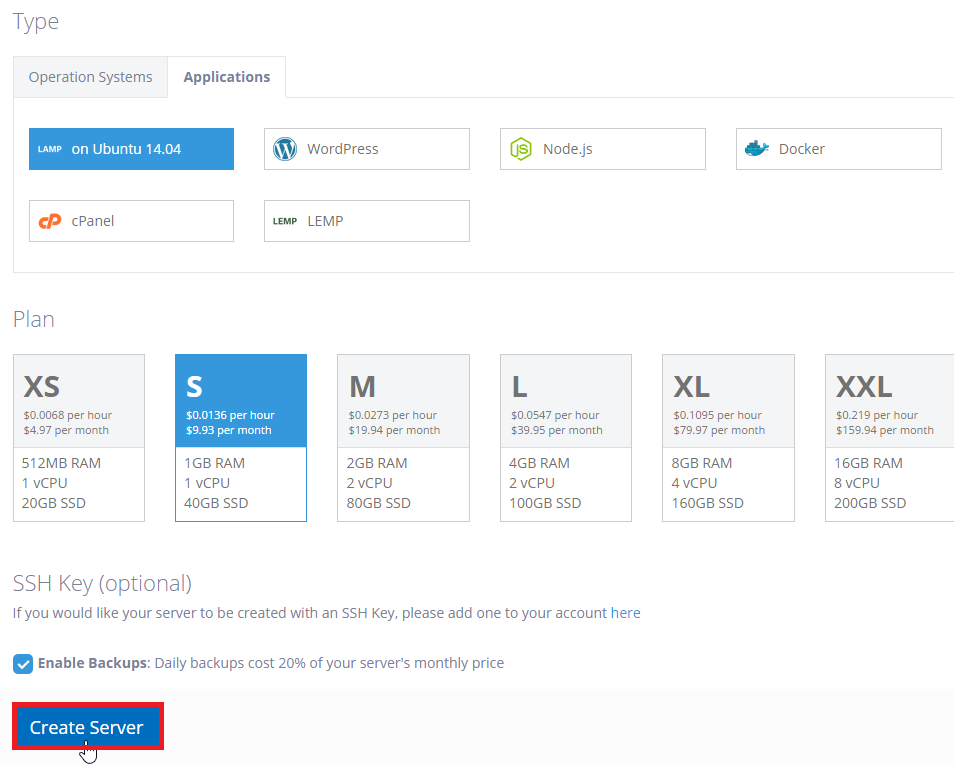 Creating the server
You will then be sent to a page with the server details, including the server credentials. You are also emailed the server credentials.
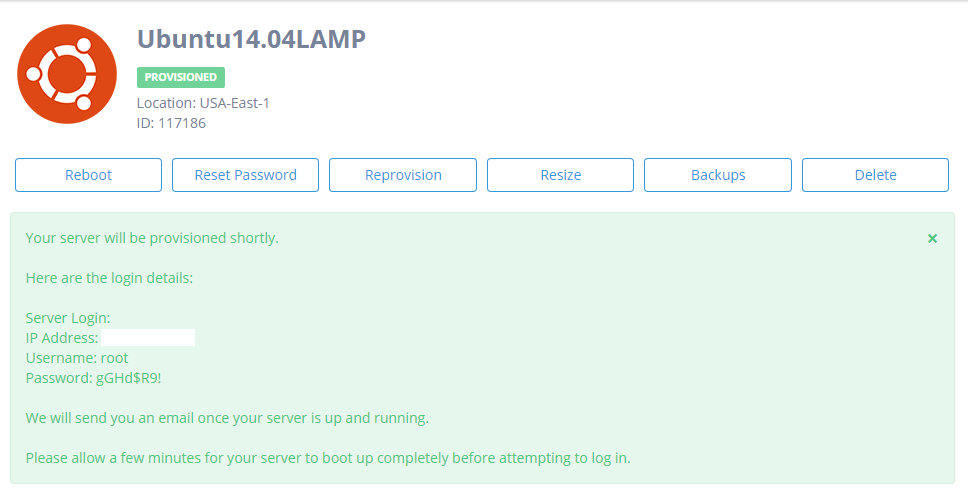 Ubuntu 14.04 LTS – LAMP Server Details
Once your server is provisioned, you will need to SSH into your server. You can navigate here if you are unsure how to SSH into your server.
Once you have logged into your server, you will see the provided LAMP Notes.
Note: Make note of your current “root database password” as we will need it later to change it to a user-defined password for security reasons.
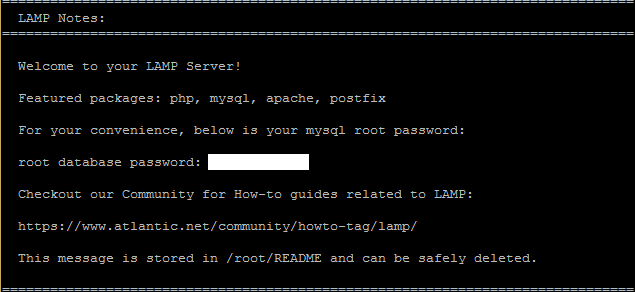 LAMP Notes
You will want to verify everything was installed correctly and is working. To check Apache, go to http://<serveripaddress>. If it is installed, you will see this.
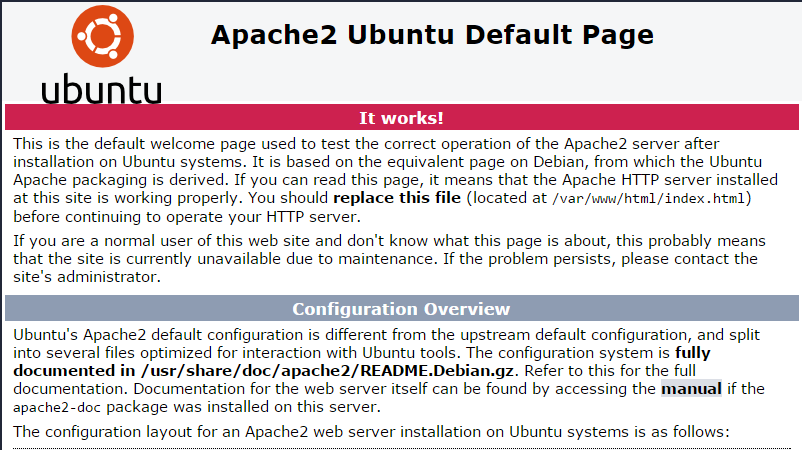 Apache Default Page
To verify MySQL is installed and working, run the following command
service mysql status
You will see this result if it is running
 MySQL status
To make your MySQL more secure and to change the database root password from the provided one, run the following command:
mysql_secure_installation
When you log into your server, you will first be prompted to enter the current root password for MySQL, provided in the LAMP Notes.
Once you have entered the correct password, you will be asked to change the root password. You would type “y” and then enter if you would like to change it. After changing your password, you will be prompted to answer a couple more questions that will make your MySQL secure by removing anonymous users, disallowing root login remotely, removing the test database, and access to it (Ignore error as the database does not exist) and then reloading the privilege tables. Once done, you are complete with MySQL!
Verifying PHP
We will create a basic PHP script to verify that PHP is installed and working properly. We will save this article under the web root directory as test.php. In Ubuntu 14.04, the web root directory is located at /var/www/html. We will create the file at that location by running the following command:
nano /var/www/html/test.php
This will open an empty file, and we want to input the following text.
<?php

phpinfo();

?>
Save and close the file.
We will now test if the server can generate the PHP script. You will want to go to your browser and enter the following URL:
http://<serveripaddress>/test.php
If your server can translate the PHP script correctly, you will see something similar to the below picture.
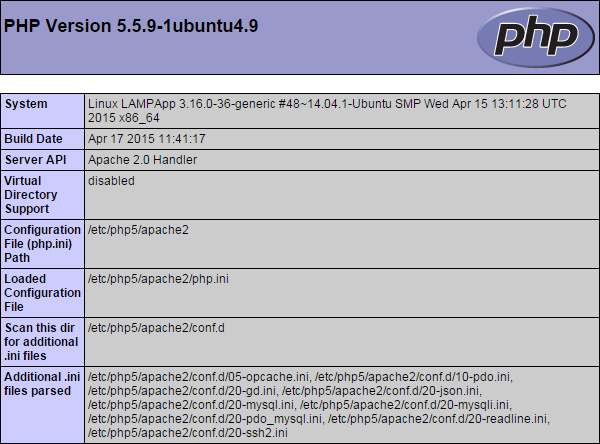 PHP Information page
Once you have verified all components of the LAMP installation, you can begin configurations for your site!
Come back and check for updates!
* This post is for informational purposes only and does not constitute professional, legal, financial, or technical advice. Each situation is unique and may require guidance from a qualified professional.
Readers should conduct their own due diligence before making any decisions.