Table of Contents
Verified and Tested 02/28/2015
Introduction
This how-to will show you how to add an additional public IP to your Atlantic.Net Cloud Server. Many services on a server might ask for or require additional public IPs to work correctly. Creating private name servers, websites with SSLs, email generation, splitting services to different public IPs. The list goes on and on, and we encourage you to get more IPs and use them as you need.
Adding an additional Public IP address to your Cloud Server
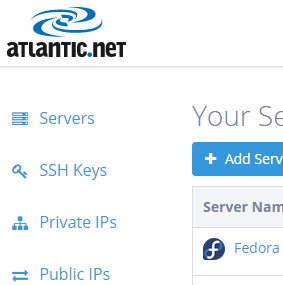
You must be logged into your Atlantic.Net Cloud Control Panel at cloud.atlantic.net. Navigate to the “Public IPs” section of the cloud control panel.
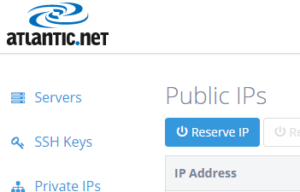
From there, select “Reserve IP” and choose the location that matches the server you will be assigning the IP to.
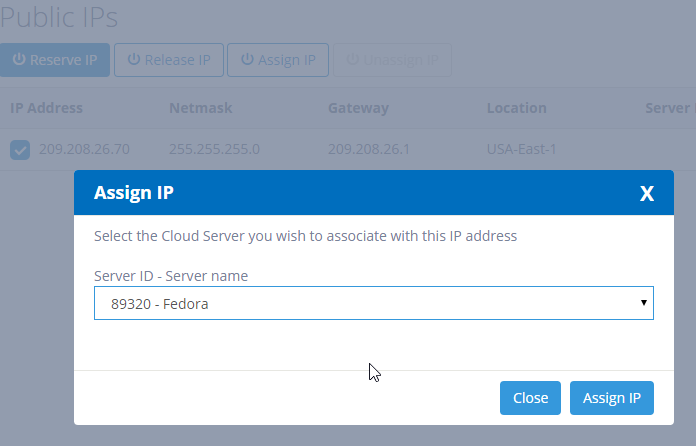
To assign the IP to a server, click its check box and click “Assign IP.”

Be sure to select the server you want to assign the IP to, and then click Assign IP.
Keep in mind that you will still need to add the IP manually to the server’s network interface. We will go over that in another How-To based on your OS choice.
Learn more about our VPS hosting services and VPS hosting price.
* This post is for informational purposes only and does not constitute professional, legal, financial, or technical advice. Each situation is unique and may require guidance from a qualified professional.
Readers should conduct their own due diligence before making any decisions.