Table of Contents
Verified and Tested 08/17/2015
Introduction
This guide will show you how to add a website in cPanel & WHM server. Adding a website to cPanel is an easy task that is critical for using cPanel.
Prerequisites
An Atlantic.Net Cloud server with CentOS 6.7 and cPanel & WHM. If you do not have a server already, you can visit our cloud Hosting information page and spin a new server up in under 30 seconds.
Add a Website in cPanel & WHM on CentOS 6.7
The first step to adding a new website to your cPanel & WHM server is to first log into the WHM side of the server. To do this, you would want to go to https://your_cloud_IP:2087 and log in using your root credentials. Once logged in, on the search bar at the top left, type “create” and the side list should filter. You will see a section called “Create a New Account.” Click on this section to create the new website.
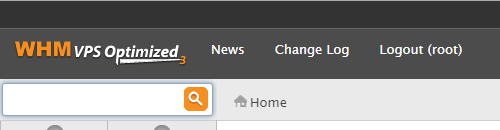
Search
The first section on the Create a New Account page is for your domain information.
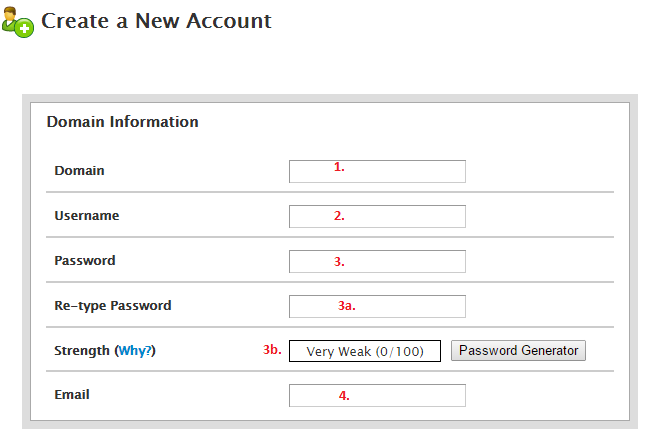
Domain information
1. Domain. This is your domain for the website you are adding. You would add this without any www or other subdomain unless you are adding a subdomain to its own account.
2. Username. This is the username to log into the cPanel side of the server and manage the website. This will also be your FTP username.
3. Password. This is the field for the password for the account. 3a is for re-typing your password and 3b is the strength of your password. If you had set any password strength requirements, they will come into play here and you will need to meet the minimum strength for the system to accept the password.
4. Email. This would be the email address for the account. This will be used if there is something wrong with the website on the server.
The next section is to select a Package for the website. If you did not configure any packages, you may set these manually by choosing “Select Options Manually.” This will open a new box called Manual Resource Options which allow you to customize the quotas for the website. You can even save the new options as a new Package if you would like.
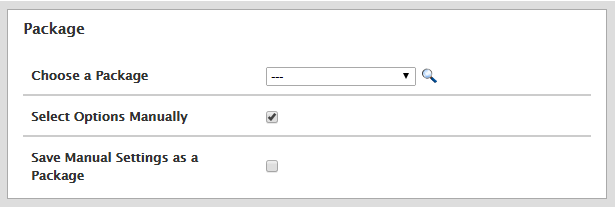
Package selection
The next section deals with Settings. If you want the website to be on its own IP, check the Dedicated IP box. The IP will have to be an additional IP that has already been added to the server. If you want the account to have Shell (SSH) access, you can check that as well. If the site will be using FrontPage, you will need to enable the extensions here. CGI access is important if you have scripts running on the site. The theme is negligible and Locale is the language for the cPanel to be in.
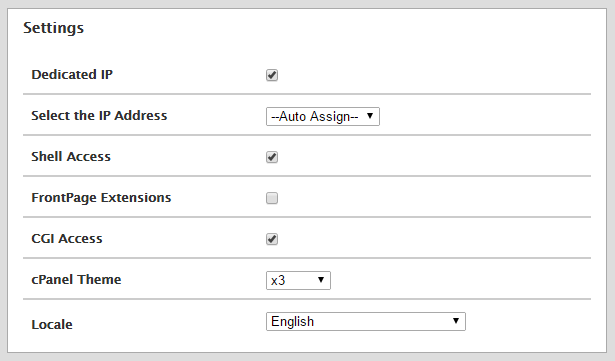
Settings
The next section is the Reseller options. If you want the account to be a Reseller (capable of making its own accounts), you would want to check this. You can give the account the ability to manage itself as well if you do enable the option.
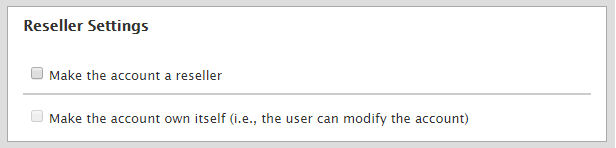
Reseller Settings
The next section is DNS settings. You can enable DKIM and SPF if you would like, but the main thing to enable is “Use the nameservers specified at the Domain’s Registrar.” This will make sure the domain pulls the correct records from the correct location.
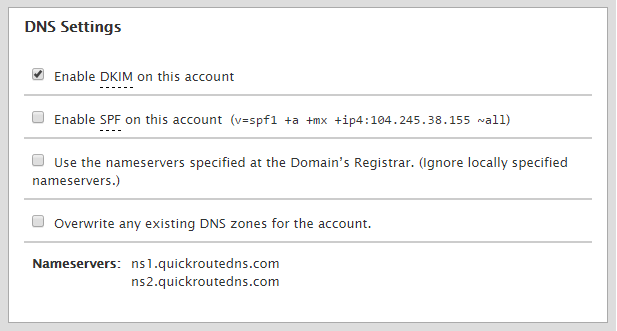
DNS settings
The last section deals with email. If you will be using the server for email, you may select Local Mail Exchanger. Otherwise, if email is elsewhere, use the Remote Mail Exchanger option. Once done, click on “Create.”
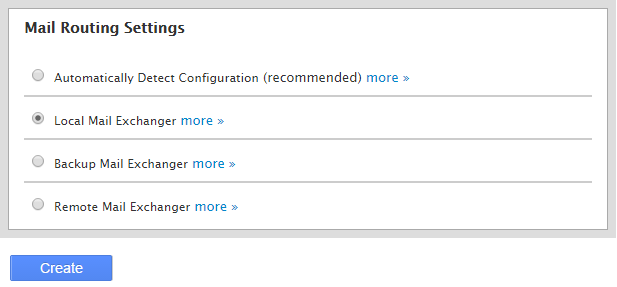
DNS settings
Once created, you may go to https://your_cloud_IP:2083 and use the new credentials you just created to log into the cPanel for the website and start building the site. You can also connect to the site using FTP. The hostname would be the domain, but if you do not have records propagated for the domain, you may use the IP address for the hostname.
One last thing is that you can still check the cPanel/make some changes regarding passwords and IP addresses via WHM. When you are logged into WHM, go to the search bar and type “list” and you will be presented with “List Accounts.” If you click on this it will show you your account and you can make changes or click the CP logo to go to the cPanel as your WHM user.
* This post is for informational purposes only and does not constitute professional, legal, financial, or technical advice. Each situation is unique and may require guidance from a qualified professional.
Readers should conduct their own due diligence before making any decisions.