Sometimes when designing an application, it will work perfectly on your machine, but upon moving it into production, the application fails to work with the same performance or same optimization. This frustrating experience can be mitigated by using Docker.
Docker is an open-source container management service that allows you to build, ship and run applications on a server, cloud, or laptop, or even ship it into a container that can be deployed anywhere.
To summarize, Docker simplifies the process of managing application processes in containers. Docker has recently become very popular in recent times due to its ability to run applications anywhere, irrespective of the host operating system.
In this tutorial, we will show you how to install and use Docker on CentOS 8.
Install Docker
By default, the latest version of Docker is not available in the CentOS 8 default repository. You can add and enable the official Docker CE repository with the following command:
dnf config-manager --add-repo=https://download.docker.com/linux/centos/docker-ce.repo
After adding the repository, you can verify the repository with the following command:
dnf repolist -v | grep docker
You should get the following output:

Now, install the appropriate version of Docker using the –nobest option as shown below:
dnf install docker-ce --nobest -y
After installing Docker, start the Docker service and enable it to start after system reboot:
systemctl start docker
systemctl enable docker
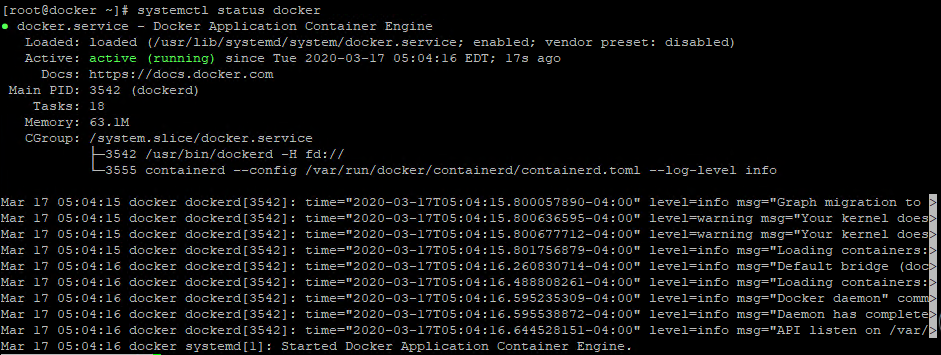
Next, verify the status of the Docker service using the following command:
systemctl status docker
You should get the following output:
Docker Basic Commands
You can check the installed version of Docker using the following command:
docker --version
You should get the following output:
Docker version 19.03.6, build 369ce74a3c
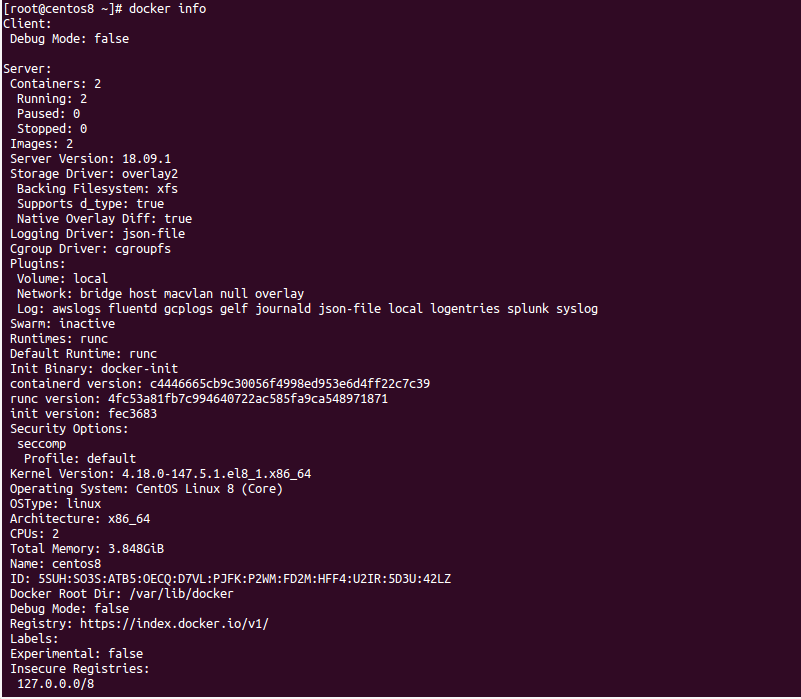
To check the system-wide information on Docker, run the following command:
docker info
You should see the following screen:
You can check all information about the container with the following command:
docker inspect "Container-ID"
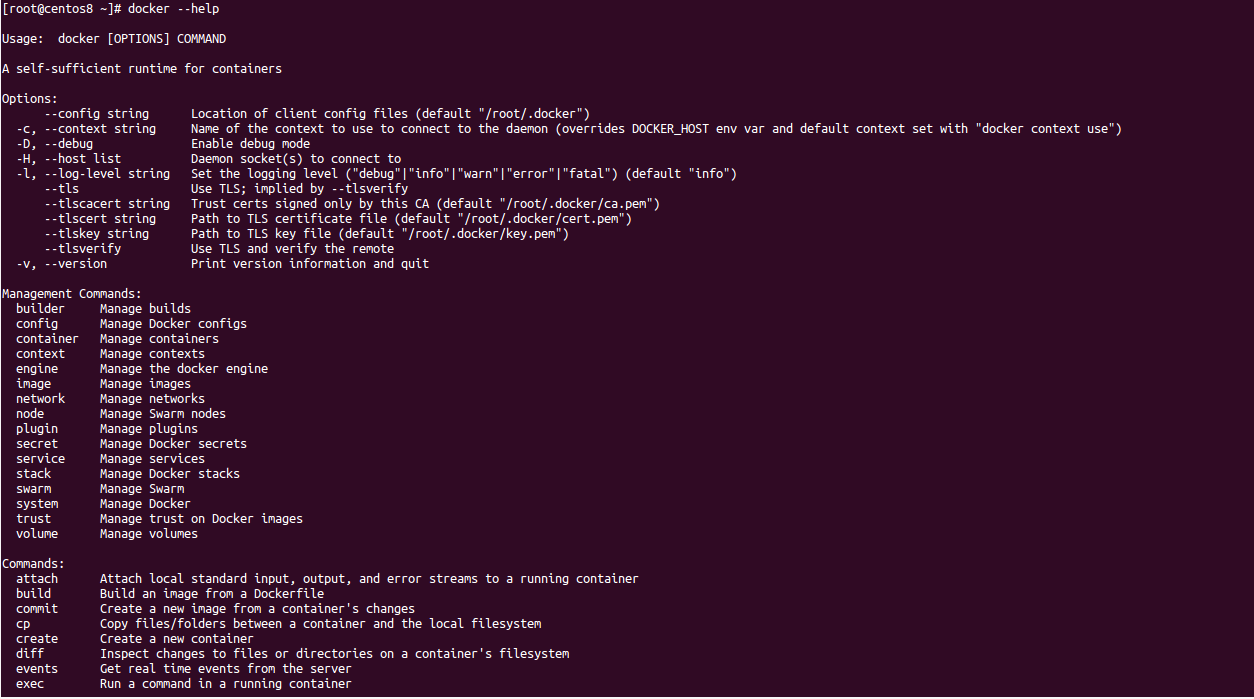
You can display all options available with docker command using the following command:
docker --help
You should see the following screen:
Start the Docker Container in Interactive Mode
First, pull the Ubuntu image from the Docker hub repository with the following command:
docker pull ubuntu
You should see the following output:
Using default tag: latest
latest: Pulling from library/ubuntu
423ae2b273f4: Pull complete
de83a2304fa1: Pull complete
f9a83bce3af0: Pull complete
b6b53be908de: Pull complete
Digest: sha256:04d48df82c938587820d7b6006f5071dbbffceb7ca01d2814f81857c631d44df
Status: Downloaded newer image for ubuntu:latest
docker.io/library/ubuntu:latest
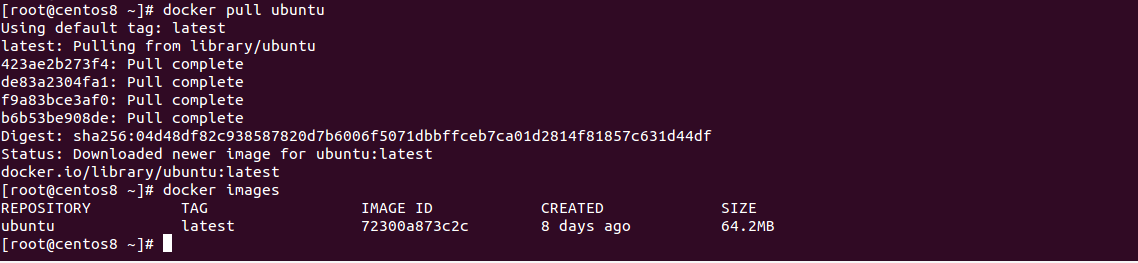
You can now verify the image with the following command:
docker images
You should see the following output:
REPOSITORY          TAG                 IMAGE ID            CREATED             SIZE
ubuntu              latest              72300a873c2c        8 days ago          64.2MB
Now, start the Ubuntu container using the downloaded image in interactive mode with the following command:
docker run -it ubuntu
Once the container started, you should get the Ubuntu container shell. You can now run the update command inside the shell to update the system.
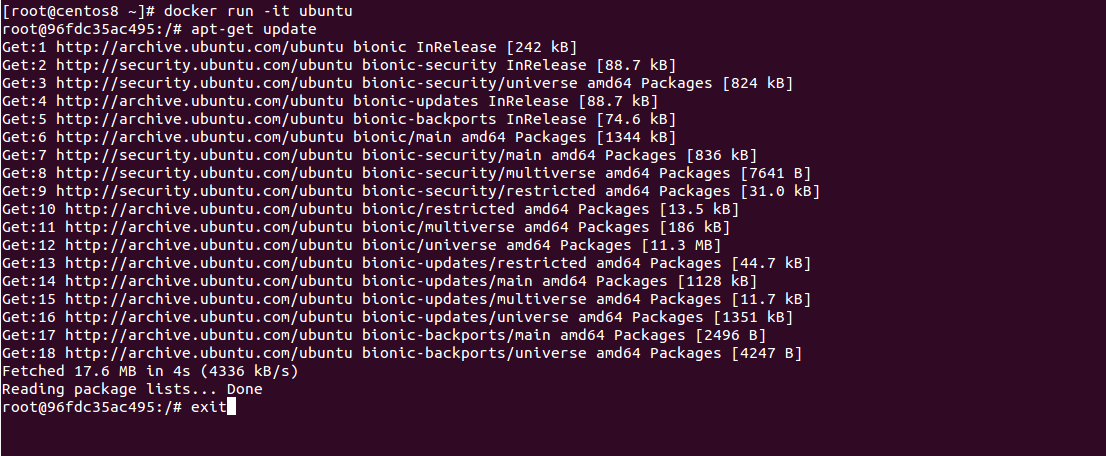
You can exit from the container with the following command:
exit
You can list the active container by running the following command:
docker ps
Output:
CONTAINER ID IMAGE COMMAND CREATED STATUS PORTS NAMES
You can list both active and inactive containers by running the following command:
docker ps -a
Output:
CONTAINER ID        IMAGE               COMMAND             CREATED              STATUS                      PORTS               NAMES
96fdc35ac495        ubuntu              "/bin/bash"         About a minute ago   Exited (0) 24 seconds ago                       stupefied_keller

Start the Docker Container in Detached Mode
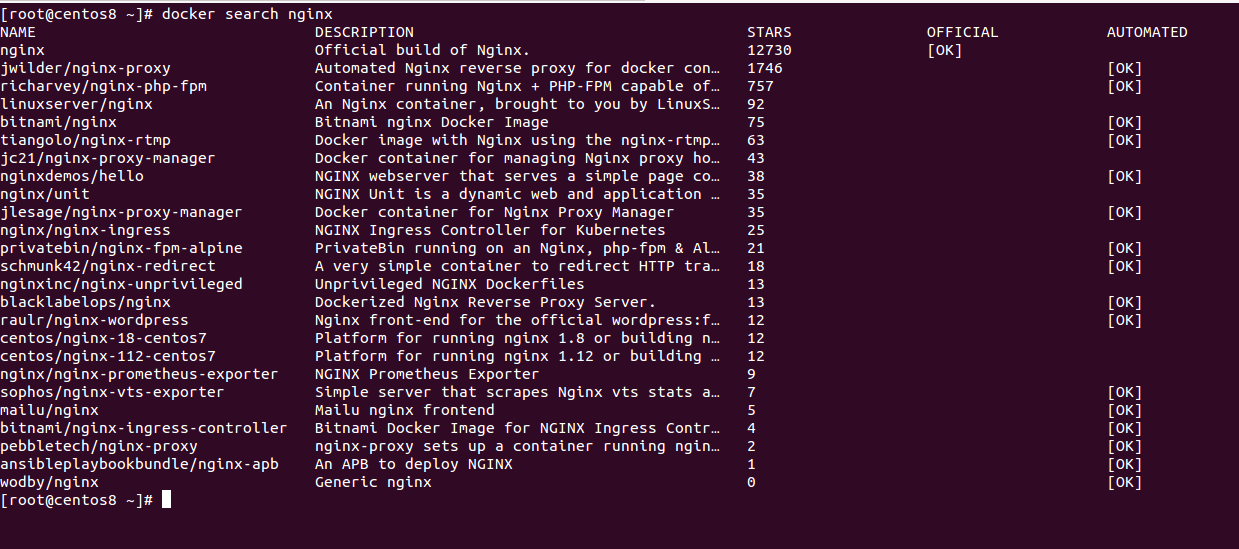
Docker allows you to search for images available in the Docker Hub.
For example, you can search for Nginx images using the following command:
docker search nginx
You should see the following screen:
Now, download and start Nginx container in detached mode with the following command:
docker run -itd nginx
This command will download the Nginx image from the Docker Hub repository and start the container in detached mode as shown below:
Unable to find image 'nginx:latest' locally
latest: Pulling from library/nginx
68ced04f60ab: Pull complete
c4039fd85dcc: Pull complete
c16ce02d3d61: Pull complete
Digest: sha256:380eb808e2a3b0dd954f92c1cae2f845e6558a15037efefcabc5b4e03d666d03
Status: Downloaded newer image for nginx:latest
4eeabeb599d079795c1acd4822420c8513f12d6264176ea0685f9028f8bfd014
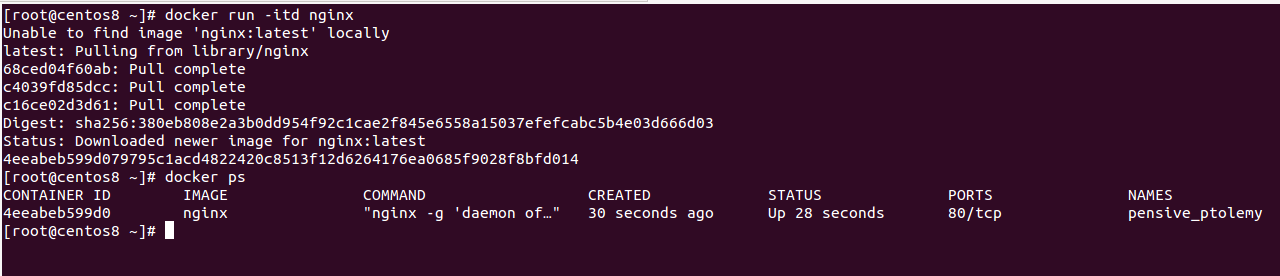
You can now verify the running container using the following command:
docker ps
You should see your Nginx container in the following output:
CONTAINER ID        IMAGE               COMMAND                  CREATED             STATUS              PORTS               NAMES
4eeabeb599d0        nginx               "nginx -g 'daemon of…"   30 seconds ago      Up 28 seconds       80/tcp              pensive_ptolemy
Manage the Docker Container
In this section, we will show you some useful Docker commands that will help you to manage a Docker container easily.
To start the Docker container, use the following syntax:
docker start "Container-ID"
First, find the container id with the following command:
docker ps -a
Output:
CONTAINER ID        IMAGE               COMMAND                  CREATED             STATUS                          PORTS               NAMES
4eeabeb599d0        nginx               "nginx -g 'daemon of…"   19 minutes ago      Exited (0) About a minute ago                       pensive_ptolemy
96fdc35ac495        ubuntu              "/bin/bash"              22 minutes ago      Exited (0) About a minute ago                       stupefied_keller
Next, start the container with id 4eeabeb599d0 as shown below:
docker start 4eeabeb599d0
Now, check the running container with the following command:
docker ps
You should see the following output:
docker ps
CONTAINER ID        IMAGE               COMMAND                  CREATED             STATUS              PORTS               NAMES
4eeabeb599d0        nginx               "nginx -g 'daemon of…"   20 minutes ago      Up 36 seconds       80/tcp              pensive_ptolemy
To pause the running container, run the following command:
docker pause "Container-ID"
To stop the running container, run the following command:
docker stop "Container-ID"
To stop all running containers, run the following command:
docker stop $(docker ps -a -q)
To delete the container, you will need to stop it first. Then, run the following command to delete it:
docker rm "Container-ID"
To remove all stopped containers, run the following command:
docker rm $(docker ps -a -q)
To remove the Docker image, run the following command:
docker rmi "Image-ID"
To remove all unused Docker images, run the following command:
docker rmi $(docker images -q -a)
To remove any stopped container and all unused images, run the following command:
docker system prune -a
You should see the following output:
WARNING! This will remove:
  - all stopped containers
  - all networks not used by at least one container
  - all images without at least one container associated to them
  - all build cache

Are you sure you want to continue? [y/N] y
Deleted Containers:
4eeabeb599d079795c1acd4822420c8513f12d6264176ea0685f9028f8bfd014
96fdc35ac49588aea490833a1ca66387ee9617217ee29715043291db1942b219

Deleted Images:
untagged: ubuntu:latest
untagged: ubuntu@sha256:04d48df82c938587820d7b6006f5071dbbffceb7ca01d2814f81857c631d44df
deleted: sha256:72300a873c2ca11c70d0c8642177ce76ff69ae04d61a5813ef58d40ff66e3e7c
deleted: sha256:d3991ad41f89923dac46b632e2b9869067e94fcdffa3ef56cd2d35b26dd9bce7
deleted: sha256:2e533c5c9cc8936671e2012d79fc6ec6a3c8ed432aa81164289056c71ed5f539
deleted: sha256:282c79e973cf51d330b99d2a90e6d25863388f66b1433ae5163ded929ea7e64b
deleted: sha256:cc4590d6a7187ce8879dd8ea931ffaa18bc52a1c1df702c9d538b2f0c927709d
untagged: nginx:latest
untagged: nginx@sha256:380eb808e2a3b0dd954f92c1cae2f845e6558a15037efefcabc5b4e03d666d03
deleted: sha256:a1523e859360df9ffe2b31a8270f5e16422609fe138c1636383efdc34b9ea2d6
deleted: sha256:4d5d91d27654e1c0284efbe6617ab628d30f2be44301460f94ca811d0ea14f44
deleted: sha256:4245b7ef9b70e3b2975ed908c7d68ce5f03972d8be702b0ed491e32445b42b8f
deleted: sha256:f2cb0ecef392f2a630fa1205b874ab2e2aedf96de04d0b8838e4e728e28142da

Total reclaimed space: 218.9MB

Conclusion
Congratulations! You have successfully installed Docker on CentOS 8 and you have enough knowledge to install and manage the Docker containers. You can now explore Docker and start developing your first project inside the Docker container on a VPS from Atlantic.Net.
* This post is for informational purposes only and does not constitute professional, legal, financial, or technical advice. Each situation is unique and may require guidance from a qualified professional.
Readers should conduct their own due diligence before making any decisions.