Git is the most popular version control system. Now used by developers around the world, it was originally developed by Linus Torvalds for Linux kernel development. A version control system is used to store and manage every revision of your code and files. Git is used by many companies to collaborate on source code, manage releases, and roll back to previous versions when bugs are discovered.
Git keeps track of each change that you have made to a file or code and allows you to roll back those changes. For example, if you are editing code on your system and want to delete a section of code, you can use a version control system to restore that deleted code in the future. Git also allows multiple users to work on the same files at the same time.
In this tutorial, we will show you how to install and use the Git version control system on Ubuntu 18.04.
Install Git
By default, Git is available in the Ubuntu 18.04 default repository. You can install it by just running the following command:
apt-get install git -y
Once the installation has been completed, you can check the version of the Git using the following command:
git --version
You should see the following output:
git version 2.23.0
Configure Git
Before configuring Git, you will need to create an account on GitHub. You can create a new account using the URL github.com as shown below:

After creating an account on GitHub, open your terminal and run the following command that matches your GitHub username and email:
git config --global user.name "YOUR_USERNAME"
git config --global user.email "YOUR@EMAIL”
Next, verify the configuration changes with the following command:
git config --list
You should see the following output:
user.name=YOUR_USERNAME
user.email=YOUR@EMAIL
Create a New Repository on GitHub
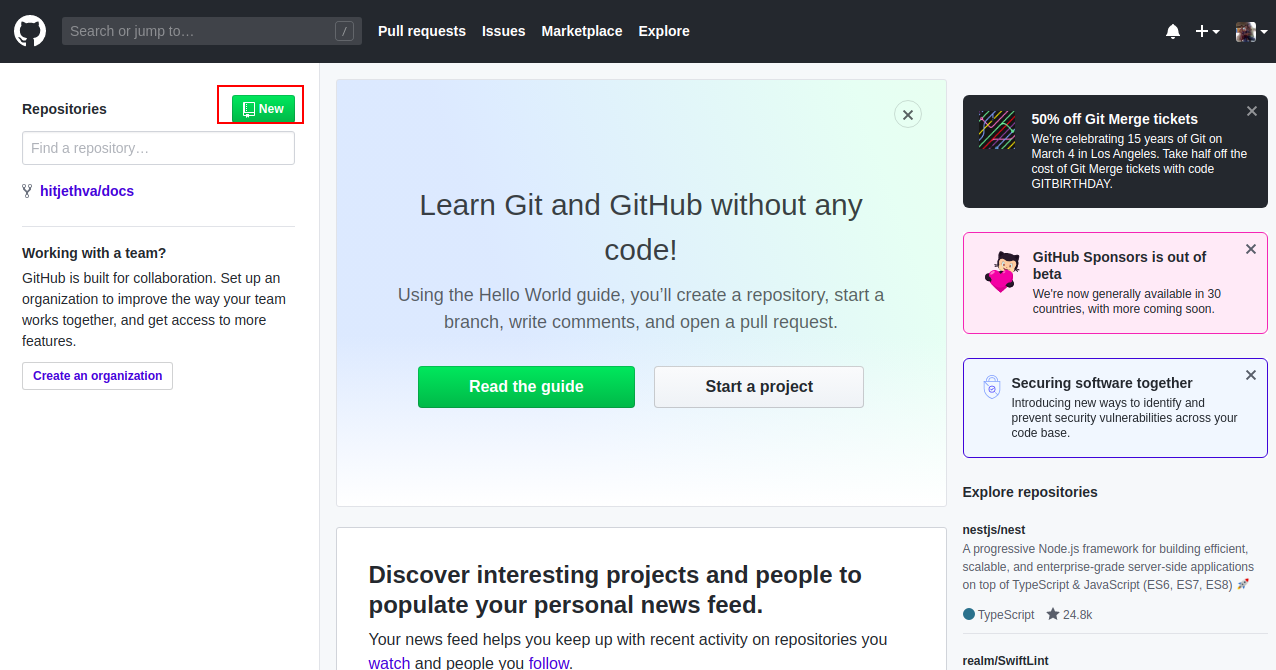
Next, log in to your GitHub account as shown below:
Click on the New button to create a repository. You should see the following page:
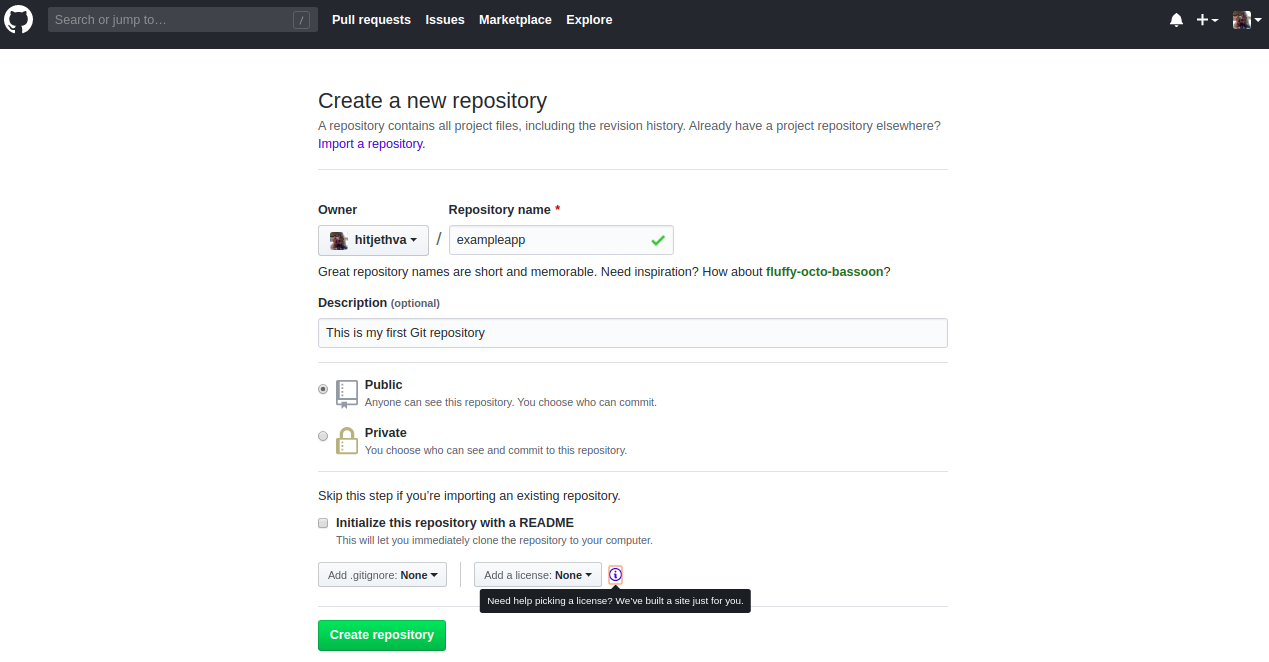
Provide a repository name, description and click on the Create repository button. Once the repository is created, make a note of your Git Repo Address at the Quick Setup page.
Use Git with Local and Remote Repositories
Next, open your terminal and create a new directory that matches your project, as shown below:
mkdir atlanticapp
Next, change the directory to atlanticapp and initiate Git for this directory with the following command:
cd atlanticapp
git init
You should see the following output:
Initialized empty Git repository in /home/vyom/atlanticapp/.git/
Next, connect the remote GitHub repository to the local system with the following command:
git remote add origin https://github.com/YOUR_GIT_REPO.git
Next, create a new file named test.html as shown below:
nano test.html
Add the following contents:
<html>
<title>My Atlantic App</title>
<p>This is my first atlantic App.</p>
</html>
Save and close the file, then run the following command to adds changes in the working directory to the staging area:
git add test.html
Next, run the following command to save your changes to the local repository:
git commit -m "This my first version of test.html file"
You should see the following output:
[master (root-commit) 4d7a3de] This my first version of test.html file
 1 file changed, 4 insertions(+)
 create mode 100644 test.html

Next, run the following command to upload local repository content to a remote repository.
git push origin master
You will be asked to provide your GitHub username and password, as shown below:
Username for 'https://github.com': YOUR_USERNAME
Password for 'https://github.com’: YOUR_PASSWORD
After providing the correct details, your local repository content has been added to the remote repository:
Counting objects: 3, done.
Delta compression using up to 4 threads.
Compressing objects: 100% (2/2), done.
Writing objects: 100% (3/3), 292 bytes | 0 bytes/s, done.
Total 3 (delta 0), reused 0 (delta 0)
To https://github.com/hitjethva/exampleapp.git
 * [new branch]      master -> master

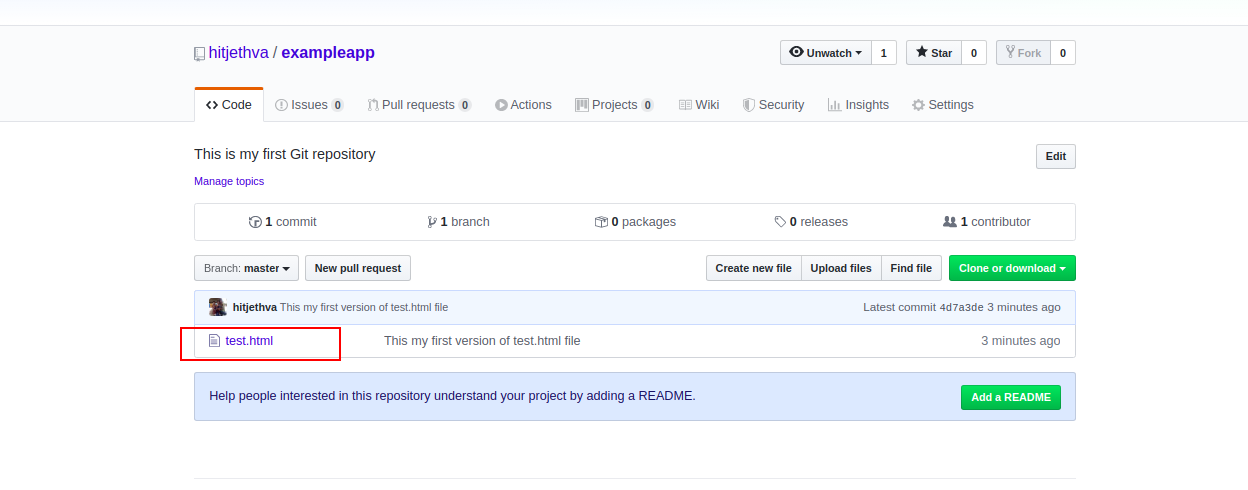
To verify it, go to the GitHub account page and refresh it. You should see the added file in the following screen:
You can also view which remote servers are configured using the following command:
git remote -v
You should see the names of your remote repositories in the following output:
origin  https://github.com/hitjethva/exampleapp.git (fetch)
origin  https://github.com/hitjethva/exampleapp.git (push)
Working with Git Revisions
Next, edit the test.html file and add some more contents:
nano test.html
Make the following changes:
<html>
<title>My Atlantic App</title>
<p>This is my first atlantic App.</p>
<p>I am adding some content to this file.</p>
</html>
Save and close the file when you are finished. Then, add the updated file to the remote repository with the following commands:
git add test.html
git commit -m "This my second version of test.html file"
git push origin master

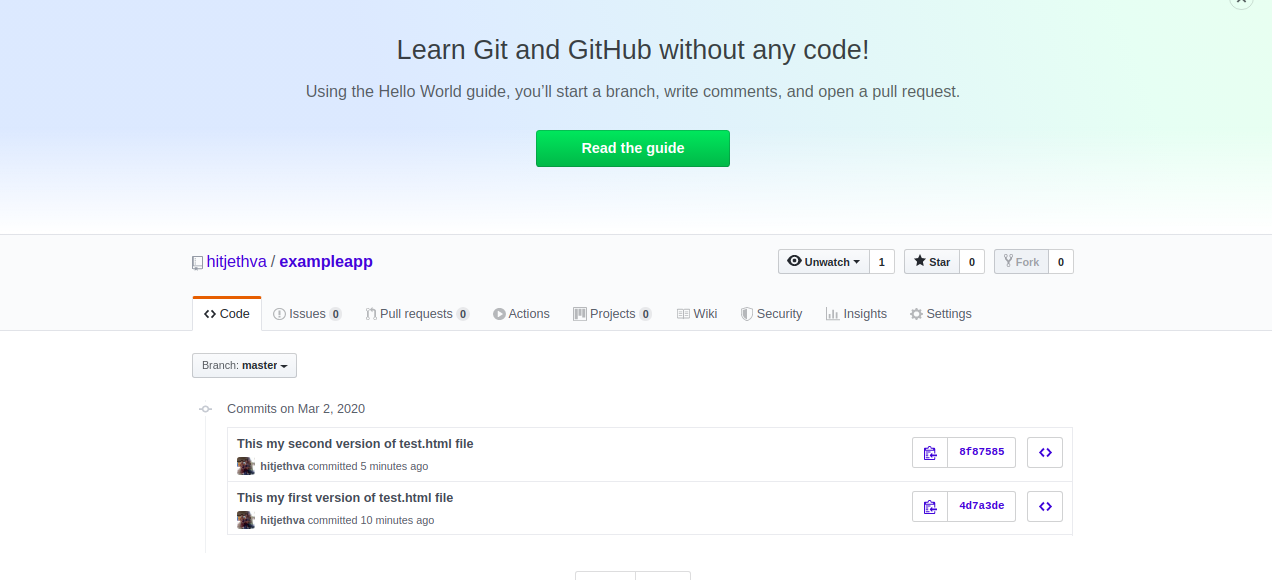
Now, go to the GitHub page and refresh it. You should see the updated file with different revision number in the following screen:
Next, open your terminal and clone your repository to the local system with the following command:
git clone https://github.com/hitjethva/exampleapp.git
You should see the following output:
Cloning into 'exampleapp'...
remote: Enumerating objects: 6, done.
remote: Counting objects: 100% (6/6), done.
remote: Compressing objects: 100% (4/4), done.
remote: Total 6 (delta 1), reused 5 (delta 0), pack-reused 0
Unpacking objects: 100% (6/6), done.
Checking connectivity... done.
Next, change the directory to the cloned directory.
cd exampleapp/
Now, you can use the git checkout command to download the files in the working directory to match with your desired version stored in that branch.
For example, to download the previous version file, go to the GitHub page and copy the previous version file’s revision number as shown below:
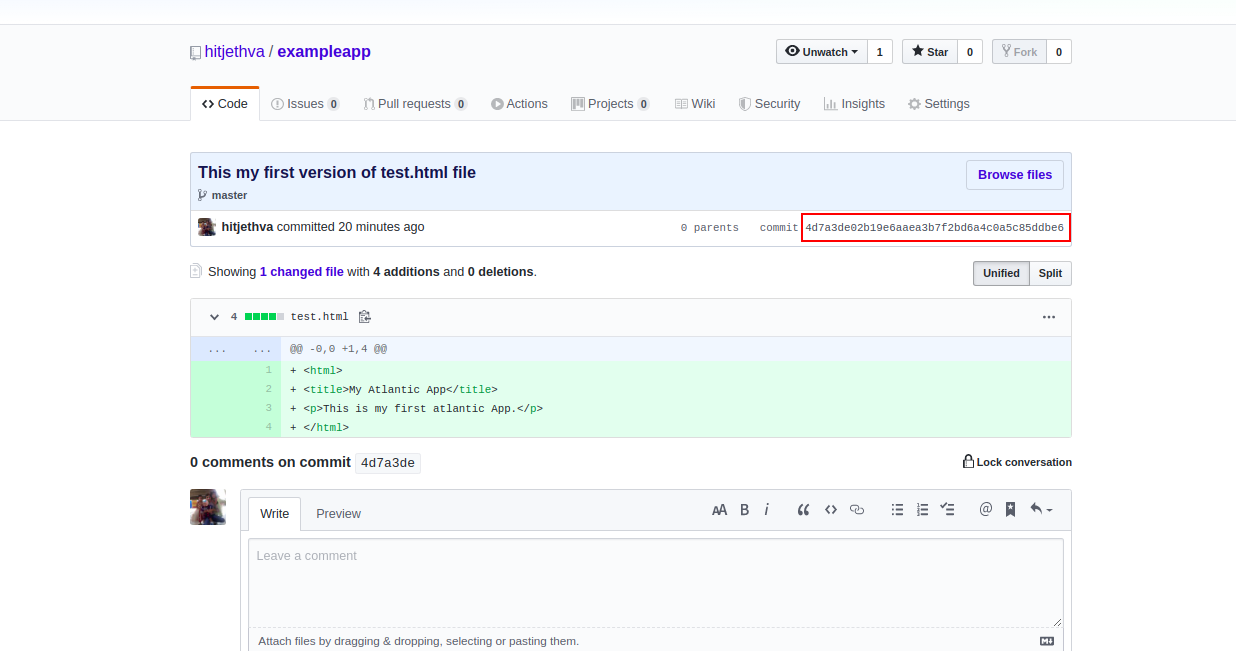
Next, run the git checkout command with revision number as shown below:
git checkout 4d7a3de02b19e6aaea3b7f2bd6a4c0a5c85ddbe6
You should see the following output:
Note: checking out '4d7a3de02b19e6aaea3b7f2bd6a4c0a5c85ddbe6'.

You are in 'detached HEAD' state. You can look around, make experimental
changes and commit them, and you can discard any commits you make in this
state without impacting any branches by performing another checkout.

If you want to create a new branch to retain commits you create, you may
do so (now or later) by using -b with the checkout command again. Example:

  git checkout -b new_branch_name

HEAD is now at 4d7a3de... This my first version of test.html file
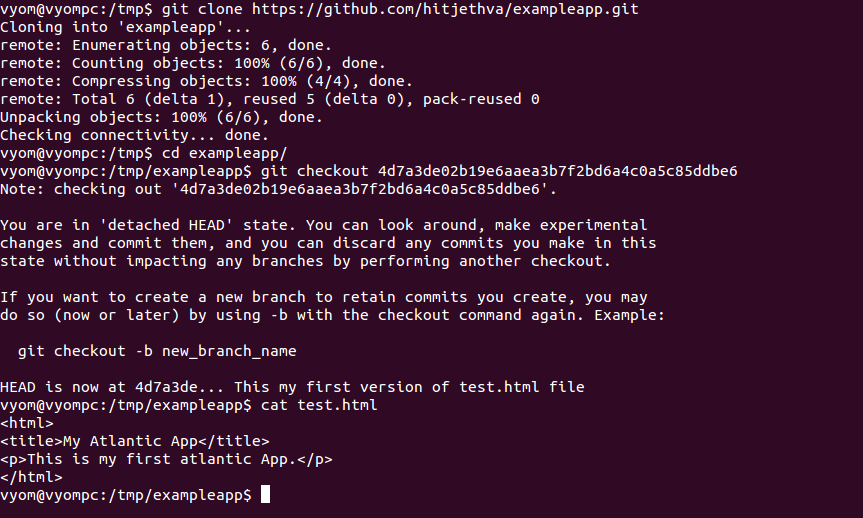
Now, check the content of test.html file:
cat test.html
You should see the content of your previous version file:
<html>
<title>My Atlantic App</title>
<p>This is my first atlantic App.</p>
</html>
Conclusion
In the above tutorial, we learned how to install Git on Ubuntu 18.04. We also learned how to add files and commit changes to the remote repository. You can now manage and track your project from a central location – start using Git today with a VPS from Atlantic.Net.
* This post is for informational purposes only and does not constitute professional, legal, financial, or technical advice. Each situation is unique and may require guidance from a qualified professional.
Readers should conduct their own due diligence before making any decisions.