Bitwarden is a free and open-source password manager that can be used to store passwords for any device and browser. Bitwarden helps you to not only create and manage your passwords but also sync them across all devices. It offers several client applications including mobile apps, a CLI, a web interface, browser extensions, and desktop applications.
In this tutorial, we will show you how to install the Bitwarden Password Manager on Ubuntu 20.04 server.
Step 1 – Install Required Dependencies
First, you will need to install some dependencies in your server. You can install all of them by running the following command:
apt-get install apt-transport-https ca-certificates curl gnupg-agent software-properties-common -y
Once all the packages are installed, you can proceed to the next step.
Step 2 – Install Docker and Docker Compose
By default, the latest version of Docker is not available in the Ubuntu 20.04 default repository, so it is a good idea to add the Docker official repository in your system.
First, download and add the GPG key with the following command:
curl -fsSL https://download.docker.com/linux/ubuntu/gpg | apt-key add -
Next, add the Docker repository with the following command:
add-apt-repository "deb [arch=amd64] https://download.docker.com/linux/ubuntu $(lsb_release -cs) stable"
Once the repository is added, you can install the Docker and Docker Compose using the following command:
apt-get install docker-ce docker-ce-cli containerd.io docker-compose -y
After installing both packages, check the installed version of Docker with the following command:
docker --version
You should get the following output:
Docker version 19.03.12, build 48a66213fe
You can also verify the Docker Compose version with the following command:
docker-compose --version
You should see the following output:
docker-compose version 1.25.0, build unknown
Step 3 – Install Bitwarden
First, you will need to download the Bitwarden installation script from their official website. You can download it with the following command:
curl -Lso bitwarden.sh https://go.btwrdn.co/bw-sh
Next, give the execution permission to the downloaded script:
chmod +x bitwarden.sh
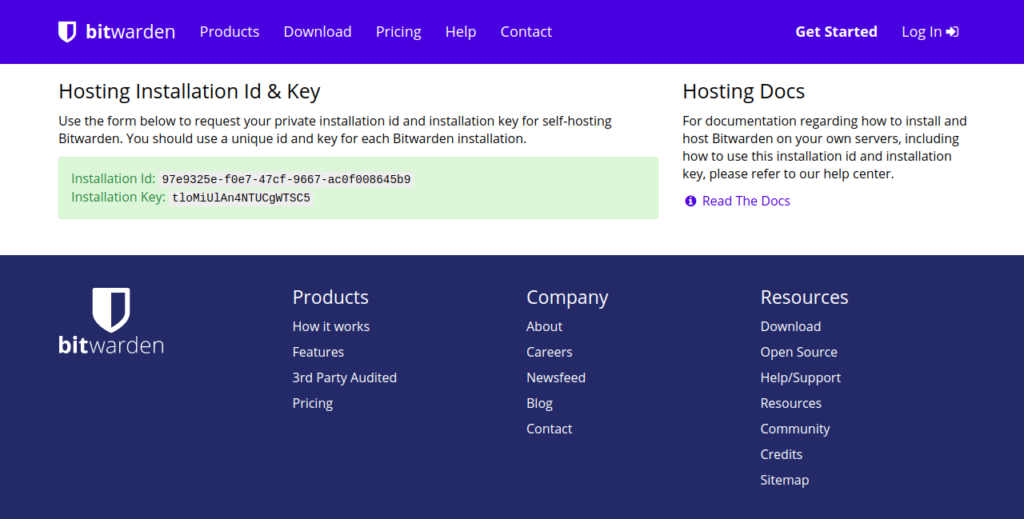
Before installing Bitwarden, you will need to generate the Bitwarden installation ID and Key. You can generate them from the Bitwarden website.
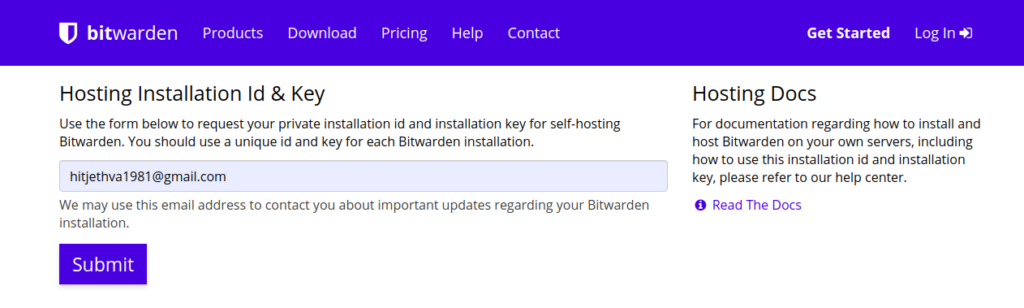
Provide your email address and click on the Submit button. You should see your installation ID and Key in the following screen:
Next, start the Bitwarden installation with the following command:
./bitwarden.sh install
During the installation, you will be asked to provide your server IP, installation key and installation ID as shown below:
 _     _ _                         _
| |__ (_) |___      ____ _ _ __ __| | ___ _ __
| '_ \| | __\ \ /\ / / _` | '__/ _` |/ _ \ '_ \
| |_) | | |_ \ V  V / (_| | | | (_| |  __/ | | |
|_.__/|_|\__| \_/\_/ \__,_|_|  \__,_|\___|_| |_|
Open source password management solutions
Copyright 2015-2020, 8bit Solutions LLC
https://bitwarden.com, https://github.com/bitwarden
===================================================
Docker version 19.03.12, build 48a66213fe
docker-compose version 1.25.0, build unknown
(!) Enter the domain name for your Bitwarden instance (ex. bitwarden.example.com): 69.87.216.49
(!) Do you want to use Let's Encrypt to generate a free SSL certificate? (y/n): n
1.36.1: Pulling from bitwarden/setup
6ec8c9369e08: Pull complete
fe8522826504: Pull complete
658bf4619169: Pull complete
0392978bbc2e: Pull complete
33dd02257803: Pull complete
2a69859c8164: Pull complete
d68079cd71ee: Pull complete
7c08df4e94b0: Pull complete
653a8af878c4: Pull complete
d252f877c4a2: Pull complete
Digest: sha256:5b2c43b46c03da54aecc6d19098b0574b5fb205f0cd3046019725925cadfdf29
Status: Downloaded newer image for bitwarden/setup:1.36.1
docker.io/bitwarden/setup:1.36.1
(!) Enter your installation id (get at https://bitwarden.com/host): 97e9325e-f0e7-47cf-9667-ac0f008645b9
(!) Enter your installation key: tloMiUlAn4NTUCgWTSC5
(!) Do you have a SSL certificate to use? (y/n): n
(!) Do you want to generate a self-signed SSL certificate? (y/n): y
Generating self signed SSL certificate.
Generating a RSA private key
........................++++
..................++++
writing new private key to '/bitwarden/ssl/self/69.87.216.49/private.key'
-----
Generating key for IdentityServer.
Generating a RSA private key
.........++++
.......................++++
writing new private key to 'identity.key'
-----
!!!!!!!!!! WARNING !!!!!!!!!!
You are using an untrusted SSL certificate. This certificate will not be
trusted by Bitwarden client applications. You must add this certificate to
the trusted store on each device or else you will receive errors when trying
to connect to your installation.
Building nginx config.
Building docker environment files.
Building docker environment override files.
Building FIDO U2F app id.
Building docker-compose.yml.
Installation complete
If you need to make additional configuration changes, you can modify
the settings in `./bwdata/config.yml` and then run:
`./bitwarden.sh rebuild` or `./bitwarden.sh update`
Next steps, run:
`./bitwarden.sh start`
Once the installation has been completed, start the Bitwarden service with the following command:
./bitwarden.sh start
You can see all command line options with the following command:
./bitwarden.sh help
Output:
 _     _ _                         _
| |__ (_) |___      ____ _ _ __ __| | ___ _ __
| '_ \| | __\ \ /\ / / _` | '__/ _` |/ _ \ '_ \
| |_) | | |_ \ V  V / (_| | | | (_| |  __/ | | |
|_.__/|_|\__| \_/\_/ \__,_|_|  \__,_|\___|_| |_|
Open source password management solutions
Copyright 2015-2020, 8bit Solutions LLC
https://bitwarden.com, https://github.com/bitwarden
===================================================
Docker version 19.03.12, build 48a66213fe
docker-compose version 1.25.0, build unknown
Available commands:
install
start
restart
stop
update
updatedb
updaterun
updateself
updateconf
renewcert
rebuild
help
Step 4 : Access Bitwarden
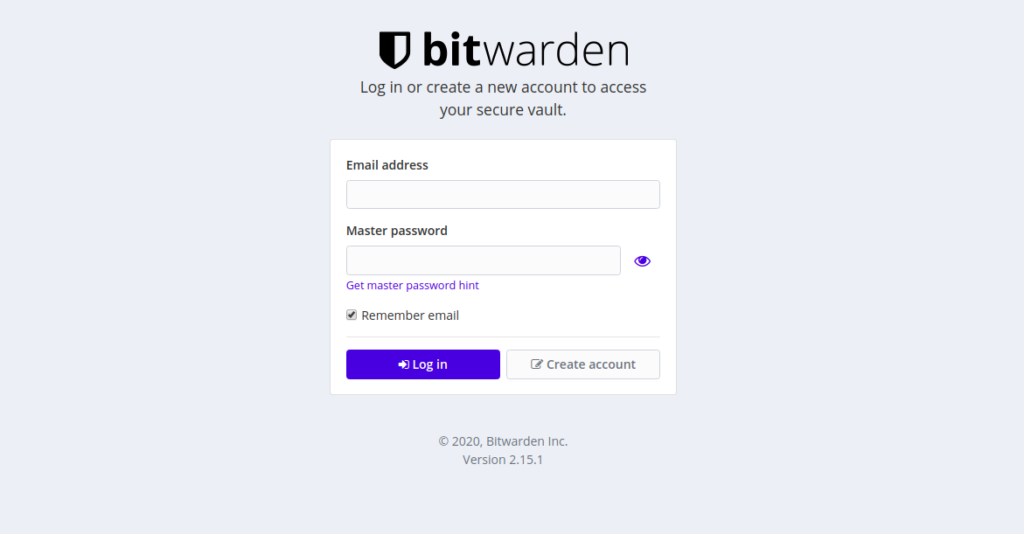
Now, open your web browser and access the Bitwarden using the URL http://your-server-ip. You should see the Bitwarden login screen:
Click on the Create account button. You should see the following screen:
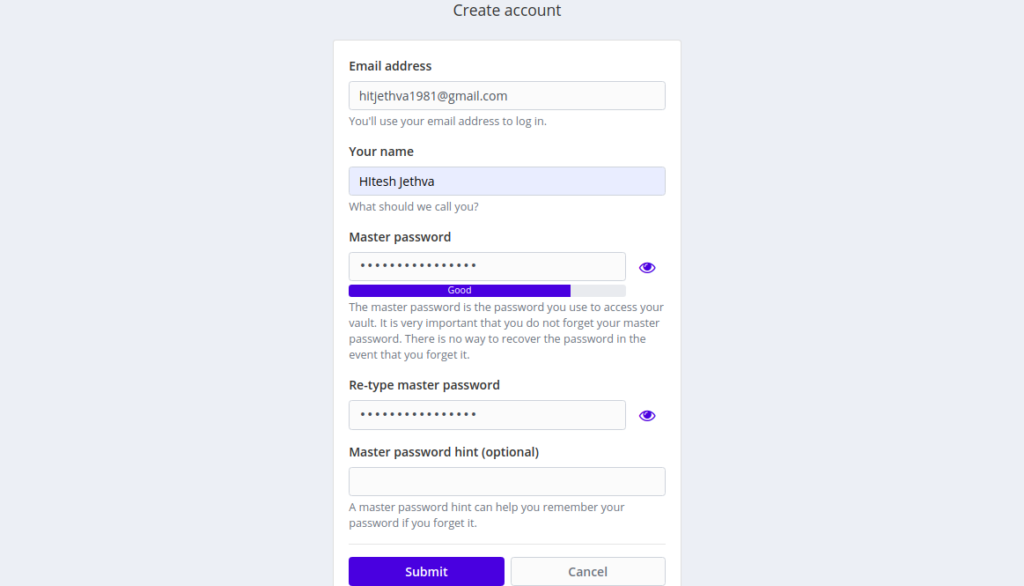
Provide your email address, name, and master password, then click on the Submit button. You should see the Bitwarden login screen:
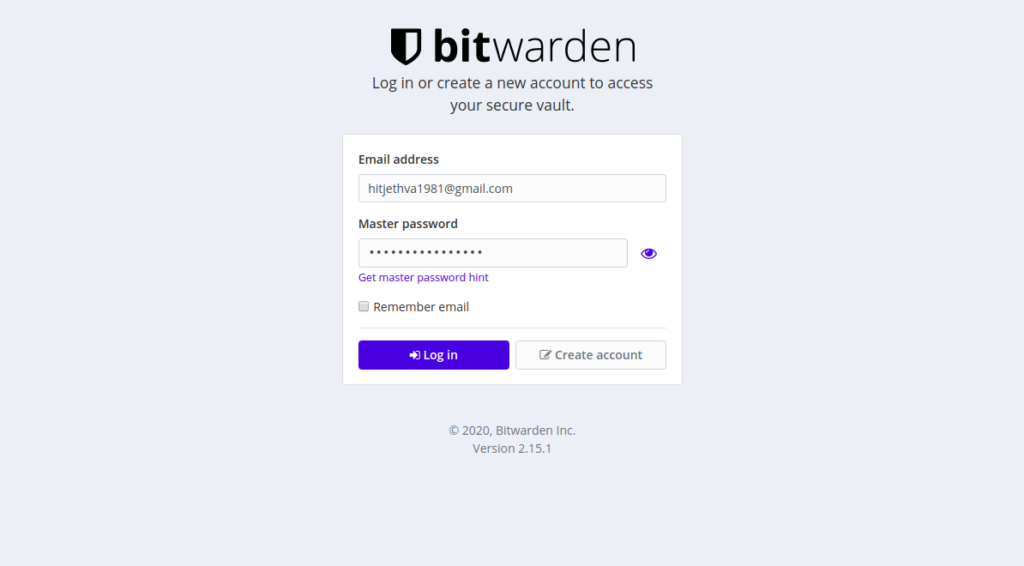
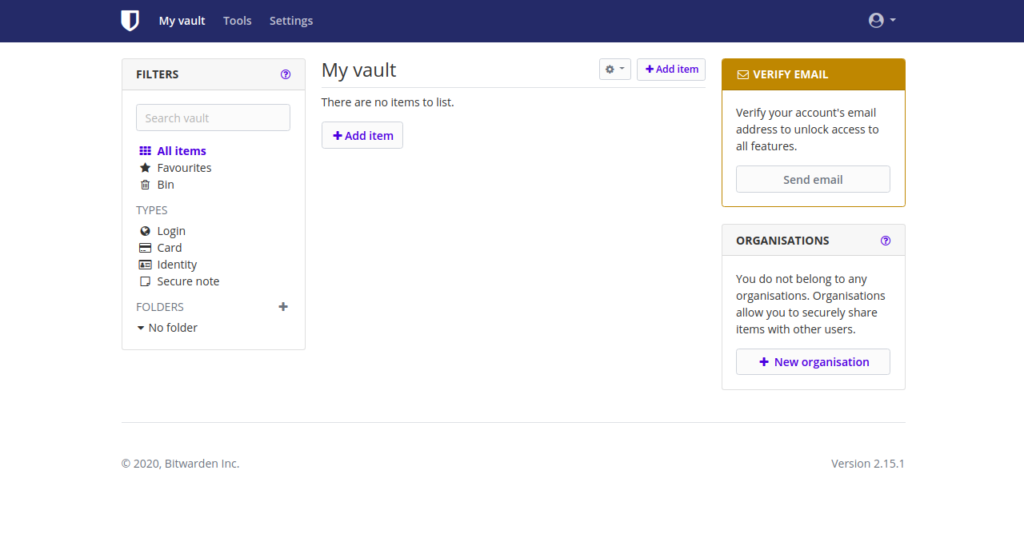
Provide your email address and password and click on the Log in button. You should see the Bitwarden dashboard in the following screen:
Conclusion
Congratulations! You have successfully installed the Bitwarden password manager on Ubuntu 20.04 server. I hope this will helps you to store, manage, and sync your password across all devices. Try using Bitwarden with your VPS Hosting account from Atlantic.Net.
Learn more about our VPS hosting services and Virtual private servers.
* This post is for informational purposes only and does not constitute professional, legal, financial, or technical advice. Each situation is unique and may require guidance from a qualified professional.
Readers should conduct their own due diligence before making any decisions.