EteSync is a free, open-source, and end-to-end tool used to sync your contacts, calendars, tasks, and notes. It can be easily integrated with your existing apps. You just need one password for login and encryption. EteSync has the ability to share data with other users and synchronization between multiple devices. It also provides an add-on for Mozilla Thunderbird and a client for Web, Desktop, Android, and iOS.
In this post, we will show you how to install EteSync on Ubuntu 20.04 server.[jumpbox]
Step 1 – Install and Configure MariaDB Database
EteSync uses MariaDB as a database backend, so the latest version of MariaDB must be installed on your server.
First, install the required dependencies with the following command:
apt-get update -y
apt-get install software-properties-common curl git gnupg2 -y
Next, download and add the GPG key and repository with the following command:
apt-key adv --recv-keys --keyserver hkp://keyserver.ubuntu.com:80 0xF1656F24C74CD1D8
add-apt-repository 'deb [arch=amd64,arm64,ppc64el] http://mirror.lstn.net/mariadb/repo/10.5/ubuntu focal main'
Next, install the latest version of the MariaDB server with the following command:
apt-get install mariadb-server -y
Next, connect to the MariaDB and create a database and user:
mysql
Once connected, create a database and user with the following command:
create database etebase;
create user etebase@localhost identified by 'password';
Next, grant all the privileges to the etebase database with the following command:
grant all privileges on etebase.* to etebase@localhost;
Next, flush the privileges and exit from the MariaDB with the following command:
flush privileges;
exit;
Step 2 – Install EteSync
First, you will need to install all Python dependencies to your server. You can install all of them with the following command:
apt-get install python3-virtualenv python3-pip gcc build-essential libmysqlclient-dev -y
Once all the dependencies are installed, download the latest version of EteSync with the following command:
git clone https://github.com/etesync/server.git etebase
Next, change the directory to the downloaded directory and create a Python virtual environment with the following command:
cd etebase
virtualenv -p python3 .venv
Next, activate the virtual environment with the following command:
source .venv/bin/activate
Next, install all required dependencies with the following command:
pip install -r requirements.txt
Next, rename the example configuration file:
cp etebase-server.ini.example etebase-server.ini
Next, edit the configuration file with the following command:
nano etebase-server.ini
Change the following lines:
media_root = /mnt
allowed_host1 = etebase.example.com
;engine = django.db.backends.sqlite3
;name = db.sqlite3
engine = django.db.backends.mysql
name = etebase
user = etebase
password = password
host = 127.0.0.1
port = 3306
Save and close the file, then install the Django web socket server and MariaDB client with the following command:
pip3 install daphne mysqlclient aioredis
Next, create Django’s static files with the following command:
./manage.py collectstatic
Next, initialize the application with the following command:
./manage.py migrate
Next, start the EteSync server with the following command:
daphne -b 0.0.0.0 -p 8001 etebase_server.asgi:application
You should get the following output:
2021-03-13 04:30:04,102 INFO     Starting server at tcp:port=8001:interface=0.0.0.0
2021-03-13 04:30:04,103 INFO     HTTP/2 support not enabled (install the http2 and tls Twisted extras)
2021-03-13 04:30:04,103 INFO     Configuring endpoint tcp:port=8001:interface=0.0.0.0
2021-03-13 04:30:04,104 INFO     Listening on TCP address 0.0.0.0:8001
Press CTRL+C to stop the server.
Step 3 – Create a Systemd Service File for EteSync
Next, you will need to create a systemd service file for EteSync. You can create it with the following command:
nano /etc/systemd/system/etebase.service
Add the following lines:
[Unit]
Description=EteSync: End-to-End Encryption to Sync Calendar, Contacts, Tasks and Notes.

[Service]
WorkingDirectory=/root/etebase/
ExecStart=/root/etebase/.venv/bin/daphne -b 127.0.0.1 -p 8001 -u /tmp/etebase_server.sock etebase_server.asgi:application
User=root
Group=root
Restart=always
RestartSec=5s

[Install]
WantedBy=multi-user.target
Save and close the file, then reload the systemd daemon with the following command:
systemctl daemon-reload
Next, start the EteSync service and enable it to start at system reboot with the following command:
systemctl start etebase
systemctl enable etebase
Next, verify the status of the EteSync service with the following command:
systemctl status etebase
You should get the following output:
● etebase.service - EteSync: End-to-End Encryption to Sync Calender, Contacts, Tasks and Notes.
     Loaded: loaded (/etc/systemd/system/etebase.service; disabled; vendor preset: enabled)
     Active: active (running) since Sat 2021-03-13 04:30:57 UTC; 6s ago
   Main PID: 13641 (daphne)
      Tasks: 1 (limit: 2353)
     Memory: 48.5M
     CGroup: /system.slice/etebase.service
             └─13641 /root/etebase/.venv/bin/python /root/etebase/.venv/bin/daphne -b 127.0.0.1 -p 8001 -u /tmp/etebase_server.sock etebase_se>

Mar 13 04:30:57 ubuntu2004 systemd[1]: Started EteSync: End-to-End Encryption to Sync Calender, Contacts, Tasks and Notes..
Mar 13 04:30:58 ubuntu2004 daphne[13641]: 2021-03-13 04:30:58,437 INFO     Starting server at tcp:port=8001:interface=127.0.0.1, unix:/tmp/ete>
Mar 13 04:30:58 ubuntu2004 daphne[13641]: 2021-03-13 04:30:58,438 INFO     HTTP/2 support not enabled (install the http2 and tls Twisted extra>
Mar 13 04:30:58 ubuntu2004 daphne[13641]: 2021-03-13 04:30:58,439 INFO     Configuring endpoint tcp:port=8001:interface=127.0.0.1
Mar 13 04:30:58 ubuntu2004 daphne[13641]: 2021-03-13 04:30:58,441 INFO     Listening on TCP address 127.0.0.1:8001
Mar 13 04:30:58 ubuntu2004 daphne[13641]: 2021-03-13 04:30:58,441 INFO     Configuring endpoint unix:/tmp/etebase_server.sock
Step 4 – Configure Nginx for EteSync
Next, install the Nginx with the following command:
apt-get install nginx -y
Once installed, create an Nginx virtual host configuration file with the following command:
nano /etc/nginx/conf.d/etebase.conf
Add the following lines:
upstream etebase {
    server unix:/tmp/etebase_server.sock;
}

server {
    listen 80;
    server_name etebase.example.com;

    charset     utf-8;
    access_log /var/log/nginx/etebase.access;
    error_log /var/log/nginx/etebase.error;

    # max upload size
    client_max_body_size 75M;

    location /static/ {
        alias /root/etebase/static/;
    }

    location / {
        proxy_pass http://etebase;

        proxy_http_version 1.1;
        proxy_set_header Upgrade $http_upgrade;
        proxy_set_header Connection "upgrade";

        proxy_redirect of/f;
        proxy_set_header Host $host;
        proxy_set_header X-Real-IP $remote_addr;
        proxy_set_header X-Forwarded-For $proxy_add_x_forwarded_for;
        proxy_set_header X-Forwarded-Host $server_name;
    }
}
Save and close the file, then restart the Nginx service to apply the changes:
systemctl restart nginx
Step 5 – Create an Admin User
Next, you will need to create an administrative user for EteSync.
First, change the directory to etebase and activate the virtual environment if not activated:
cd etebase
source .venv/bin/activate
Next, create a superuser with the following command:
./manage.py createsuperuser
Provide all information as shown below:
Username: admin
Email address: admin@example.com
Password:
Password (again):
Superuser created successfully.
Step 6 – Access EteSync
Now, open your web browser and access your EteSync web interface using the URL http://etebase.example.com/admin. You should see the following page:
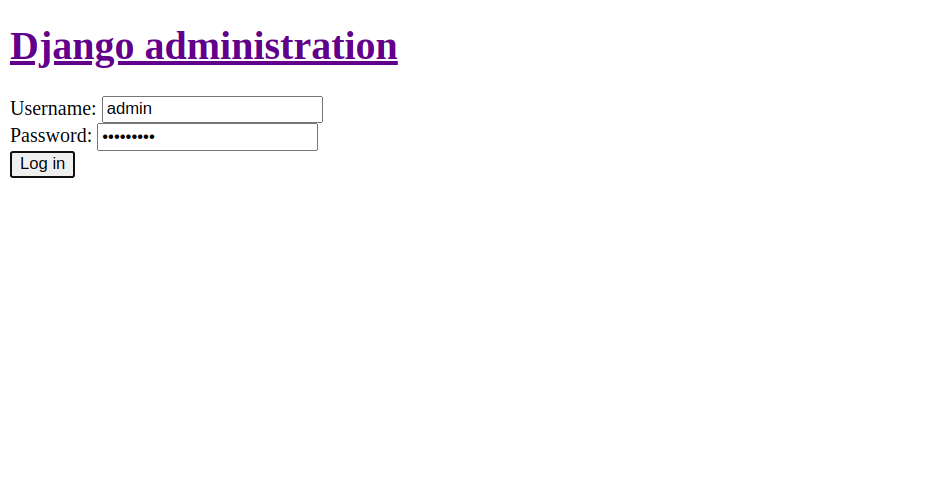
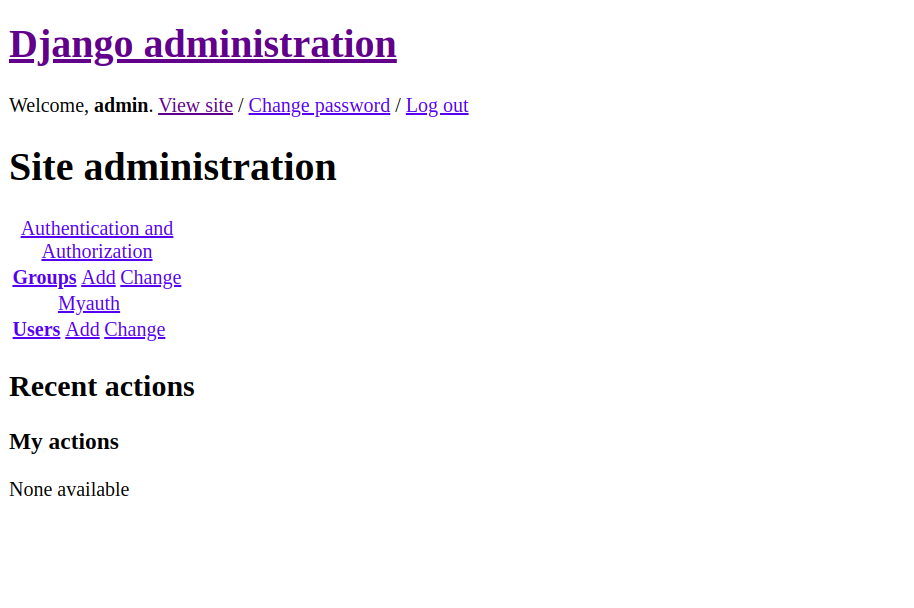
Provide your username, password and click on the Login button. You should see the EteSync dashboard on the following page:
Conclusion
Congratulations! You have successfully installed and configured EteSync on Ubuntu 20.04 server. You can now easily sync your contacts, calendars, tasks, and notes using VPS hosting from Atlantic.Net!
* This post is for informational purposes only and does not constitute professional, legal, financial, or technical advice. Each situation is unique and may require guidance from a qualified professional.
Readers should conduct their own due diligence before making any decisions.