Invoice Ninja is a free, open-source, self-hosted application for invoicing and billing customers. It is written in PHP with a Laravel framework. Invoice Ninja is specially designed for freelancers & businesses for invoicing, accept payments, track expenses, create proposals, and time tasks. It allows you to create and send invoices to clients with your own domain name and brand. Invoice Ninja supports 40+ payment gateways including WePay, GoCardless, PayPal, Authorize.net, 2Checkout, and more.
In this post, we will show you how to install Invoice Ninja with Nginx on Debian 10.
Prerequisites
- A fresh Debian 10 server
- A valid domain name pointed to your virtual private server
- A root password configured on your server
Step 1 – Install LEMP Server
First, you will need to install Nginx, MariaDB, PHP, and other PHP extensions on your server. You can install all of them with the following command:
apt-get install nginx mariadb-server php php-fpm php-cli php-common php-curl php-gd php-mysql php-xml php-mbstring unzip -y
Once all the packages are installed, start the Nginx and MariaDB service if not started.
systemctl start nginx
systemctl start mariadb
Step 2 – Create a Database
Next, you will need to create a database and user for Invoice Ninja. First, log in to MariaDB with the following command:
mysql
Once connected, create a database and user with the following command:
CREATE DATABASE ninja;
GRANT ALL PRIVILEGES ON ninja.* TO 'ninja'@'localhost' IDENTIFIED BY 'password';
Next, flush the privileges and exit from the MariaDB with the following command:
FLUSH PRIVILEGES;
EXIT;
Step 3 – Download Invoice Ninja
Next, download the latest version of Invoice Ninja with the following command:
wget -O invoice-ninja.zip https://download.invoiceninja.com/
Once the download is completed, unzip the downloaded file to the Nginx root directory:
unzip invoice-ninja.zip -d /var/www/html
Next, change the ownership of the ninja directory to www-data:
chown -R www-data:www-data /var/www/html/ninja
Step 4 – Configure Nginx for Invoice Ninja
Next, you will need to create an Nginx virtual host configuration file for Invoice Ninja.
You can create it with the following command:
nano /etc/nginx/conf.d/ninja.conf
Add the following lines:
server {
    listen 80;
    server_name ninja.example.com;

    root /var/www/html/ninja/public/;
    index index.php index.html index.htm;
    charset utf-8;

    location / {
        try_files $uri $uri/ /index.php?$query_string;
    }

    location = /favicon.ico { access_log off; log_not_found off; }
    location = /robots.txt  { access_log off; log_not_found off; }

    access_log  /var/log/nginx/invoiceninja.access.log;
    error_log   /var/log/nginx/invoiceninja.error.log;

    location ~ \.php$ {
        fastcgi_split_path_info ^(.+\.php)(/.+)$;
        fastcgi_pass unix:/run/php/php7.3-fpm.sock;
        fastcgi_index index.php;
        include fastcgi_params;
        fastcgi_param SCRIPT_FILENAME $document_root$fastcgi_script_name;
        fastcgi_intercept_errors off;
        fastcgi_buffer_size 16k;
        fastcgi_buffers 4 16k;
    }

    location ~ /\.ht {
        deny all;
    }
}
Save and close the file, then verify the Nginx for any syntax errors with the following command:
nginx -t
Finally, restart the Nginx service to apply the changes:
systemctl restart nginx
Step 5 – Access Invoice Ninja
Now, open your web browser and access the Invoice Ninja web interface using the URL http://ninja.example.com. You will be redirected to the following page:
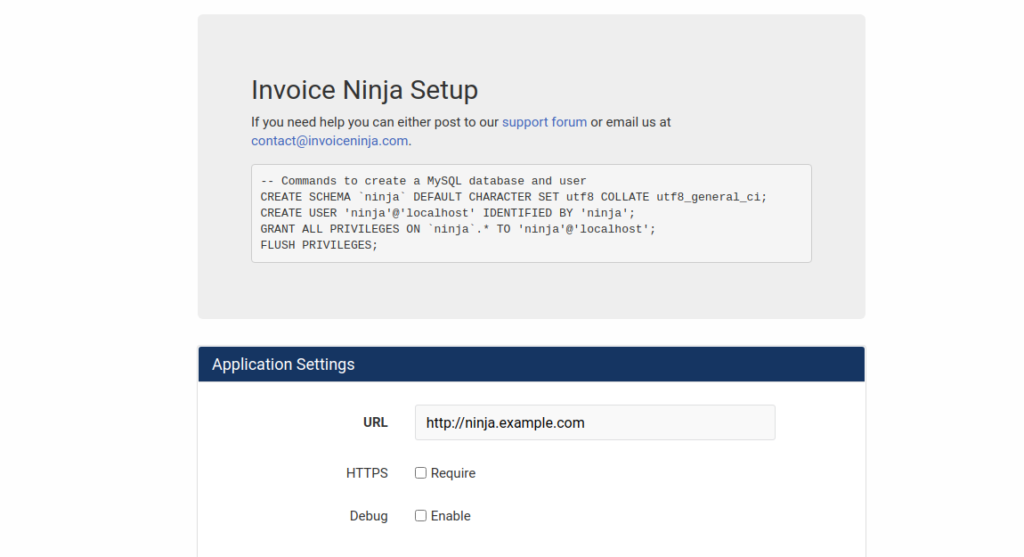
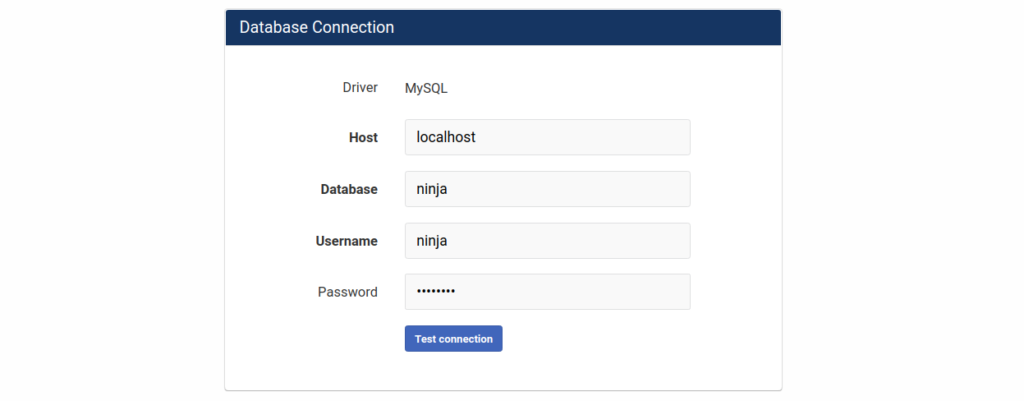
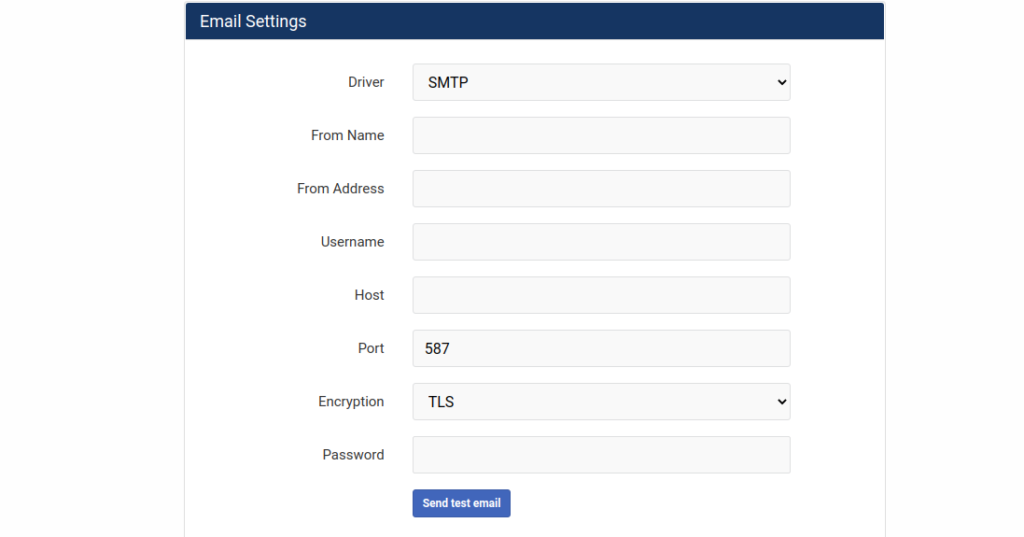
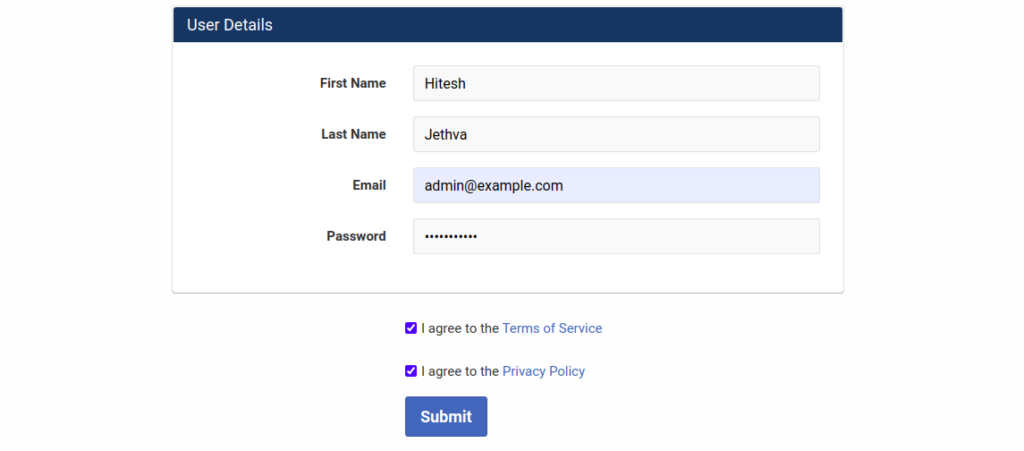
Provide your Invoice Ninja URL, database details, and administrative user information, and click on the Next button. You will be redirected to the Invoice Ninja login page:
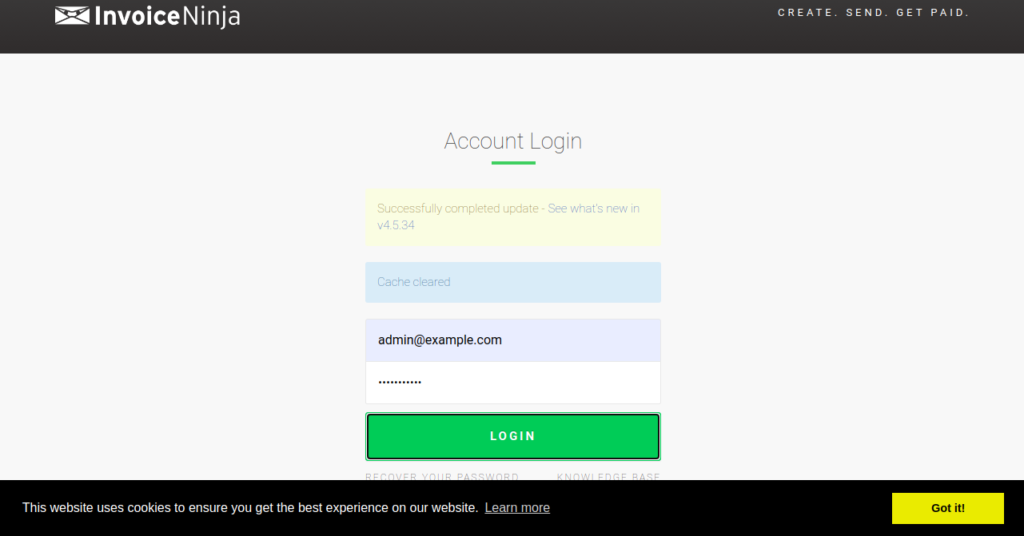
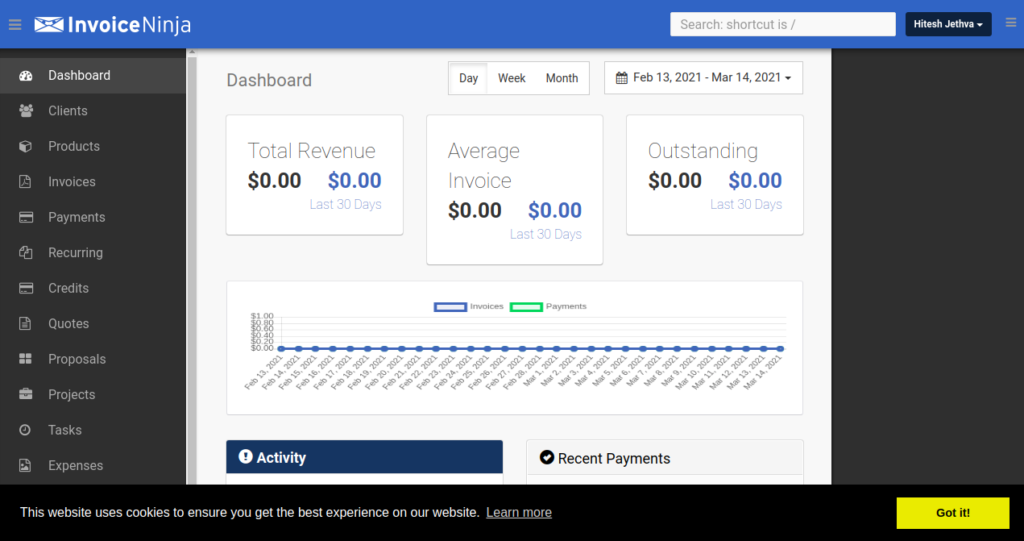
Provide your admin username and password and click on the Login button. You should see the Invoice Ninja dashboard on the following page:
Conclusion
Congratulations! You have successfully installed and configured Invoice Ninja on Debian 10. You can now implement Invoice Ninja in your organization and start invoicing and billing customers with your VPS from Atlantic.Net.